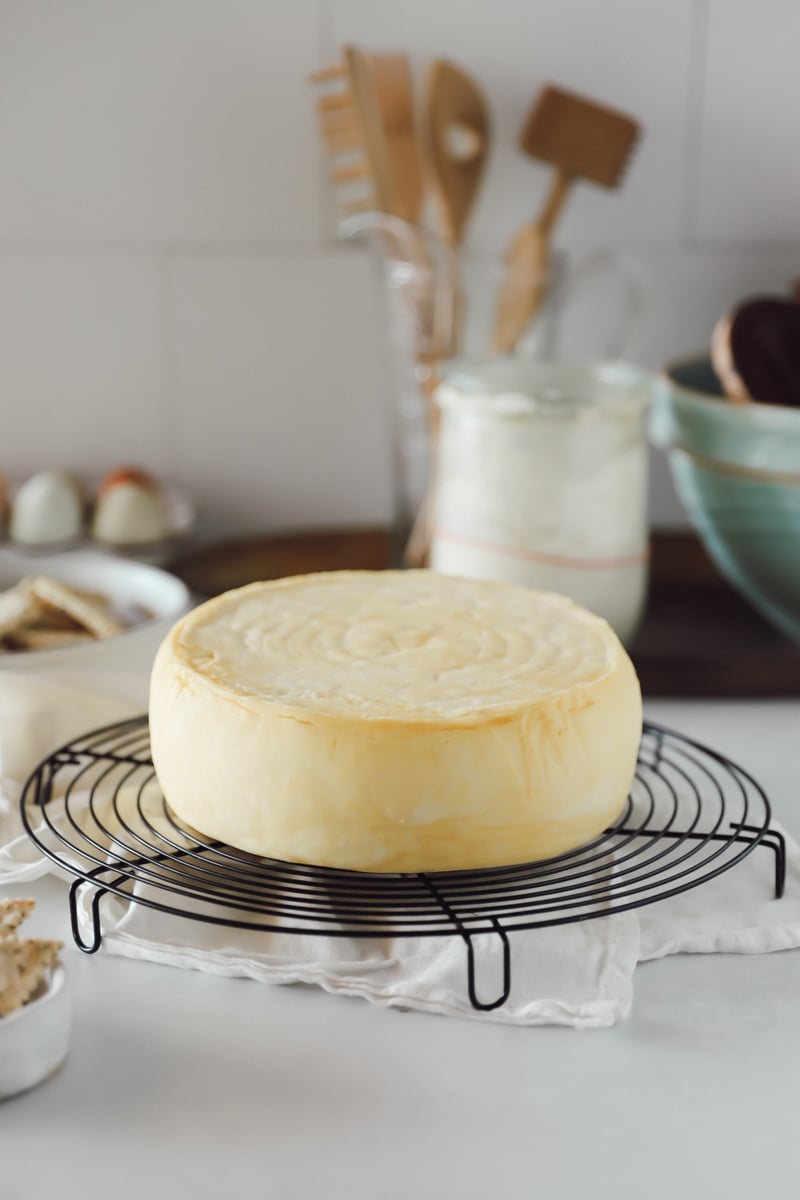
How to Make Gouda Cheese at Home (Traditional Washed-Curd Recipe)
Gouda is a semi-hard, washed-curd cheese known for its smooth texture and mild, slightly sweet flavor that becomes richer and more complex as it ages.
If you’ve ever wanted to learn how to make Gouda cheese at home, you are in the right place! It’s surprisingly doable in a home kitchen.
My homemade Gouda cheese recipe walks you through the entire process step by step, from culturing the milk and washing the curds to pressing, brining, and aging your own wheel of cheese. Once you understand the rhythm of it, making Gouda at home becomes something you can come back to again and again.
This is a traditional Gouda cheese recipe using the washed-curd method, adapted specifically for home cheesemakers so you can get consistent, reliable results without commercial equipment.
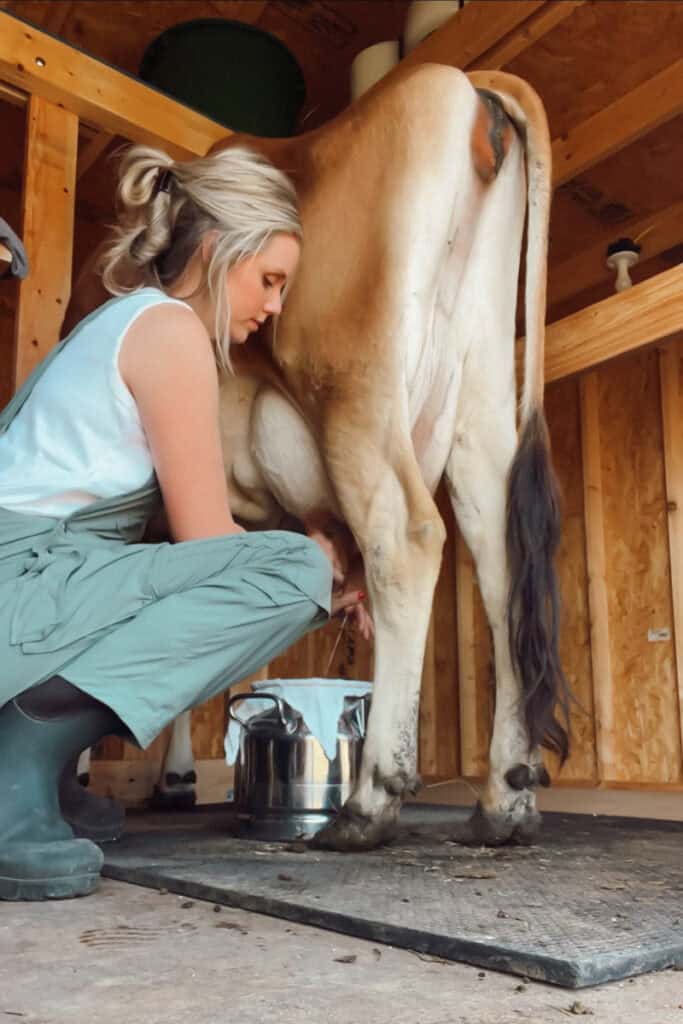
I’m Meg, a fifth-generation farmer and homesteader on our 20-acre farm in Kansas. I milk our Jersey cows and turn that milk into cheese, butter, yogurt, and whatever else my family will happily eat. I’ve made this Gouda recipe over and over again, tweaking small details until it consistently produces a smooth, creamy wheel that ages beautifully—whether I’m using fresh raw milk or store-bought.
As an amazon associate, this post contains affiliate links, which means I make a small commission at no extra cost to you. See my full disclosure here.
What is Gouda Cheese?
Gouda is a semi-hard cheese that originated in the Netherlands, known for its smooth, creamy texture and mild, slightly sweet flavor. It’s made using a traditional washed-curd method, which reduces acidity and gives Gouda its signature buttery taste.
Young Gouda cheese is soft and mild, while aged Gouda becomes firmer and develops deeper, more complex flavors over time.
The flavor can also be enhanced with liquid smoke or the cold smoke method, and I'll show you how to do that a little further down in this post!
What Is Gouda Cheese Known For?
Gouda is known for its smooth, creamy texture and mild, buttery flavor with a hint of sweetness. Because of the washed-curd method, it doesn’t have that sharp bite like cheddar—instead, it’s mellow, rich, and incredibly easy to love.
As it ages, that flavor deepens into something more complex. The texture also changes from soft and sliceable to firmer with those little crunchy crystals (called tyrosine) in well-aged wheels. Yum!
How Is Gouda Cheese Used?
Gouda is one of those cheeses that works in everything.
- Melted into grilled cheese sandwiches or paninis
- Sliced onto burgers (like my Juicy Venison Burgers) or tucked into breakfast sandwiches on toasty Sourdough English Muffins
- Cubed for snack boards with fruit, nuts, and honey
- Shredded into casseroles (try it in my Hearty Venison Breakfast Casserole), potatoes, or baked dishes
- Paired with sourdough crackers, apples, pears, or crusty sourdough bread for something simple and perfect
How to Make Gouda Cheese at Home (Quick Overview)
This is the exact method I use to consistently produce a smooth, creamy Gouda at home without specialized equipment! Gouda cheese is made by heating milk, adding a mesophilic starter culture and rennet, cutting the curds, then using a washed-curd method to reduce acidity. The curds are pressed into a wheel, soaked in a salt brine, dried, and aged for several weeks to develop flavor and texture.
Why This Homemade Gouda Cheese Recipe Works
- The washed-curd method creates a mild flavor
- Step-by-step timing makes it easy to follow for beginners
- The pressing schedule produces a smooth, sliceable texture
- Brining enhances flavor and protects the rind
- Works with both raw milk and pasteurized milk
If you’re new to cheesemaking, you may also want to start with a simpler cheese like Mozzarella or Quick Cream Cheese before moving into aged cheeses like Gouda, Cheddar or Colby.
Why Gouda Uses the Washed-Curd Method
One of the most important steps in making Gouda cheese is washing the curds.
After the curds form, part of the whey is removed and replaced with warm water. This lowers the lactose content, which means less acid develops during aging.
The result is a cheese that stays:
- Mild
- Slightly sweet
- Smooth and creamy
Instead of becoming sharp or crumbly like other aged cheeses.
Ingredients for Homemade Gouda Cheese
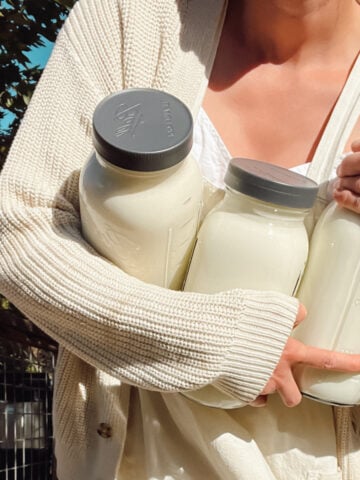
- 2 gallons whole milk - Fresh raw milk works beautifully for this recipe, but good-quality store-bought whole milk will also work. Avoid ultra-pasteurized milk because it does not ferment correctly for cheesemaking. If you aren't sure which type of milk is best for cheesemaking, read my post: Raw Milk vs. Pasteurized Milk for Cheesemaking (Flavor, Yield + Results).
- Mesophilic starter culture - This is the good bacteria that turns milk into cheese. Gouda uses a mesophilic culture, which works at moderate temperatures and helps develop the flavor, texture, and acidity. I like to use a premixed culture (often labeled MA or MM), which makes it simple and consistent. I personally use this one from TheMilkman.
- Calcium chloride (not needed if using raw milk) Pasteurized milk doesn’t always set up as nicely because the natural calcium balance has been altered. Adding a small amount of calcium chloride helps strengthen the curd so it forms properly and holds together during cheesemaking.
- Liquid rennet - Rennet is what causes the milk to set into curds. If you prefer to avoid genetically engineered ingredients, choose a traditional calf (veal) rennet. Many rennets sold today are microbial or fermentation-produced (often labeled FPC). They work, but I personally stick with calf rennet for a more traditional, farmstead-style cheese. The amount needed can vary depending on the type and strength you’re using.
Simple Brine Recipe
- ½ gallon filtered water
- 1 lb salt- Use either Kosher Salt or Cheese salt
- ½ teaspoon calcium chloride
- 1 teaspoon white vinegar
Brine is just a saltwater bath that seasons the cheese and helps form the outer rind. To make it, dissolve salt in boiling water. I like to add a little calcium chloride and a splash of vinegar to keep the brine balanced and protect the texture of the cheese while it soaks. Let the brine cool to room temperature before using.
Equipment Needed for Making Gouda Cheese
- Large stainless steel pot
- Thermometer
- Long knife or curd cutter
- Slotted spoon
- Cheese mold and follower
- Cheese press - I love a Dutch-style press
- Cheesecloth or butter muslin
- Container for brining
For links and a more in depth look at what supplies you'll need (and where to save your money!), read my post Cheesemaking Supplies for Beginners.
How to Make Gouda Cheese Step by Step
- Heat and Culture the Milk
- Heat milk to 88°F, then add mesophilic starter culture. Let it bloom (aka float on top) for 5 minutes and then gently stir it in. Wait 45-60 minutes before moving on to the next step.
- Add Calcium Chloride and Rennet
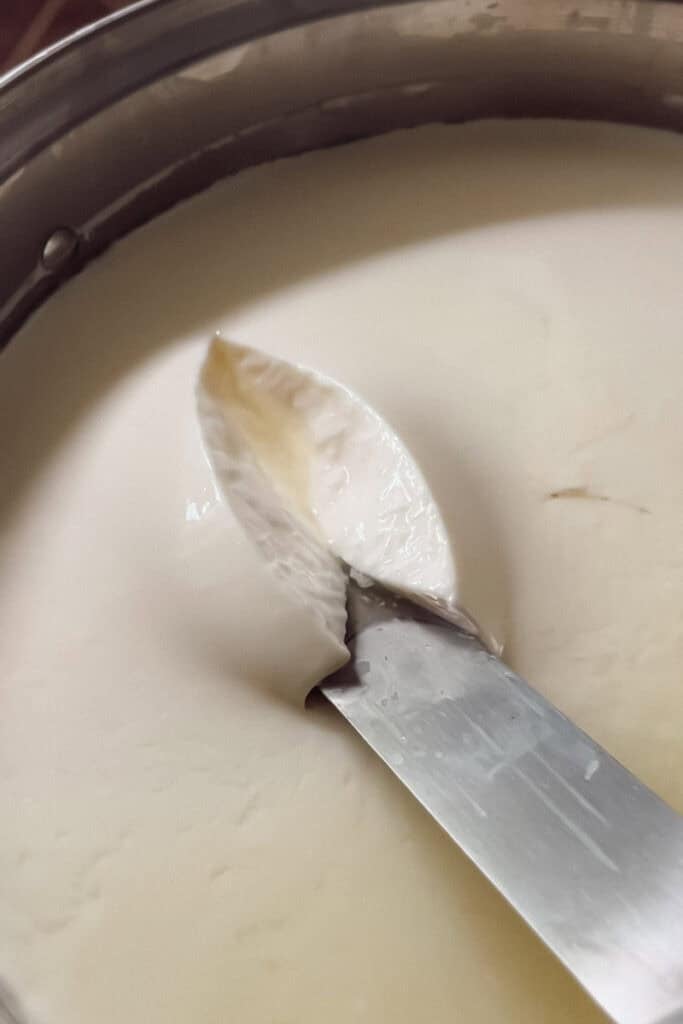
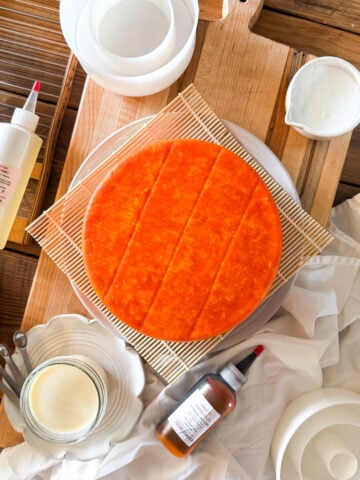
- Add calcium chloride (if using pasteurized milk). Dilute the rennet according to the package instructions in ¼ cup of water and stir it in, using a gentle up and down motion. Let sit undisturbed for 45 minutes until a clean break forms (see picture below). If a clean break isn't achieved yet, cover and let rest an additional 15 minutes before trying again.
- Cut the Curds
- Cut into ½-inch cubes and let rest for 5–10 minutes. I use a whisk (it's so much easier!) and my curds are always smaller, and it works just fine! Let the curds sit 10 minutes before moving onto the next step. While the curds are resting, heat a pot of water to 170°F.
- Wash the Curds
- Drain off about ⅓ of the whey, then replace it with warm water (around 170°F). Give the warmed curds a stir, then let them rest for 10 minutes. Repeat the washing/draining/resting process (about 3-4 more times) until the curds reach 100°F. The goal is raising the temperature slow and steady. This slow warming process should take about 25 minutes. You're doing it right if your curds look like soft little pieces of chunky tofu.
- Let the Curds Rest
- Cover the pot of curds and let them sit for 30 minutes before continuing onto the next step. If you are adding liquid smoke, this is when you do it (see note below).
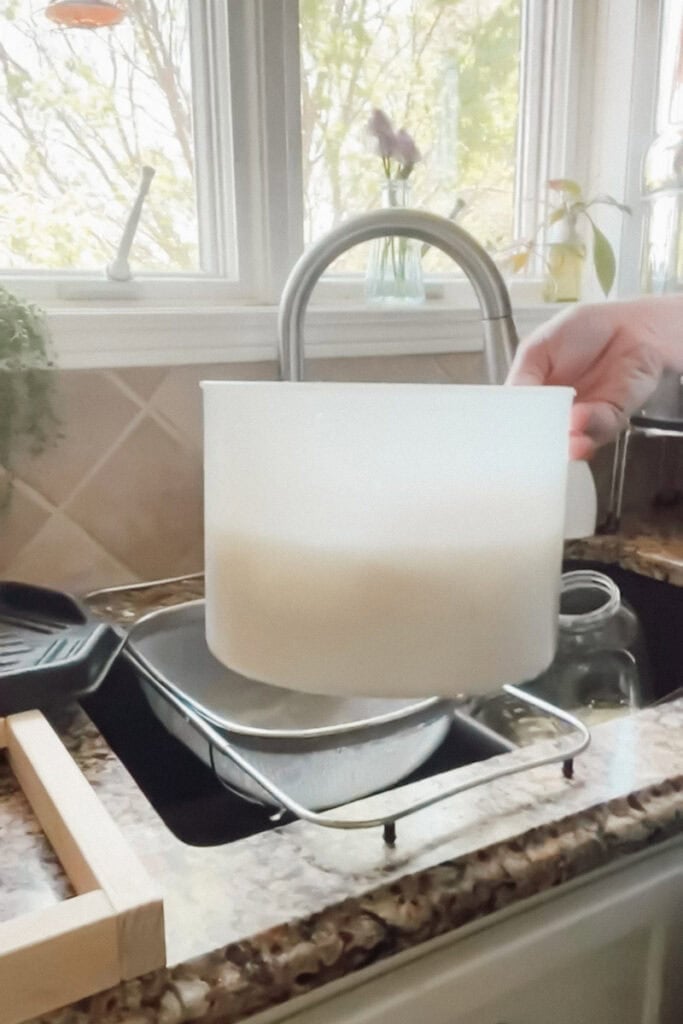
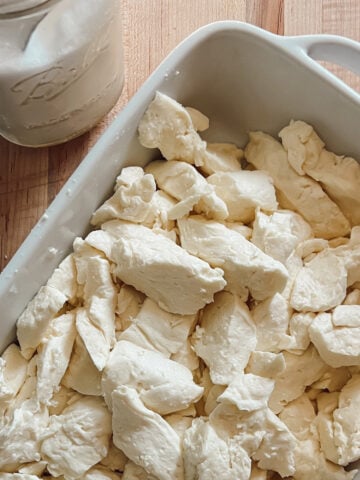
- Strain the Curds
- The curds should be small, firm, and springy. If they don't, stir them for a minute and then let rest for another 15 minutes. Otherwise, strain the curds into a cheesecloth lined mesh colander.
- Transfer to Mold
- Place curds into a lined cheese mold. Use your hands to break up the curds so that they fill the mold without any voids. Place the follower on the mold (see picture below).
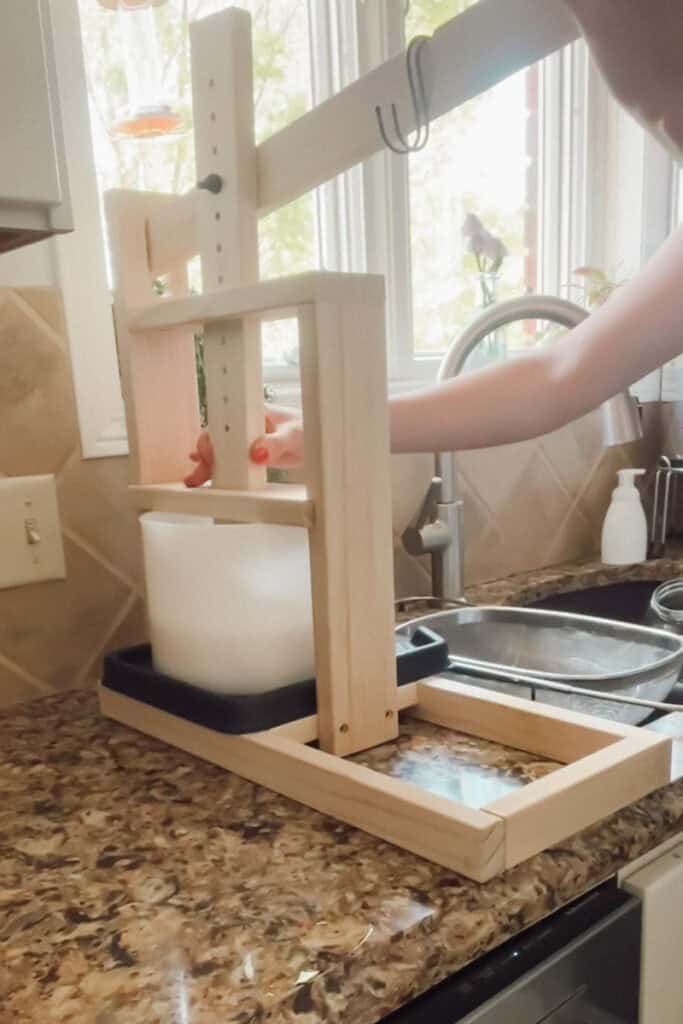
How to Press Gouda Cheese
Pressing removes whey and forms the final wheel. This gradual increase helps knit the curds together smoothly without trapping excess moisture (see picture above).
Pressing schedule:
- 20 minutes at ~20 pounds
- Flip
- 1 hour at ~40 pounds
- Flip
- 1 hour at ~40 pounds
How to Brine Gouda Cheese
After pressing, soak the cheese in brine. Brining adds flavor and helps protect the cheese during aging.
- Brine for 6-8 hours for a 2 gallon wheel, 12–24 hours for larger wheels
- Flip halfway through
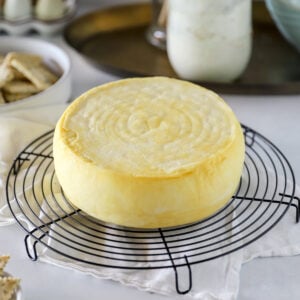
How to Dry and Wax Gouda Cheese
After brining, allow the cheese to air dry for 2–3 days, or until the surface is completely dry to the touch.
Then vacuum seal the cheese (my preferred method) or coat the cheese in wax to seal and protect it during aging.
How to Age Gouda Cheese at Home
For best results, age Gouda at:
- 50–55°F
- 80–85% humidity
- Don't panic if you don't have a cheese cave or wine fridge. I tried it, but now I have stopped aging my cheeses in a traditional cheese cave. Instead, I vacuum seal the wheels and store them in my regular refrigerator. Because it’s colder, the aging process takes a bit longer, but it’s a simple, reliable method that consistently produces great results.
Aging times:
- 4 weeks → mild and creamy
- 2–3 months → firmer, richer
- 6+ months → deeper, slightly caramel-like flavor
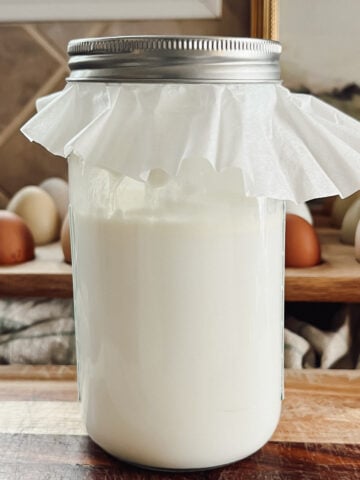
A Traditional Alternative to Freeze-Dried Culture
If you enjoy traditional cheesemaking methods, you can also make Gouda using an active clabber culture instead of freeze-dried mesophilic starter culture.
Clabber was historically used by farmhouse cheesemakers long before commercial starter packets existed. It’s simply raw milk that has been naturally cultured and maintained as a living starter.
For Gouda, I typically use about ½ pint of healthy clabber culture per 2 gallons of milk. For a larger 4 gallon batch, I use roughly 1 pint.
The clabber should smell pleasantly clean and very mildly tangy, similar to yogurt or cultured buttermilk. It should still be smooth and pourable. If it smells sharp, unpleasant, overly sour, fizzy, or has heavily separated into curds and whey, it has fermented too far for cheesemaking. It also needs to be an established culture, not brand new.
Add the clabber at the same point you would normally add mesophilic culture and allow the milk to ripen for about 45–60 minutes before adding rennet.
One thing I’ve noticed when making Gouda this way is that the finished wheels often develop a slightly deeper farmhouse flavor during aging, especially in longer-aged wheels. It feels much closer to the old-fashioned style of cheesemaking that would have traditionally been done on small dairy farms.
If you’d like to learn how I make and maintain my clabber culture, you can read my full guide here: How to Make a Clabber Culture.
How to Make Smoked Gouda Cheese
You can add smoke flavor to your Gouda in two simple ways—either after the cheese is finished using a cold smoker, or earlier in the process by adding a small amount of liquid smoke to the curds. Both work well, just a slightly different result.
Cold Smoking (Traditional Method)
This is my preferred method if you have the setup.
Once your Gouda has been pressed, brined, and fully dried, place the wheel in a cold smoker and smoke it using a mild fruit wood like apple or cherry.
- Keep the temperature below 90°F so the cheese doesn’t melt
- Smoke for 2–4 hours, depending on how strong you want the flavor
- Let the cheese rest for a day or two before sealing and aging
Adding Liquid Smoke (Easy Method)
If you don’t have a smoker, this is a simple way to add a hint of smoky flavor.
After the curds have been cooked and are resting before pressing, gently stir in:
👉 ½ to 1 teaspoon liquid smoke per batch
Make sure it’s evenly distributed, then continue with pressing as usual.
This method gives a lighter, more subtle smoke flavor that’s blended throughout the cheese rather than just on the outside. My family likes a teaspoon or less, but if you love extra smoky cheese you can always be more heavy-handed with your pour.
Which Method Should You Choose?
- Cold smoking → deeper, more traditional flavor
- Liquid smoke → quick, subtle, and beginner-friendly
Both methods work—you just get a slightly different end result.
Troubleshooting Homemade Gouda Cheese
- Curds too soft? Milk may be too cool or rennet too weak.
- Cheese cracking while pressing? Not enough pressure early on or curds too dry.
- Bitter flavor? Too much rennet or too much acid development.
- Cheese too crumbly? Curds were not washed properly.
What Fruit Pairs Well with Gouda Cheese?
The best fruits to pair with Gouda cheese are apples, pears, grapes, figs, and stone fruits like peaches or nectarines. These fruits complement Gouda’s mild, buttery flavor and enhance its natural sweetness, especially in aged Gouda.
What Meat Pairs Well with Gouda Cheese?
Gouda pairs best with savory, salty meats like prosciutto, salami, smoked sausage, bacon, and roast beef. These meats balance the cheese’s creamy texture and slightly sweet flavor.
What Wine Pairs Well with Gouda Cheese?
Young Gouda pairs well with white wines like Chardonnay, Sauvignon Blanc, and Pinot Grigio. Aged Gouda pairs best with red wines such as Cabernet Sauvignon, Merlot, and Pinot Noir, which complement its deeper, nutty flavor.
What Beer Pairs Well with Gouda Cheese?
Gouda pairs well with beers that have malty, slightly sweet profiles, such as amber ale, brown ale, lager, and Belgian-style ales. These beers enhance the creamy texture and mild sweetness of the cheese.
Frequently Asked Questions
Yes, Gouda can absolutely be made with raw milk, and it often produces a richer, more complex flavor. If you’re using pasteurized milk instead, add ¼ teaspoon calcium chloride per 2 gallons of milk after culturing to help form a stronger curd.
At least 4 weeks, but 2–6 months is ideal.
50–55°F with 80–85% humidity. However, I don’t age my cheeses in a traditional cheese cave. Instead, I vacuum seal the wheels and store them in my regular refrigerator. Because it’s colder, the aging process takes a bit longer, but it’s a simple, reliable method that consistently produces great results.
Typically 12–24 hours depending on size.
To reduce lactose and create a mild, slightly sweet cheese.
Yes, Gouda melts very well. Young Gouda becomes smooth, creamy, and slightly stretchy when heated, making it ideal for grilled cheese, sandwiches, and baked dishes. It melts evenly without becoming greasy.
Final Thoughts
Gouda might sound like an advanced cheese, but once you walk through it step by step, it becomes one of the most approachable aged cheeses you can make at home.
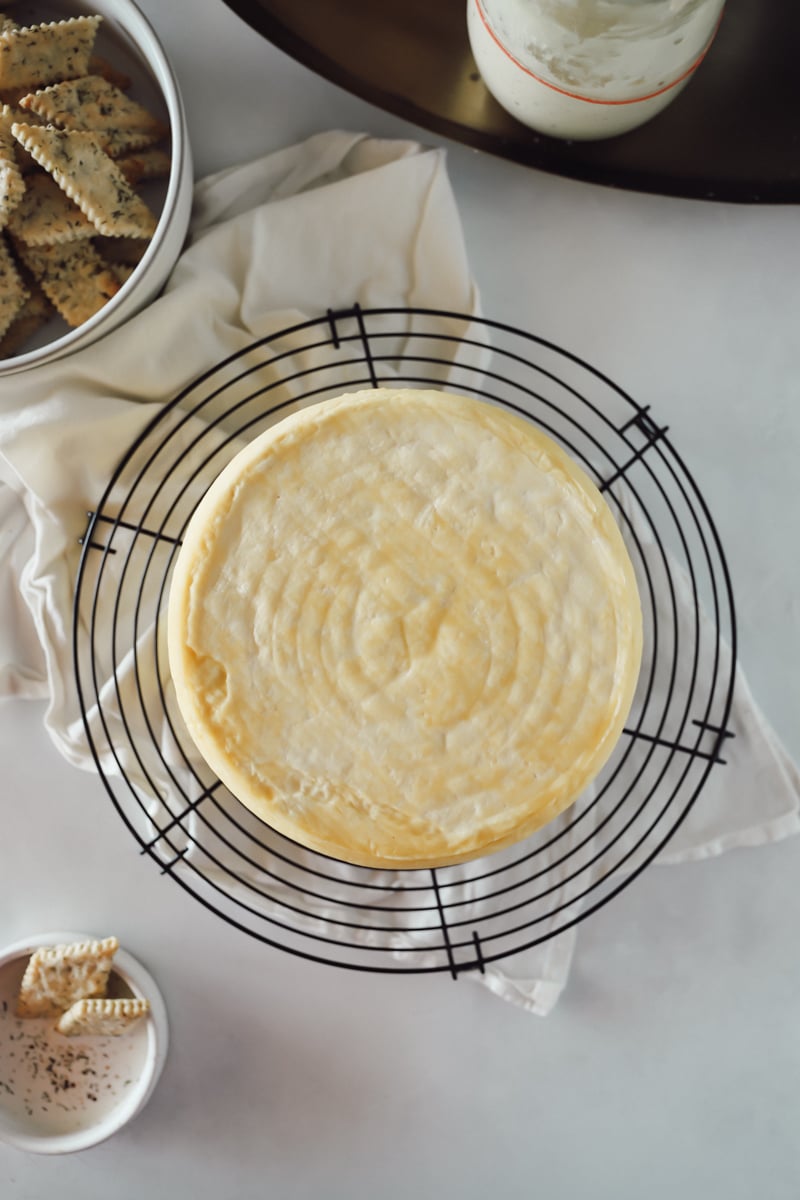
There’s something incredibly satisfying about pulling a finished wheel out of your own kitchen and knowing you made it from scratch.
And fair warning—once you make your first wheel, you’re probably going to want to make another.
If you love this gouda cheese recipe, you need to try my Colby Cheese next! It is a mild flavored cheese made using a washed curd method. It will be your next favorite! If you haven't tried Cheddar Cheese or Fresh Cheddar Cheese Curds yet, try those next!
I also have a guides for making Homemade Yogurt and Homemade Butter with detailed step-by-step instructions so you can make it the best way! And remember to print, save or pin this post so you can easily find your favorite gouda recipe the next time you need it!
Thanks for reading and I can't wait to hear all about your cheesemaking journey!
- Meg
More Cheese Recipes
Recipe
How to Make Gouda Cheese
Equipment
- Large stainless steel pot
- thermometer
- slotted spoon
- Long knife or curd cutter
- cheese cloth
- Cheese mold and follower
- Cheese press & drip tray
Ingredients
Cheese
- 2 gallons whole milk raw or pasteurized, but NOT ultra-pasteurized
- ⅛ teaspoon starter culture
- ¼ teaspoon calcium chloride not needed if using raw milk
- ¼ teaspoon rennet liquid veal calf rennet recommended
Cheese Brine
- ½ gallon water water
- 1 pound salt kosher or cheese salt
- ½ teaspoon calcium chloride
- 1 teaspoon white vinegar
Instructions
Making the Cheese
- Heat and Culture the Milk. Heat milk to 88°F, then add starter culture. Let it bloom (aka float on top) for 5 minutes and then gently stir it in. Wait 45-60 minutes before moving on to the next step.
- Add Calcium Chloride and Rennet. Add calcium chloride (if using pasteurized milk). Dilute the rennet in ¼ cup of water and stir it in, using a gentle up and down motion. Let sit undisturbed for 45 minutes until a clean break forms (see picture below). If a clean break isn't achieved yet, cover and let rest an additional 15 minutes before trying again.
- Cut the Curds. Cut into ½-inch cubes and let rest for 5–10 minutes. I use a whisk (it's so much easier!) and my curds are always smaller, and it works just fine! Let the curds sit 10 minutes before moving onto the next step. While the curds are resting, heat a pot of water to 170°F.
- Wash the Curds. Drain off about ⅓ of the whey, then replace it with warm water (around 170°F). Give the warmed curds a stir, then let them rest for 10 minutes. Repeat the washing/draining/resting process (about 3-4 more times) until the curds reach 100°F. The goal is raising the temperature slow and steady. This slow warming process should take about 25 minutes.
- Let the Curds Rest. Cover the pot of curds and let them sit for 30 minutes before continuing onto the next step.
- Strain the Curds. The curds should be small, firm, and springy. If not, stir them for a minute and then let rest for another 15 minutes. Otherwise, strain the curds into a cheesecloth lined mesh colander.
Pressing
- Transfer to Mold. Place curds into a lined cheese mold. Use your hands to break up the curds so that they fill the mold without any voids. Place the follower on the mold.
- Pressing schedule:20 minutes at ~20 poundsFlip1 hour at ~40 poundsFlip1 hour at ~40 pounds
Brining
- Dissolve salt in boiling water. Add calcium chloride and vinegar to keep the brine balanced and protect the texture of the cheese while it soaks. Let the brine cool to room temperature before using.
- Brine for 6-8 hours for a 2 gallon wheel, 12–24 hours for larger wheelsFlip halfway through.
Drying
- After brining, allow the cheese to air dry for 2–3 days, or until the surface is completely dry to the touch. The best way to dry cheese is on the drip tray from the cheese press or on a bamboo mat.
Aging
- Then vacuum seal the cheese (my preferred method) or coat the cheese in wax to seal and protect it during aging. See note below for recommendations.
Notes
- 50–55°F, 80–85% humidity
- Note: I don’t age my cheeses in a traditional cheese cave. Instead, I vacuum seal the wheels and store them in my regular refrigerator. Because it’s colder, the aging process takes a bit longer, but it’s a simple, reliable method that consistently produces great results.

Comments
No Comments