Cheesemaking Equipment for Beginners (Simple Home Setup That Actually Works)
Wondering what equipment you need to make cheese at home? Here’s a simple, realistic cheesemaking setup for beginners—no fancy tools required.
If you’ve been putting off cheesemaking because of the equipment…
I get it.
It can feel like you need EVERYTHING:
- a dedicated cheese cave
- specialty molds
- a whole new kitchen setup
- separate, sterile pots & utensils
👉 But here’s the truth:
You can make really good cheese with simple equipment you probably already have. This isn’t meant to be an overwhelming home cheese making equipment list. At minimum, beginner cheesemaking equipment includes:
- a large pot
- thermometer
- cheesecloth
- curd cutter or knife
- mold or colander
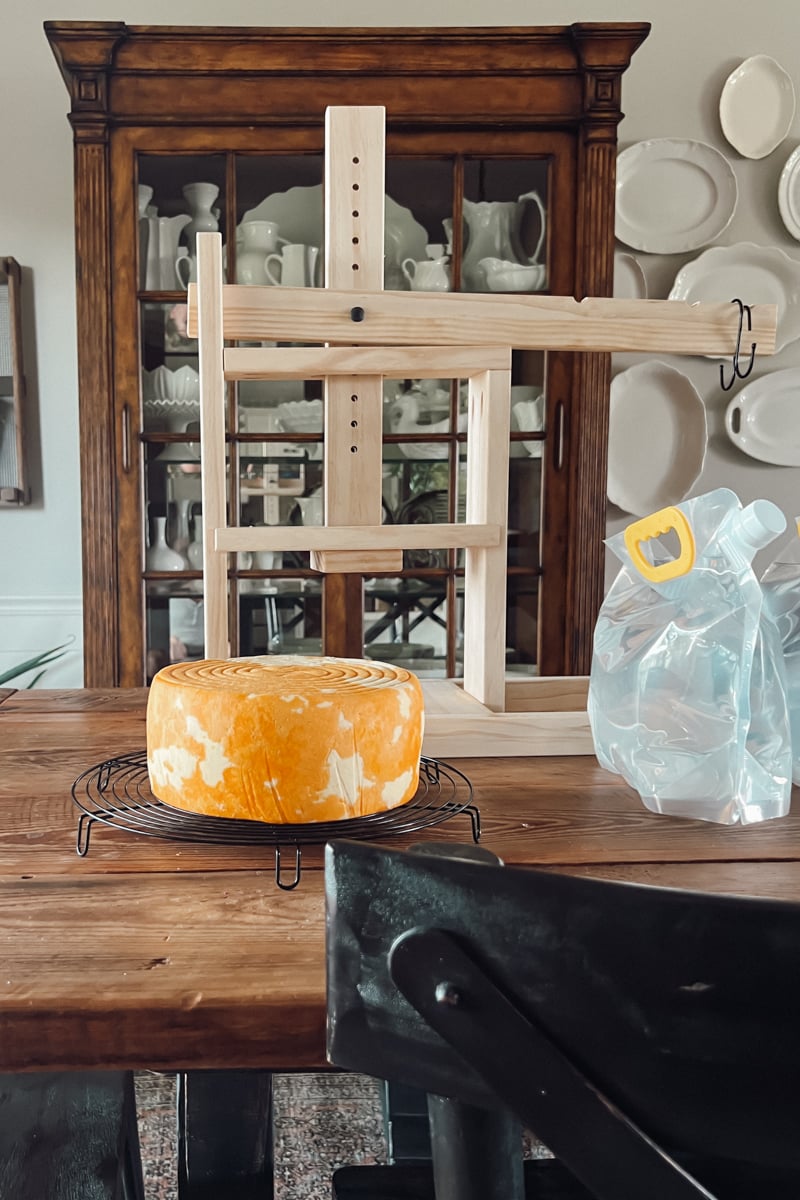
- a way to press the cheese
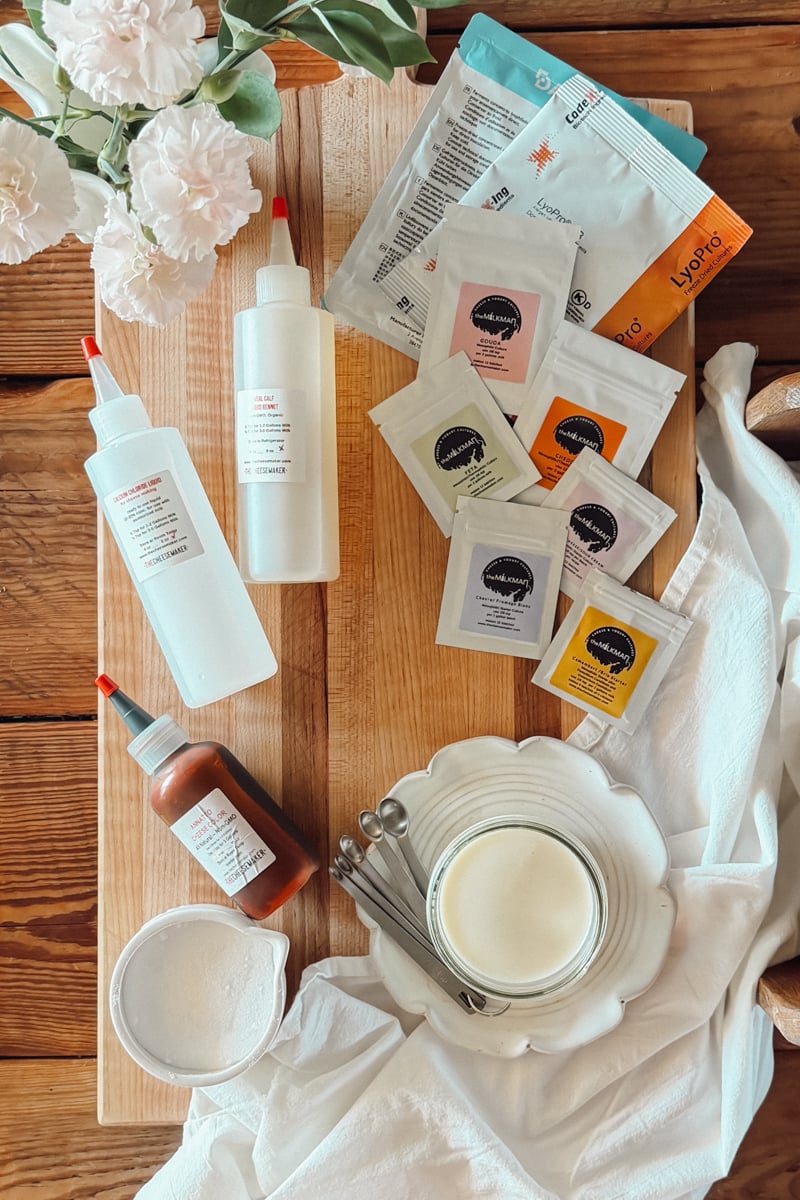
- cultures and rennet
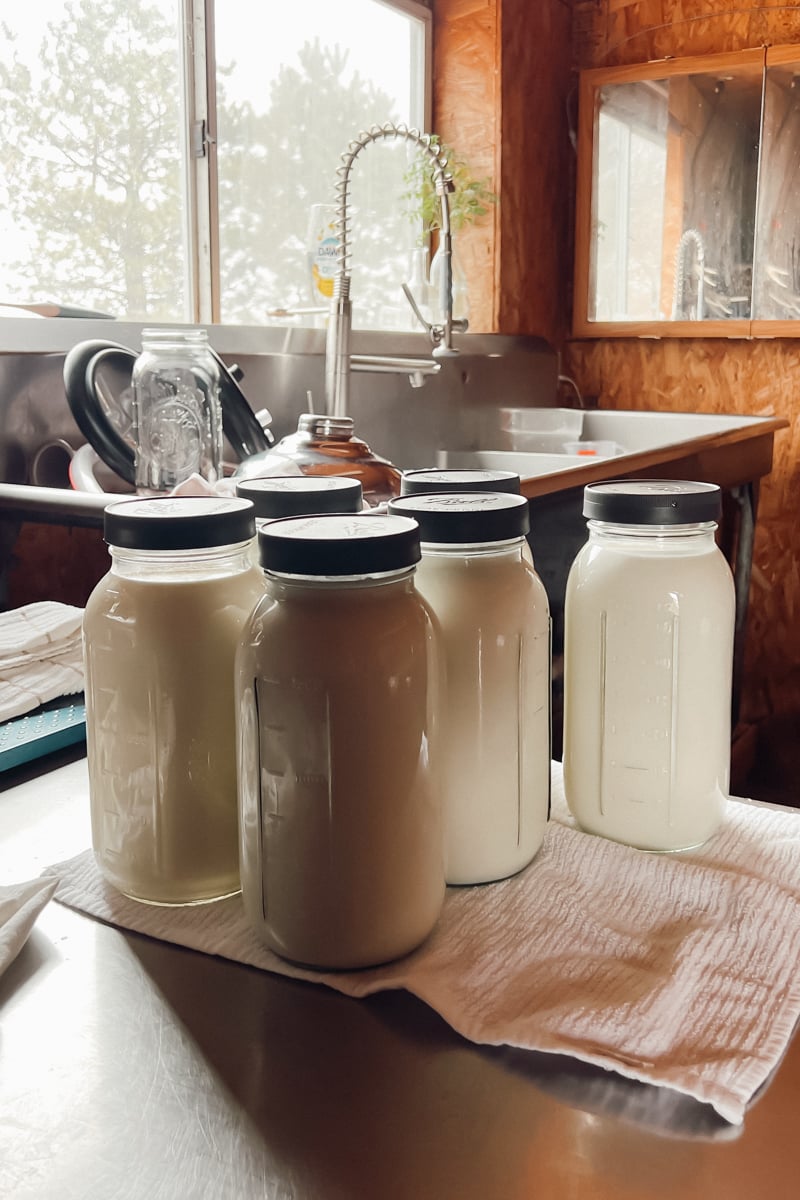
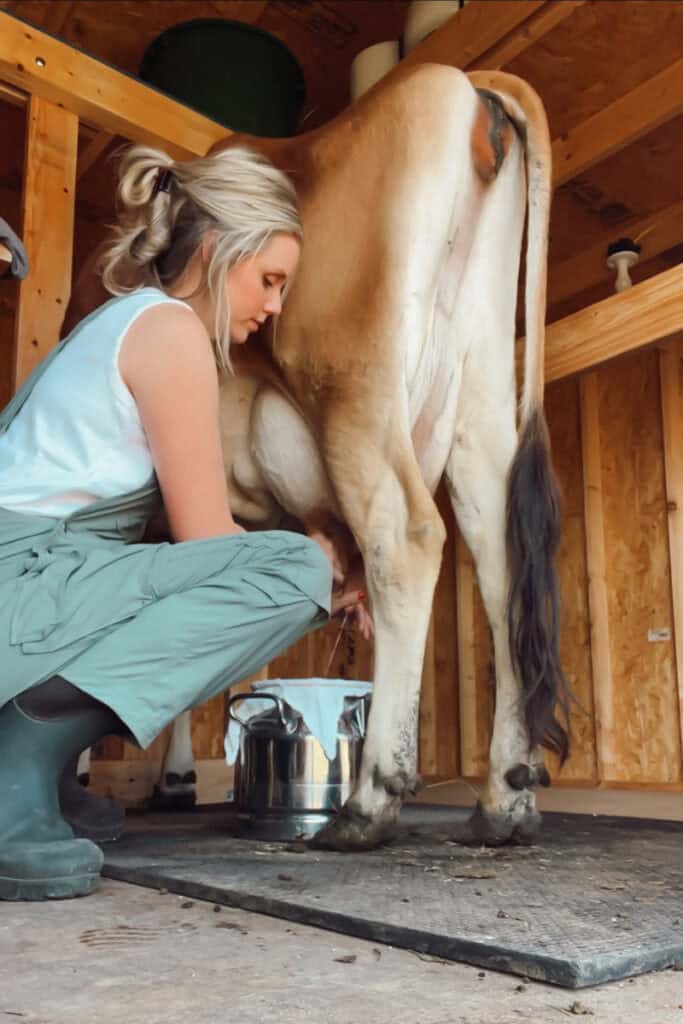
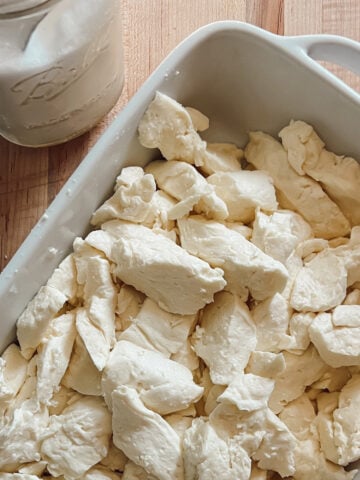
I’ve made cheese with everything from store-bought milk in a regular kitchen to fresh raw milk from our cows in our barn milk room—and the setup doesn’t have to be complicated to work well.
As an amazon associate, this post contains affiliate links, which means I make a small commission at no extra cost to you. See my full disclosure here.
So What Do You Really Need?
As I explain the following helpful tools for cheesemaking, I'll break it down into two groups: the must-have items, and the equipment that is great to have (but not necessary). I'll also help you decide which splurge is worth it, and where to save a little money. It's kind of like taking up golf: a new set of fitted clubs, a snazzy golf cart and new shoes and cute polo shirts are cool, but none of these things will make you better at the sport.
Right? Okay, good. Let's chat cheesemaking!
What equipment do you need to make cheese at home?
At minimum, you need a large pot, thermometer, cheesecloth, mold or colander, cultures, rennet, and a way to press the cheese.
- a large stainless steel pot - I recommend 4 gallons. New or used doesn't matter, but make sure it has sturdy handles, because pouring gallons of milk is heavy!
- a thermometer - I love using our digital instant read thermometer, like this one. It quickly gives me an accurate reading. A less expensive alternative would be a standard thermometer that clips to the side of the pot, like this one.
- something to cut curds - Curd cutters are one of those things that you can splurge on or go cheap. If you want to get fancy, you can invest in a curd harp (also called a curd cutter). The one I bought was a splurge from Etsy, and it was made with a type of laminated cherry wood that warped and twisted the first time I used it. I wouldn't recommend getting the exact one I have, even though you'll see me using it in my videos (because I'm too cheap at the moment to replace it!). Another great option is using a Dutch whisk or a standard whisk. The curds might end up a little smaller than called for, but my cheese always turns out just fine when I use this method.
- an icing spatula - My favorite knife for cutting curds and checking the curds for a clean break is my long caking icing spatula. When I'm using it to cut the curds vertically, it can reach the bottom of the pot better than a standard knife.
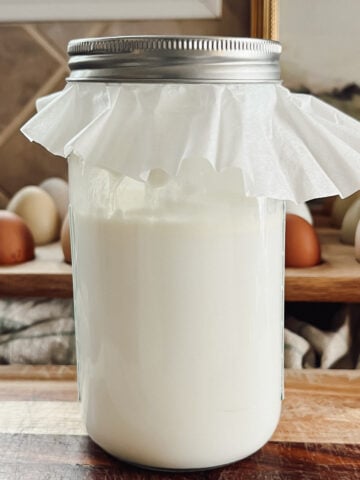
- cheesecloth or butter muslin - I have strong opinions on this. You can buy cheap cheesecloth at the grocery store, but the weave is loose and it crinkles and shrinks after washing. It's well worth spending an extra dollar or two and getting a set of these reusable muslin cheese cloths.
- large strainer - My favorite is an over-the-sink style strainer like this one.
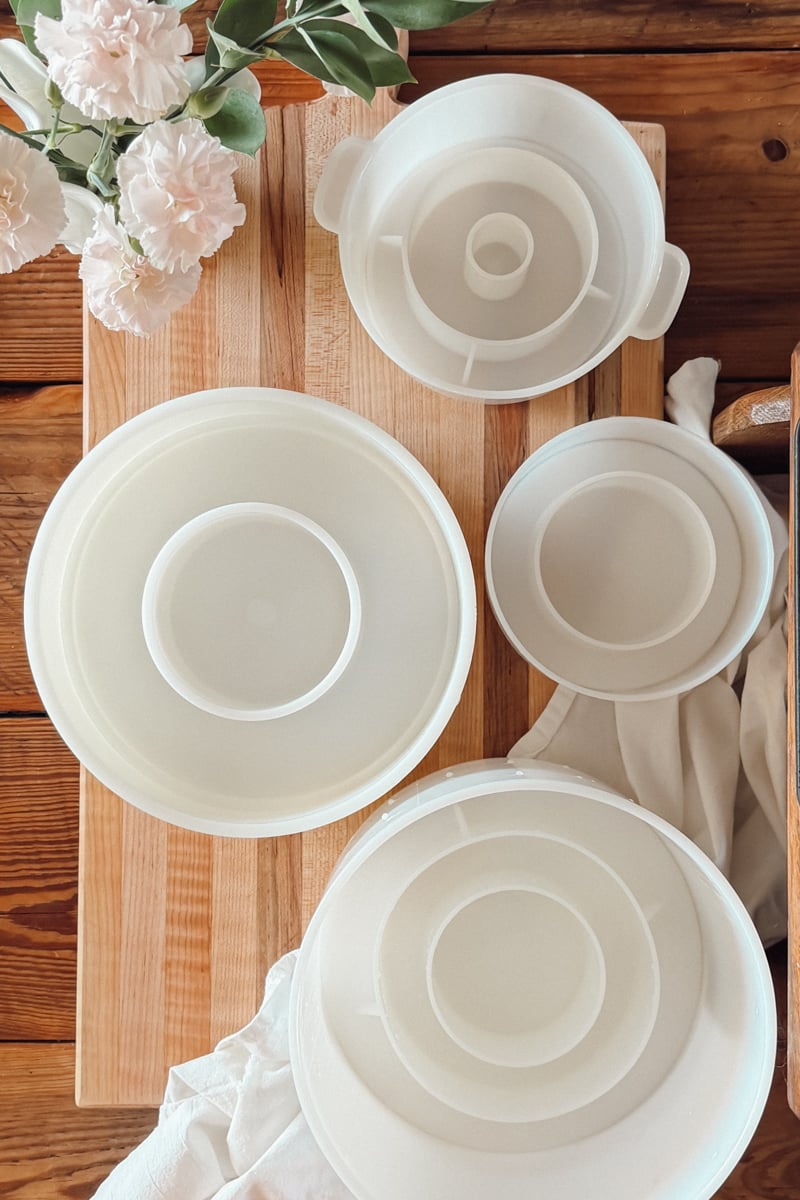
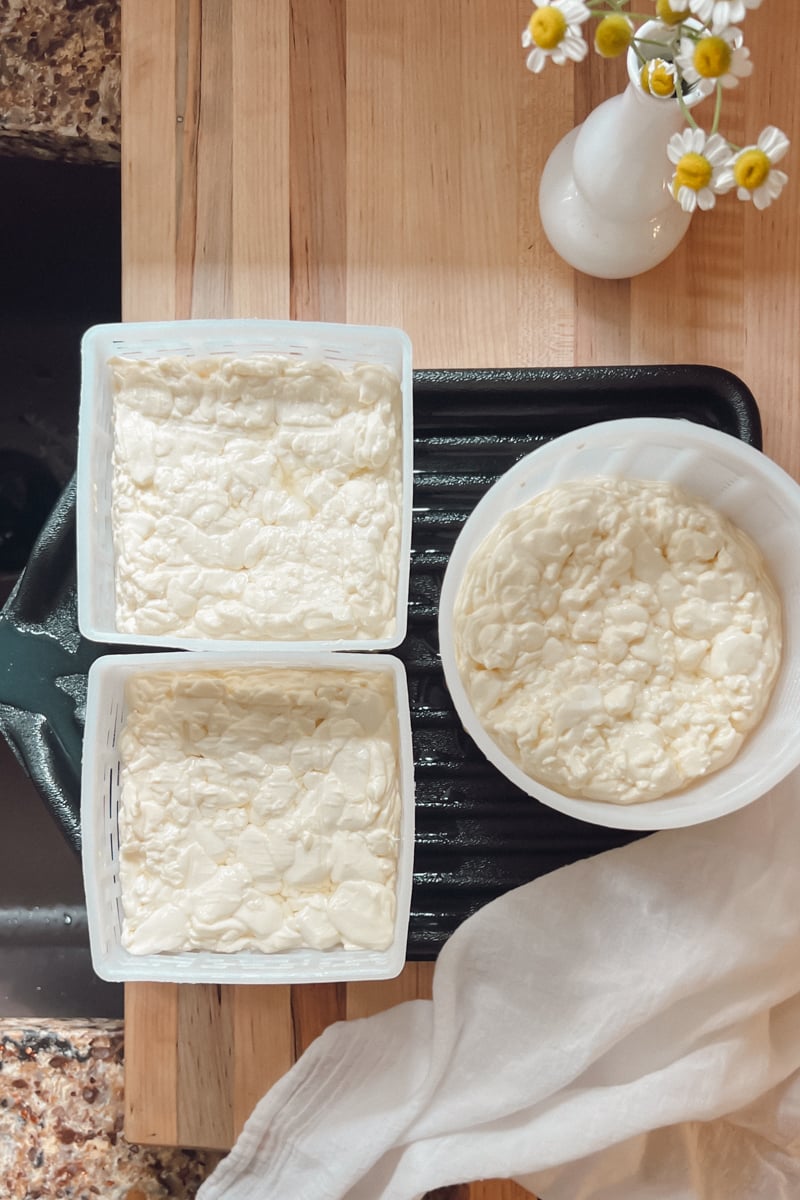
- a cheese mold with follower - Size matters with molds, so I would either get a mold that is made for 1-2 gallons, 2-4 gallons, or an XL mold that holds 3-5 gallons of milk (I use this size the most!).
- a way to press the cheese - You do NOT need a fancy cheese press to start. You can use stacked books, a cast iron pan, or even weights. My favorite is a Dutch-style cheese press, but another popular choice is a standard cheese press.
- salt, cultures, and rennet - my favorites are listed in this Amazon list.
Can you make cheese without special equipment?
👉 Yes. You absolutely can.
Some of the first cheeses I made were with:
- a regular stock pot
- a thermometer
- a colander
- whatever I could find to use as a weight
Cheesemaking doesn’t require a perfect setup—it just requires you to start.
If you want to start with something simple, this is a great place to begin → Homemade Cheddar Cheese Recipe.
Great beginner cheeses include:
Do you need a cheese cave to make cheese?
This is one of the biggest misconceptions.
👉 No—you do not need a cheese cave to begin.
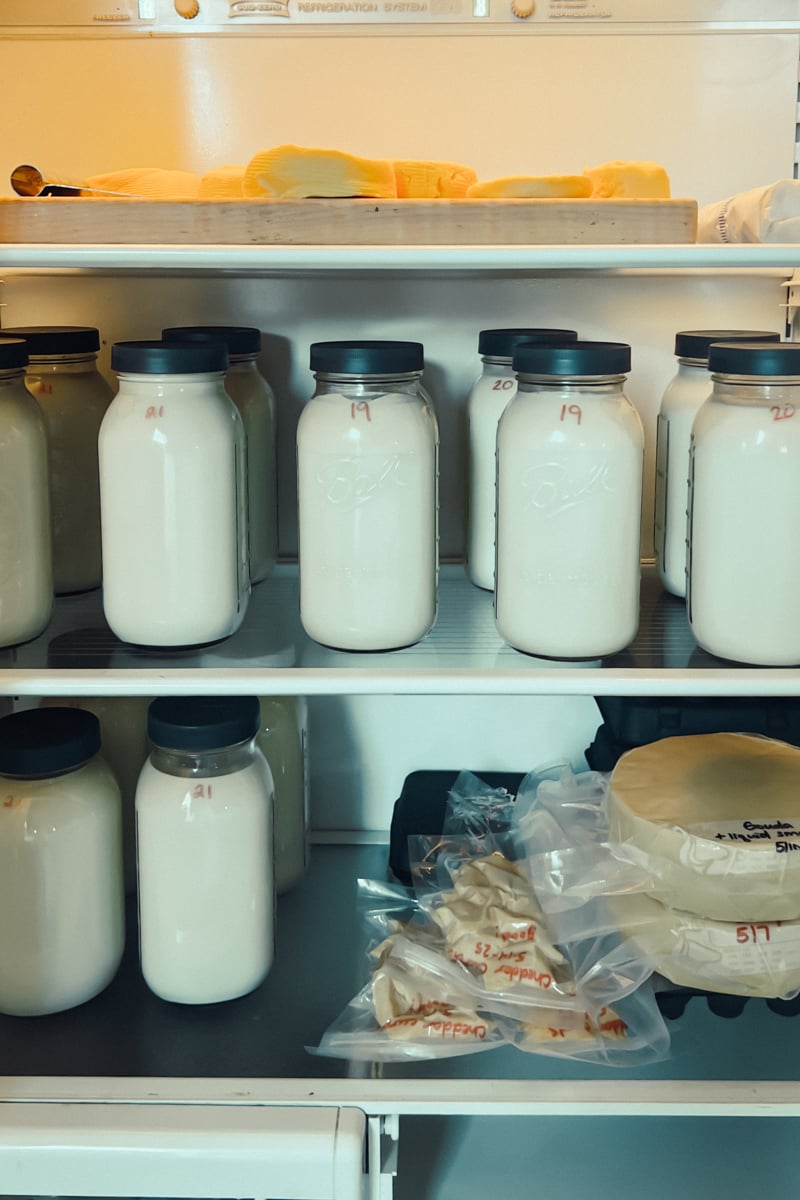
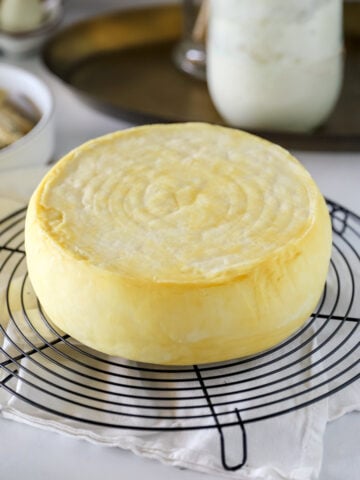
I age most of my cheese in a regular refrigerator setup (pictured below). My hard cheeses age in vacuum bags, while for soft cheeses I use covered containers or aging boxes to help control humidity inside the fridge.
Simple ways to age cheese at home
- a regular fridge
- a dedicated mini fridge (if you want to upgrade later)
- containers to help control humidity
You can get surprisingly good results without a “perfect” environment.
What I actually use on our homestead
This is my real setup—not an ideal Pinterest vision board (ha!).
We have a small milk room / butcher room in our barn (pictured below) where I process fresh milk after milking. It’s not fancy, but it’s clean, efficient, and it works. It has a stainless steel sink and table, shelves for the vacuum sealer and other supplies, and an area to store my milking machine.
From there:
- I make cheese in a regular kitchen
- I use simple tools
- I’ve slowly added better equipment over time
What you don’t need (save your money)
Let me save you some time and money here. A lot of cheesemaking online can make it feel like you need a miniature commercial dairy setup before you even begin. You really don’t.
You don’t need:
- a cheese cave (I fell for this one and regretted it!)
- a full set of molds in every size (trust me, you'll have one favorite)
- expensive specialty tools (looking at you, expensive curd cutter)
- a perfect setup before you begin
👉 You just need a starting point.
Biggest mistake beginners make
Waiting too long to start. This was me! I started making butter, yogurt, quick cream cheese and mozzarella, but was too intimidated to try hard cheeses for the longest time.
You wait until you have:
- the “right” equipment
- the “right” setup
- the “right” time
And before you know it… you still haven’t made cheese.
Start simple. Learn as you go.
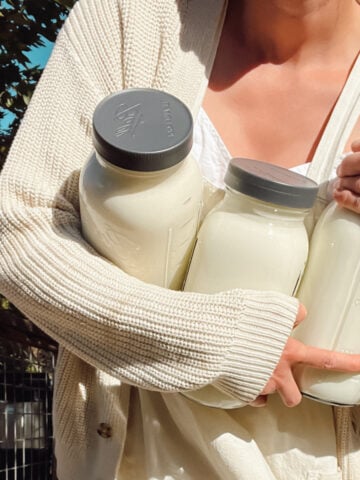
Choosing the best milk for cheesemaking
Your equipment matters—but your milk matters just as much. For most cheeses, avoid ultra-pasteurized milk, which cannot form curds well. Unfortunately, many (at least at my local grocery store) organic milk options are labeled "UP," which means pasteurized.
👉 If you’re trying to decide what kind of milk to use, I break it all down here:
Raw Milk vs Pasteurized Milk for Cheesemaking (Flavor, Yield + Results)
That will help you understand how your milk choice affects flavor, texture, and yield.
My simple philosophy for cheesemaking at home
For me, cheesemaking is about:
- learning a skill
- using what I have
- working with real food
Frequently Asked Questions
You need a pot, thermometer, knife, cheesecloth, mold, a way to press, and basic ingredients like salt, cultures, and rennet.
Yes. You can use household items like books, water jugs, or pans to apply pressure.
No. A regular refrigerator setup works just fine for beginners.
Both raw and pasteurized milk can work, but they behave differently. Your choice will affect flavor, texture, and yield.
Final thoughts
You don’t need a complicated setup to start making cheese at home.
You just need:
- a few basic tools
- good milk
- and a willingness to try
Start where you are.
Keep it simple.
And just make the cheese.
About Me
I’m Meg, a fifth-generation farmer and homesteader in Kansas. We milk our own cows, and I’ve spent years turning that milk into cheese for our family—testing, tweaking, and learning what actually works (and what doesn’t). Everything I share here comes from real experience in a working kitchen, not just theory.

Comments
No Comments