Homemade Mozzarella Cheese Recipe (with Raw Milk or Store-Bought)
Tested and perfected homemade mozzarella recipe with raw milk or store-bought. Step-by-step guide for smooth, stretchy fresh mozzarella every time.
I consider myself to be very experienced at making homemade cheese, but learning how to make mozzarella with raw milk was surprisingly hard. I struggled through the first several batches, some having a grainy texture and others never stretching properly. It took almost a year of trial and error, tweaking, testing, and perfecting my recipe, and now I make consistently good mozzarella. It's been a (somewhat frustrating) labor of love, and I'm so glad I can show you how to make your first batch (or twentieth!) of easy mozzarella cheese.
This recipe is designed for raw milk straight from the cow (my personal favorite), but it also works with high-quality store-bought milk as long as it’s not ultra-pasteurized. Unlike other cheese recipes, this one doesn't require any fancy equipment or aging.
Jump to:
Why This Recipe Works
This mozzarella recipe is reliable, repeatable, and doesn’t require special equipment. I’ve tested it with both raw and store-bought milk, and it’s become a favorite with home cheesemakers in my community. If you want a recipe that just works, this is it. And don’t worry—gallons of milk from the grocery store work just fine. No milk cow required! If you’ve struggled with making homemade mozzarella in the past but want to give it another go, you’re in the right place.
Ingredients & Equipment
- 1 gallon whole milk -- Use either raw milk or high-quality store-bought whole milk. Never use ultra-pasteurized milk for cheesemaking.
- 1 ½ teaspoons of citric acid dissolved in ½ cup cool water
- ½ teaspoon liquid rennet diluted in ¼ cup cool, non-chlorinated water. For best results I recommend using veal rennet, not vegetable rennet or rennet tablets.
- ¼ cup cheese salt (or another non-iodized salt). You’ll need about ¼ cup cheese salt for the whey, and reserve 1–2 teaspoons to directly knead into the mozzarella.
- Thermometer
- Large pot or Dutch oven
- Slotted spoon
- Heat-safe rubber gloves (optional but helpful)
- Large bowl of ice water
Step-by-Step Instructions
- Pour 1 gallon of milk into a large pot or Dutch oven. Place it on the stove and clip on your thermometer.
- Slowly heat the milk to 55°F, stirring gently. Add the citric acid solution while stirring in an up-and-down motion. Don’t over-mix. Continue heating slowly.
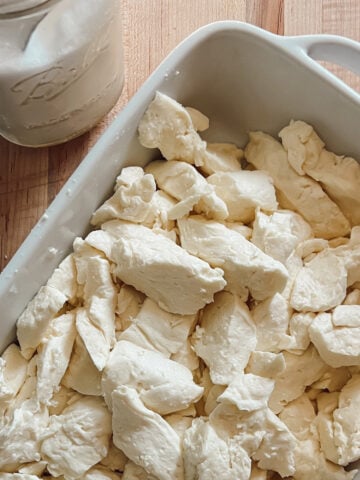
- At 88°F, stir in the rennet mixture with the same gentle up-and-down motion. Continue heating until the milk reaches 105°F, then cover the pot and let it sit for 5–10 minutes. Check the curd formation. You should see a firm curd that gives a clean break when cut.
- Use a long knife to cut the curd into 1-inch cubes. Let them rest for 5 minutes to firm up.
- Return the pot to the stove, add the salt and gently heat until the curds and whey reach about 150-170°F. Hot enough for stretching but not boiling.
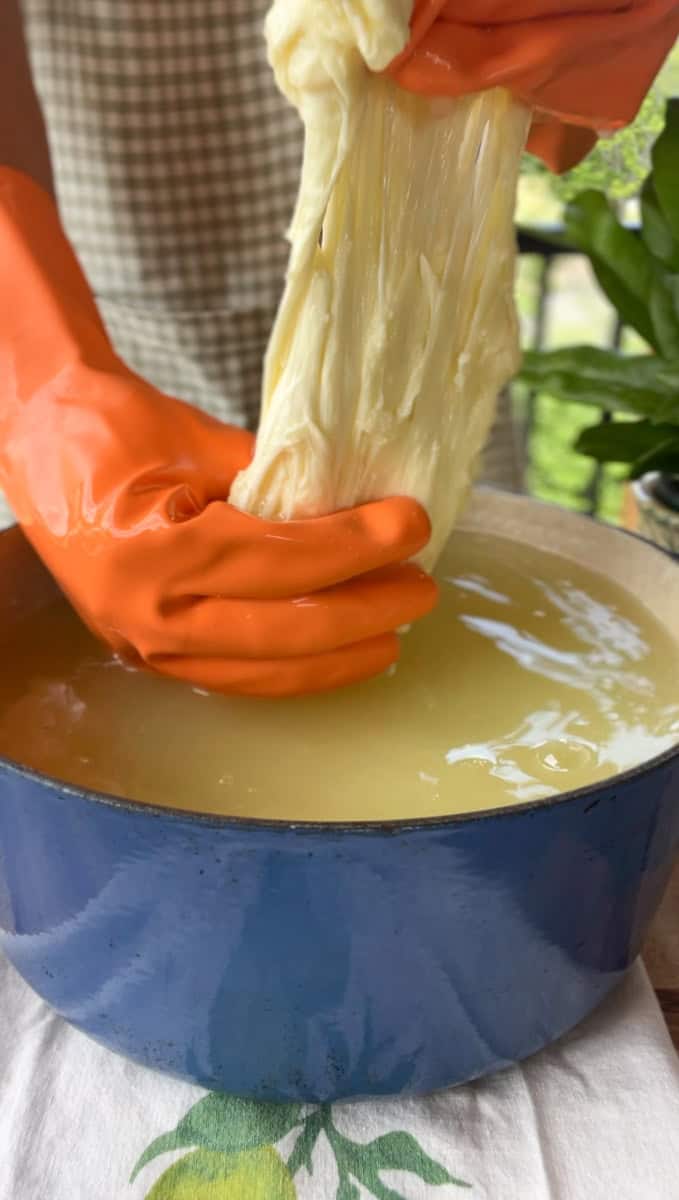
- With gloved hands or a slotted spoon, lift curds directly from the hot whey and begin stretching and folding them back on themselves. Dip them back into the hot whey often to keep them pliable and glossy. Continue until the cheese becomes smooth, elastic, and shiny. See troubleshooting below if your cheese isn't stretching.
- Sprinkle in an additional 1 teaspoon of cheese salt (or more to taste) and knead it in as you stretch. Keep dipping into the hot whey so the curds stay flexible.
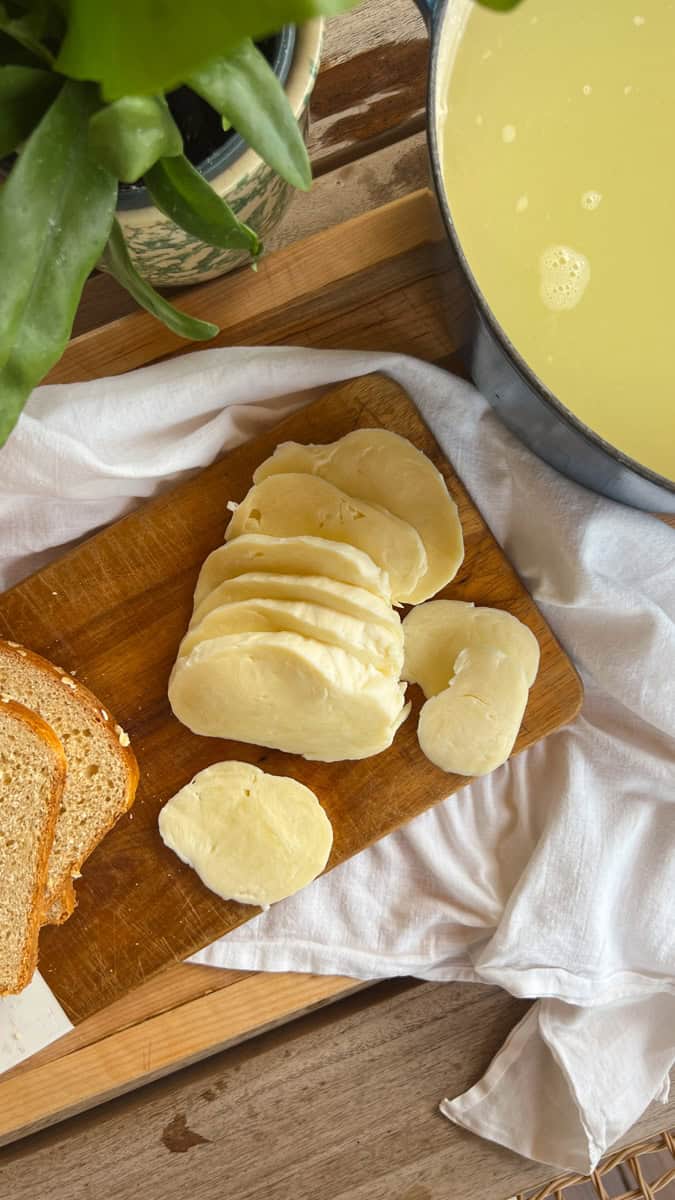
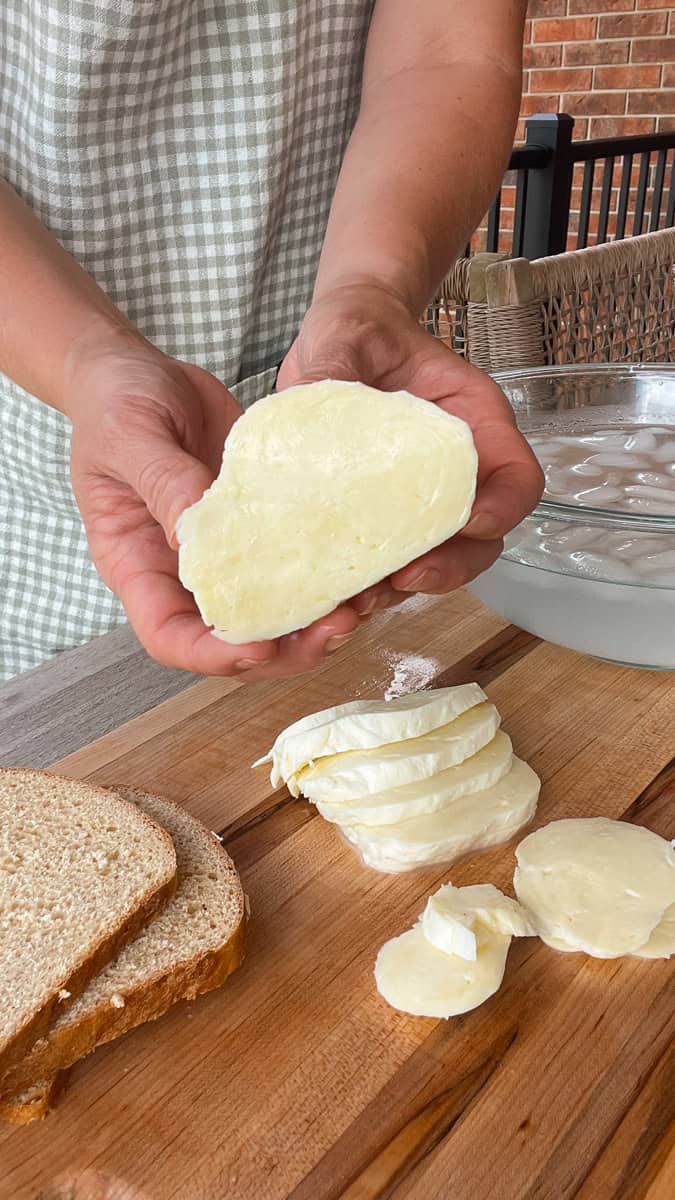
- Shape the fresh mozzarella cheese into balls or logs. Dunk each mozzarella ball into a bowl of ice water for a few minutes to set the shape and cool it down.


Troubleshooting Homemade Mozzarella
Curds never set after adding rennet
- Ultra-pasteurized milk won’t form proper curds, so double check your label.
- Make sure your rennet is fresh and stored in the fridge —old rennet loses strength.
- Did the milk cool down too much before adding rennet? It needs to be around 88°F.
Grainy curds that fall apart
- This often happens if the milk was heated too quickly. Slow, gentle heating is key.
- Stir gently—too much agitation can shatter the curds.
- Milk that has been ultra-pasteurized (aka UP) was used
Mozzarella won’t stretch.
- Stretchy mozzarella only happens when the curds are around 170°F and become elastic. Yes, that is HOT!
- Mozzarella only stretches when the acidity is just right—between 5.0 and 5.3 pH.
- If you don’t have a pH meter or strips, you can “test” by dipping the curds back in hot whey and trying again after a few minutes. As the whey naturally acidifies, the curds will eventually stretch.
- If your curds still refuse to stretch, let them sit longer in the warm whey to develop more acidity, then try again.
Cheese is tough or rubbery.
- This happens if the pH dropped too low (below ~5.0) or if the curds were overworked.
- Next time, test the pH sooner or stretch as soon as the curds are elastic.
Storage Suggestions
- Fresh balls: Store the fresh cheese in the fridge in brine or tightly wrapped, and use within 3–5 days. These are great in a fresh caprese salad!
- Grated mozzarella: My favorite method besides simply eating it fresh! Grate immediately, spread on a baking sheet in a single layer, freeze, then bag up the frozen shreds for easy use straight from the freezer.
- Long-term: Frozen shredded mozzarella keeps for 3–4 months without losing texture or flavor, but once it starts to get old, you will lose the gooey cheese pull and end up with more of a stiff topping when baked.
- Don’t toss the whey! Save it for baking bread, feeding to animals, or making a decadent batch of whey caramel.
Tips for Success
- Milk quality matters: Raw milk is ideal, but good store-bought milk works too. Skip ultra-pasteurized—it won’t set into curds.
- Be gentle: Stir softly and avoid breaking the curds too much.
- Use gloves: The curds can get hot during the stretching process, so wearing gloves can help protect your hands while you work.
- Stretching is Key: If the cheese doesn’t stretch well, it may need to be reheated to soften. Mozzarella should be smooth and elastic when properly stretched.
What can I do with the leftover whey?
When you make mozzarella, you’ll have a lot of whey left over. Don’t toss it—this liquid is packed with protein, minerals, and enzymes, and it has plenty of uses around the kitchen and homestead.
In the Kitchen:
- Bake with it: Replace water or milk in bread, pancakes, muffins, or pizza dough for extra flavor and protein.
- Make whey ricotta: Heat the whey to about 200°F, add a splash of vinegar, and strain to collect the last bits of curd.
- Whey caramel: Sweeten and cook it down into a rich, tangy caramel sauce (a favorite in my kitchen).
- Smoothies: Add a splash for a natural protein boost.
- Fermentation starter: Use whey to kick-start fermenting vegetables, sauerkraut, or sourdough.
On the Homestead:
- Feed animals: Pigs, chickens, and dogs (in small amounts) love it.
- Water plants: Dilute 1:10 with water and use as a mild fertilizer.

FAQ
For the best results, use raw milk that is 24 hours old or less. Milk that fresh, when properly chilled to under 40°F right after milking, gives you clean flavor, reliable curd formation, and perfect stretch.
- Same-day fresh milk → Ideal for mozzarella.
- 24–48 hours old → Still works well, just be mindful that curds may acidify faster.
- Older than 48 hours → The natural bacteria start to lower the pH, which can cause grainy curds or weak stretch. Save this milk for cultured cheeses like cheddar or colby instead.
Citric acid needs to be stirred into cool milk (around 55°F) so the acidity is distributed evenly before the milk heats up. If you add it after the milk is already warm, the sudden acid shock can cause the proteins to clump too quickly—leaving you with curdled, grainy milk instead of smooth curds.
Rennet works best when the milk is warm but not hot—around 88–90°F. At this temperature, the enzymes in rennet can rearrange the milk proteins so they form a firm curd. If the milk is too cool, the rennet won’t activate fully, and you’ll get soft or sloppy curds that don’t hold together. If the milk is too hot, the enzymes can weaken or die off, and the curd won’t set properly.
That's a Wrap!
Making your own mozzarella cheese might feel intimidating, but if I can go from grainy curds and failed stretches to pulling off glossy, perfect mozzarella every time—you can too. Once you taste that first warm, salty bite, you’ll know it was worth the effort. Start with a gallon of milk, follow these steps, and before you know it you’ll be shaping mozzarella like a pro.

Recipe

Homemade Mozzarella Cheese
Equipment
- Large pot or dutch oven
- slotted spoon
- thermometer
- heat-safe rubber gloves
- large bowl of ice water
- pH meter optional
Ingredients
- 1 gallon whole milk raw or store-bought, NOT ultra-pasteurized
- 1½ teaspoon citric acid dissolved in ½ cup cool water
- ½ teaspoon liquid rennet
- ¼ cup cheese salt or other non-iodized salt
Instructions
- Pour 1 gallon of milk into a large pot or Dutch oven. Place it on the stove and clip on your thermometer.
- Slowly heat the milk to 55°F, stirring gently. Add the citric acid solution while stirring in an up-and-down motion. Don’t over-mix. Continue heating slowly.
- At 88°F, stir in the rennet mixture with the same gentle up-and-down motion. Continue heating until the milk reaches 105°F, then cover the pot and let it sit for 5–10 minutes. Check the curd formation. You should see a firm curd that gives a clean break when cut.
- Use a long knife to cut the curd into 1-inch cubes. Let them rest for 5 minutes to firm up.
- Return the pot to the stove, and the salt and gently heat until the curds and whey reach about 150 - 170°F—hot enough for stretching but not boiling.
- With gloved hands or a slotted spoon, lift curds directly from the hot whey and begin stretching and folding them back on themselves. Dip them back into the hot whey often to keep them pliable and glossy. Continue until the cheese becomes smooth, elastic, and shiny. See troubleshooting below if your cheese isn't stretching.
- Sprinkle in an additional 1 teaspoon of cheese salt (or more to taste) and knead it in as you stretch. Keep dipping into the hot whey so the curds stay flexible.
- Shape the fresh mozzarella cheese into balls or logs. Dunk each mozzarella ball into a bowl of ice water for a few minutes to set the shape and cool it down.
Notes
- Fresh balls: Store the fresh cheese in the fridge in brine or tightly wrapped, and use within 3–5 days.
- Grated mozzarella: My favorite method besides simply eating it fresh! Grate immediately, spread on a baking sheet in a single layer, freeze, then bag up the frozen shreds for easy use straight from the freezer.
- Long-term: Frozen shredded mozzarella keeps for 3–4 months without losing texture or flavor, but once it starts to get old, you will lose the gooey cheese pull and end up with more of a stiff topping when baked.
- Don’t toss the whey! Save it for baking bread, feeding to animals, or making a decadent batch of whey caramel.

Comments
No Comments