How to Make Fresh Cheddar Cheese Curds
Learn how to make fresh cheddar cheese curds at home with milk, starter culture, rennet, and salt. These homemade cheese curds are soft, squeaky, and beginner-friendly. They’re one of the best parts of the cheesemaking process and surprisingly simple to make in your own kitchen.
If you’ve ever had fresh cheese curds straight from a creamery or cheese factory, you know why people love them so much.
They’re warm, salty, squeaky, and completely addictive.
The best part? Fresh cheddar cheese curds are so much easier to make than a full wheel of aged cheddar cheese.
These fresh curds are formed during the cheesemaking process before cheddar is pressed and aged into hard cheese. Instead of pressing the curd mass into a wheel, the curds are salted and enjoyed fresh.
This recipe walks you through exactly how to make fresh cheddar cheese curds step-by-step, including how to get that classic squeaky texture.
These Are Fresh Cheese Curds — Not Fried Cheese Curds
When most people hear “cheese curds,” they picture battered deep-fried cheese curds served at fairs, restaurants, or Wisconsin supper clubs.
But fresh cheese curds are the actual curds formed during the cheesemaking process, no deep fryer or hot oil required!
Fresh cheddar cheese curds are:
- soft and springy
- lightly salty
- rich and buttery
- famous for their squeak
Fresh cheddar cheese curds are essentially young cheddar before the cheddaring process and aging are completed.
And if you ask me, they’re best eaten fresh and warm straight from the draining rack.
Why You’ll Love This Homemade Cheese Curds Recipe
- Beginner-friendly cheesemaking project
- No cheese press needed
- Faster than making aged cheddar
- Easy to customize with herbs and seasonings
- Uses simple cheesemaking ingredients
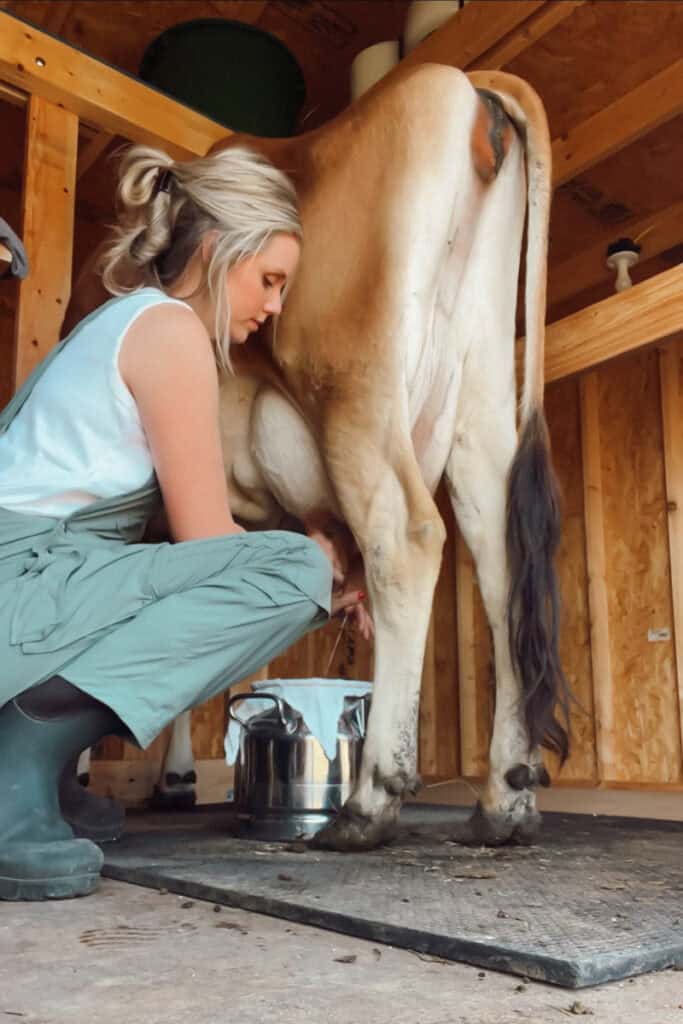
I’m Meg, a fifth-generation farmer and homesteader on our 20-acre farm in Kansas. I’ve spent years milking cows and experimenting with turning that milk into cheese for my family. Cheesemaking is just a part of our everyday life, and fresh cheddar cheese curds are one of my favorite beginner projects to teach because they’re approachable, forgiving, and incredibly rewarding.
What Makes Cheese Curds Squeaky?
That classic squeak comes from the fresh protein structure in the curds.
When fresh curds rub against your teeth, the tightly woven proteins create that signature squeaky texture.
The squeak is strongest:
- the same day they’re made
- while still slightly warm
- before refrigeration
Once refrigerated, the curds soften slightly and lose some of the squeak, though the flavor is still delicious.
As an amazon associate, this post contains affiliate links, which means I make a small commission at no extra cost to you. See my full disclosure here.
Ingredients for Fresh Cheddar Cheese Curds
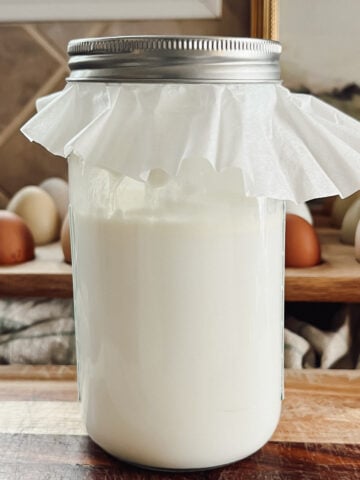
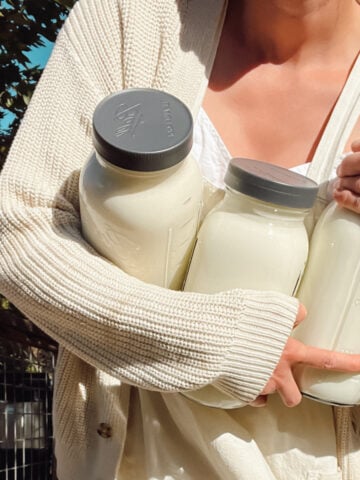
2 gallons whole milk
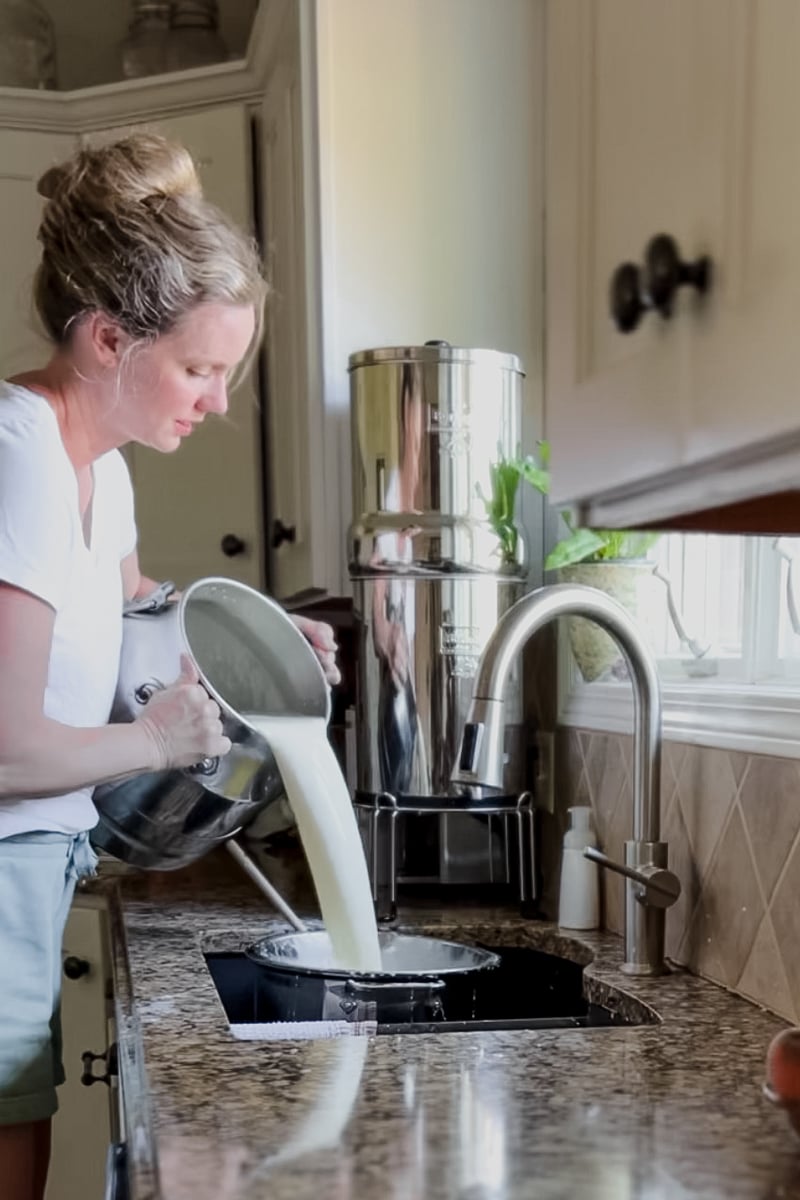
Raw milk produces incredible flavor and texture in homemade cheese curds, but store-bought whole milk also works well. Today I'm using fresh milk (pictured above) from our cow, Rosie. You can learn more about the pros and cons of fresh vs. pasteurized milk for cheesemaking in my recent post Raw Milk vs Pasteurized Milk for Cheesemaking (Flavor, Yield + Results).
Avoid ultra-pasteurized milk, which often struggles to form a proper clean break.
⅛ teaspoon mesophilic culture
Mesophilic culture acidifies the milk and develops cheddar flavor. I like to use The Milkman cheddar culture.
¼ teaspoon calcium chloride (optional)
Especially helpful when using pasteurized milk because it improves curd formation. I do not include calcium chloride when I'm using fresh raw milk.
½ teaspoon liquid rennet
Rennet coagulates the milk and forms the curd. I use liquid veal rennet to avoid genetically engineered ingredients. I share more about the different types of rennet and why I personally choose traditional rennet in this reel here.
2 tablespoons cheese salt
Use fine, non-iodized cheese salt for best results. I've used Redmond's Real Salt before and my family didn't like how the cheese looked 'peppered' from the color variation.
½ teaspoon annatto
This is an optional ingredient used to make the cheese orange. Annatto does not change the flavor or texture of the curds.
Cheesemaking Equipment Needed
- Large milk pot or Dutch oven
- Thermometer
- Long knife or curd knife
- Slotted spoon
- Large bowl
- Colander or over-the-sink strainer (my favorite!)
- Cheesecloth or butter muslin
- Mesh draining mat or rack
If you'd like more information and shopping links for the supplies I recommend using (and which ones not to waste your money on!), read my post Cheesemaking Equipment for Beginners.
How to Make Fresh Cheddar Cheese Curds
Step 1: Heat the Milk
Pour the milk into a large milk pot or Dutch oven and slowly heat it to 88°F over medium-low heat.
Slow heating helps prevent scorching on the bottom of the pot and gives the best texture. If you are bringing the fresh milk straight to the house from the cow, it will already be the perfect temperature! Nature is amazing!

Sprinkle the cheese culture over the surface of the milk and allow it to rehydrate for 5 minutes before stirring gently with an up-and-down motion (pictured above). Imagine you are trying to pull the milk from the bottom of the put up to the top, without creating ripples on the surface. Slow and easy.
If using calcium chloride, stir it in now.
Cover and let the milk culture undisturbed for 45-60 minutes. The temperature of the milk should stay around 88°F, give or take 5 degrees.
Step 2: Add the Rennet
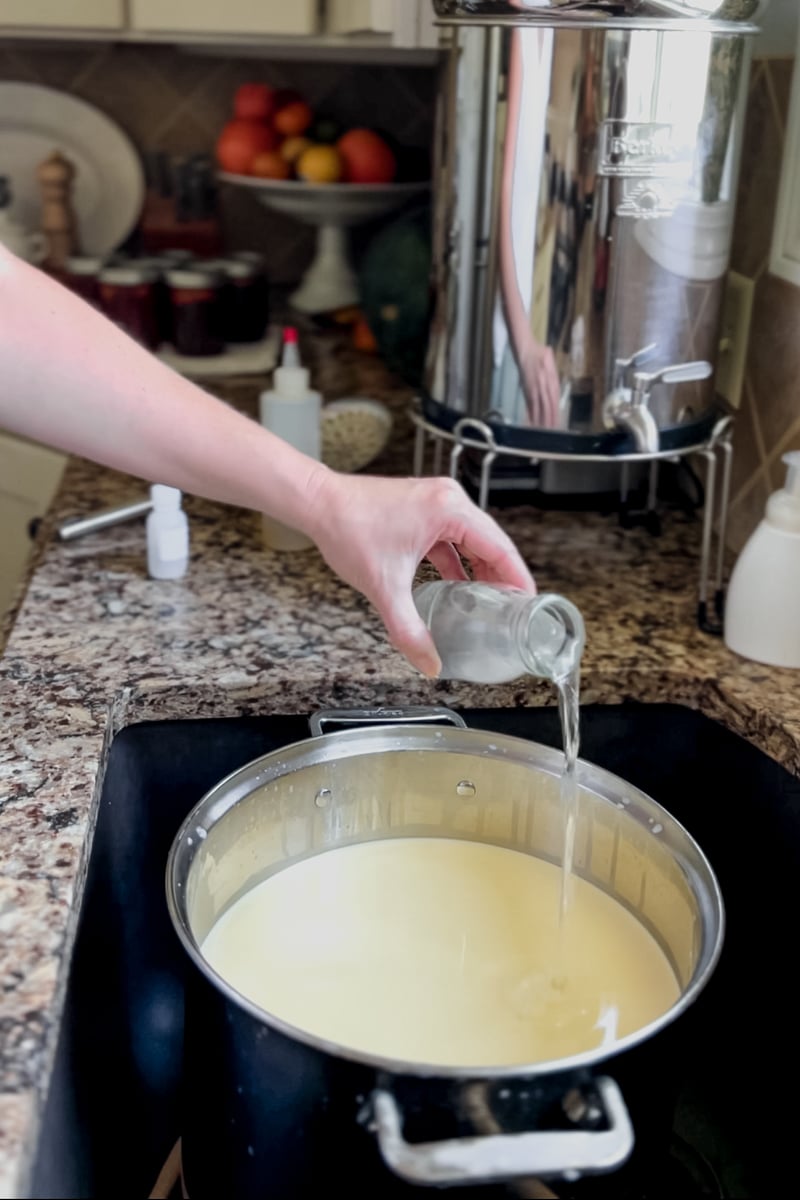
Dilute the liquid rennet in ½ cup of room temperature non-chlorinated water. When I pour the rennet over the cultured milk, I use a swirl pattern and try to cover as much of the surface as possible using a small stream rather than just aggressively dumping it all in one spot. Light-handed techniques are the best for cheesemaking and you'll see this theme over and over.
Slowly stir it into the milk using gentle up-and-down motions for about 30 seconds, again imagining that you are gently pulling the milk from the bottom of the pot up to the top.
Cover the pot and allow the milk to sit undisturbed at room temperature for about 45 minutes.
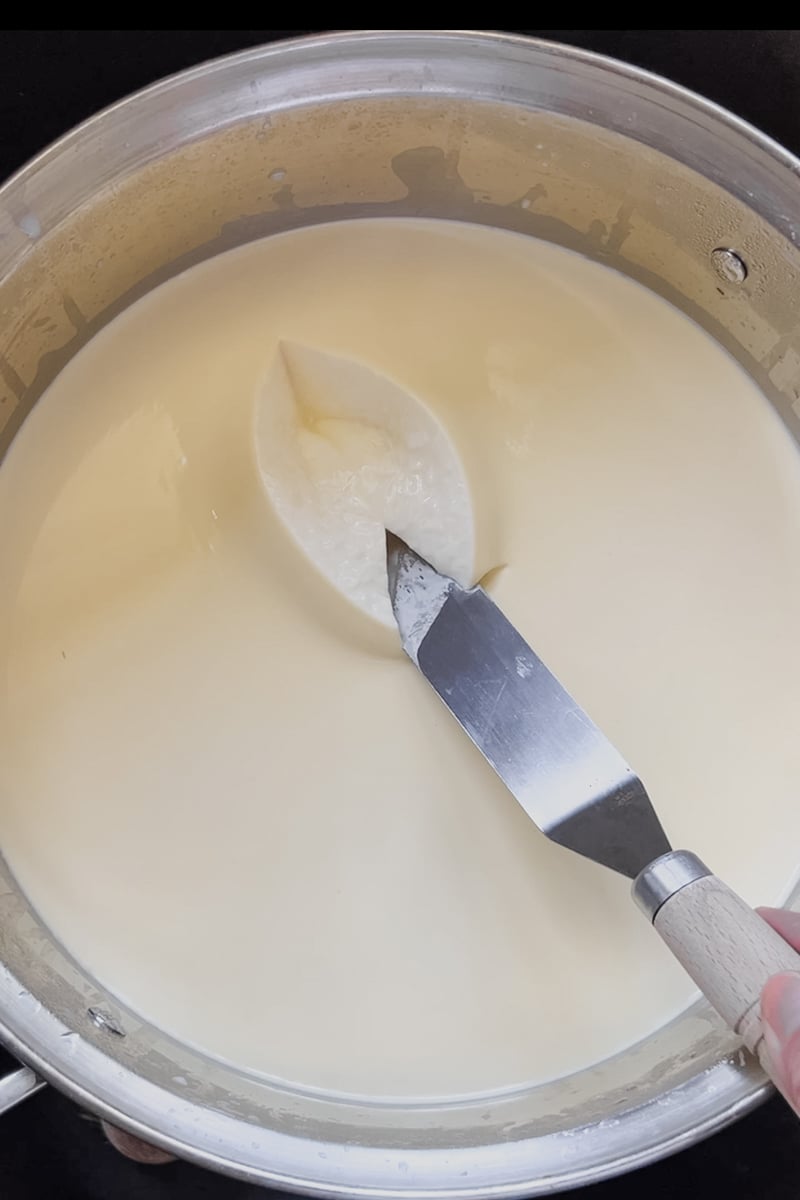
The milk should form a firm set and produce a clean break when tested with a knife (pictured above). This test is called a clean break (pictured above). If the curd doesn't break cleanly or still looks soft or yogurt-like, allow it to rest another 10–15 minutes before testing again.
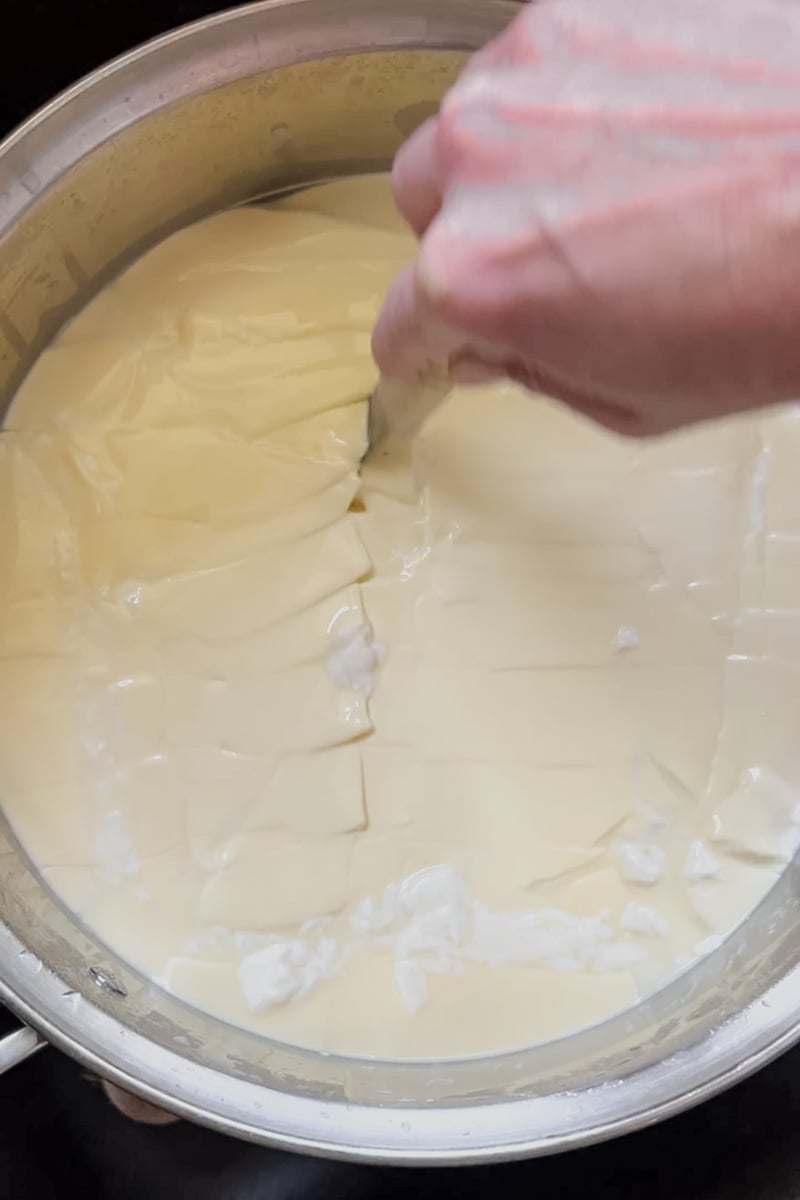
Step 3: Cut the Curd
Using a long knife, cut the curd into roughly ½-inch pieces (pictured above).
Try to keep the cubes relatively even in size so the curds release whey evenly.
Allow the cut curd to rest for 10 minutes before stirring. This helps the curds firm up before cooking.
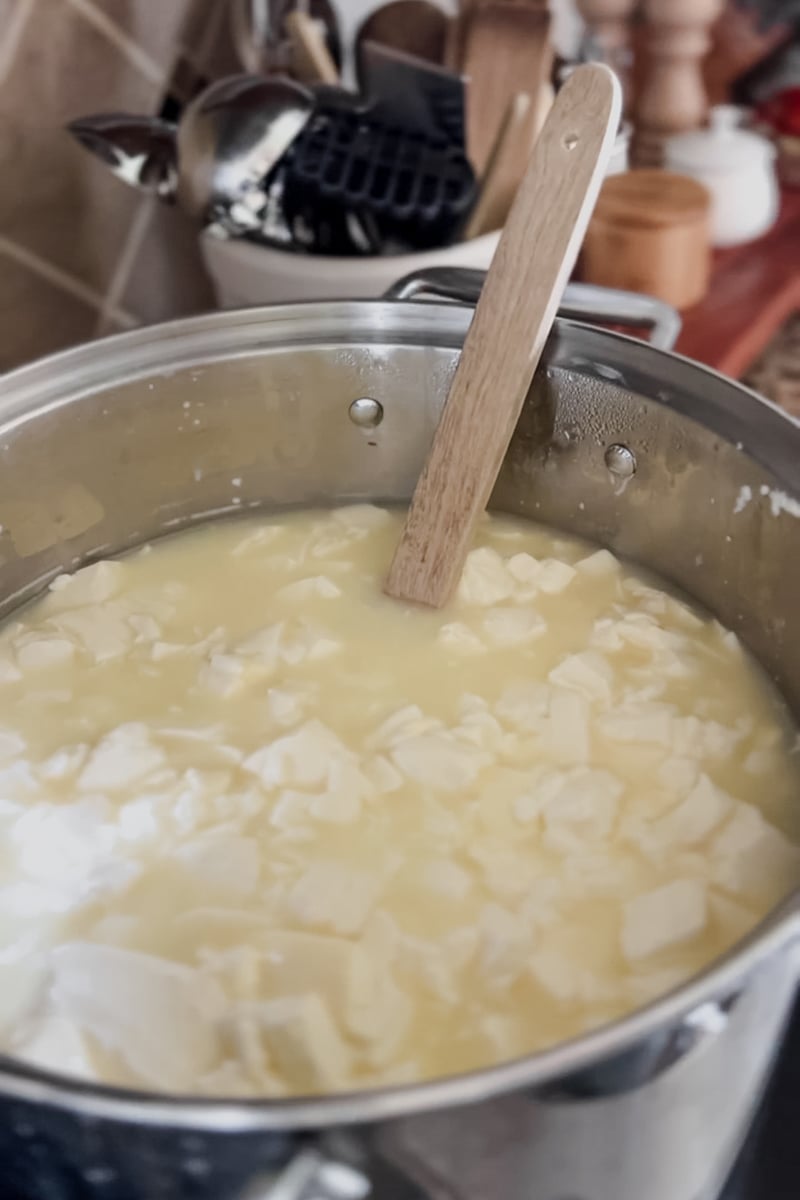
Step 4: Heat the Curds
Slowly raise the temperature to 100-102°F while gently stirring every few minutes (pictured above).
This process should take about 30 minutes and shouldn't be rushed.
Slow heating helps the curds release whey gradually without becoming rubbery.
As the cheesemaking process continues, the curds will:
- shrink slightly
- become firmer
- develop a springy texture
Hold the curds at 100-102°F for 10 minutes before moving on to the next step. The curds should feel springy and slightly firm, not mushy or falling apart.
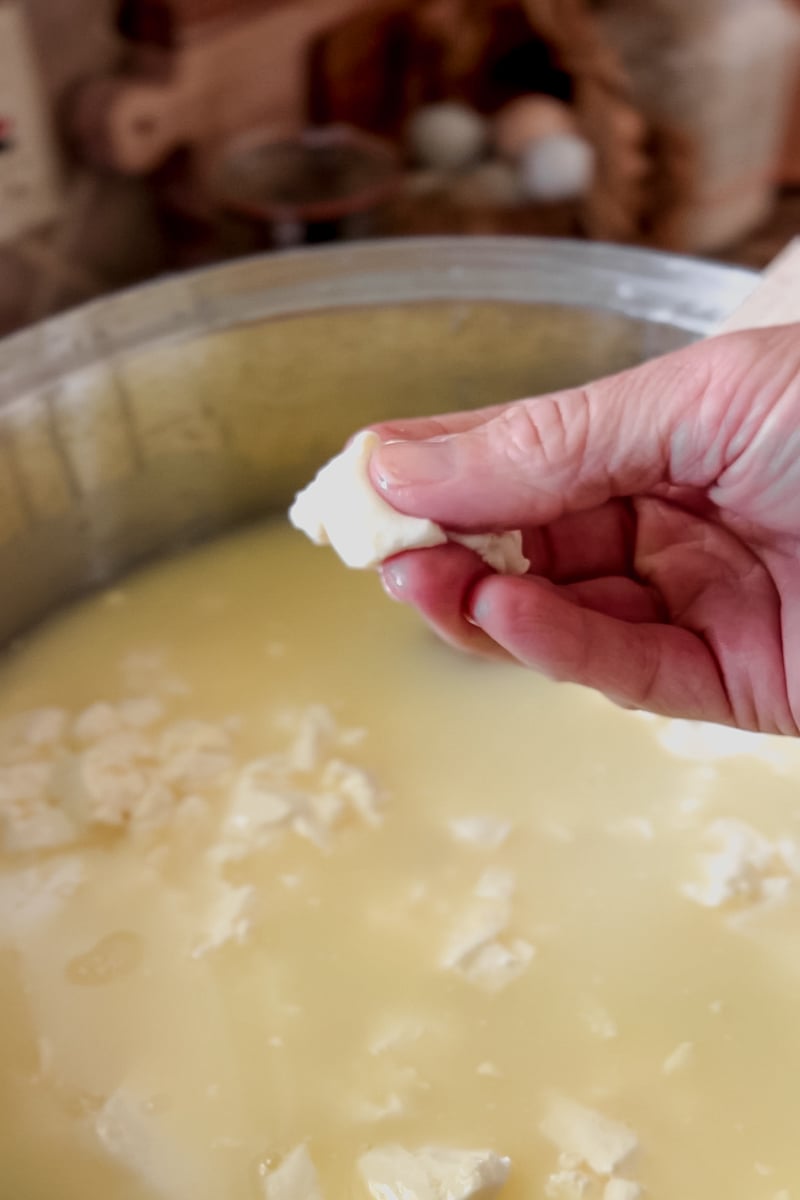
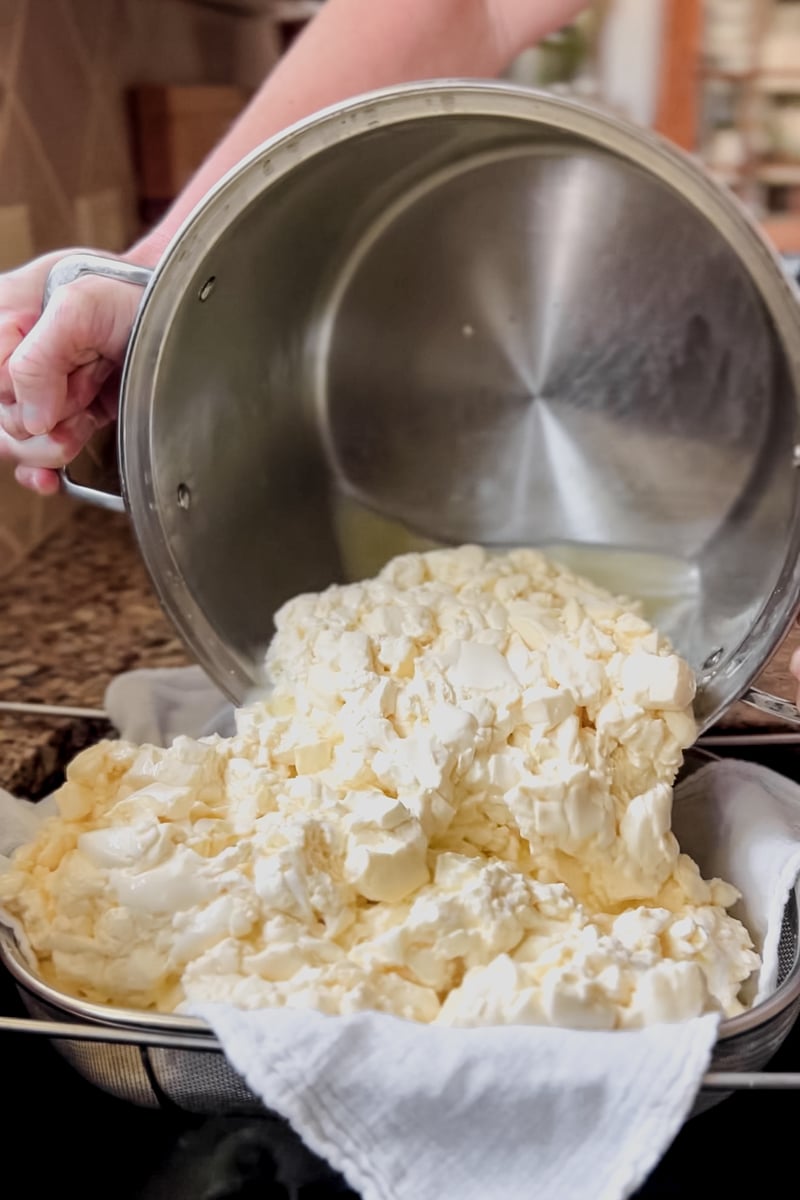
Step 5: Drain the Curds
Place a bowl under the strainer to capture the whey (it can be used in other recipes). Pour the curds into a cheesecloth-lined colander and allow the whey to drain completely.
At this point, you officially have fresh curds of cheese.
This is also usually where people start sneaking bites straight from the colander!
Let the curds drain for 20 minutes, then flip them over. I do this by wrapping the cheese cloth around them like a protective blanket. The curds will be flipped every 20 minutes 4 more times. This is called cheddaring and gives cheese curds their classic cheddar flavor!
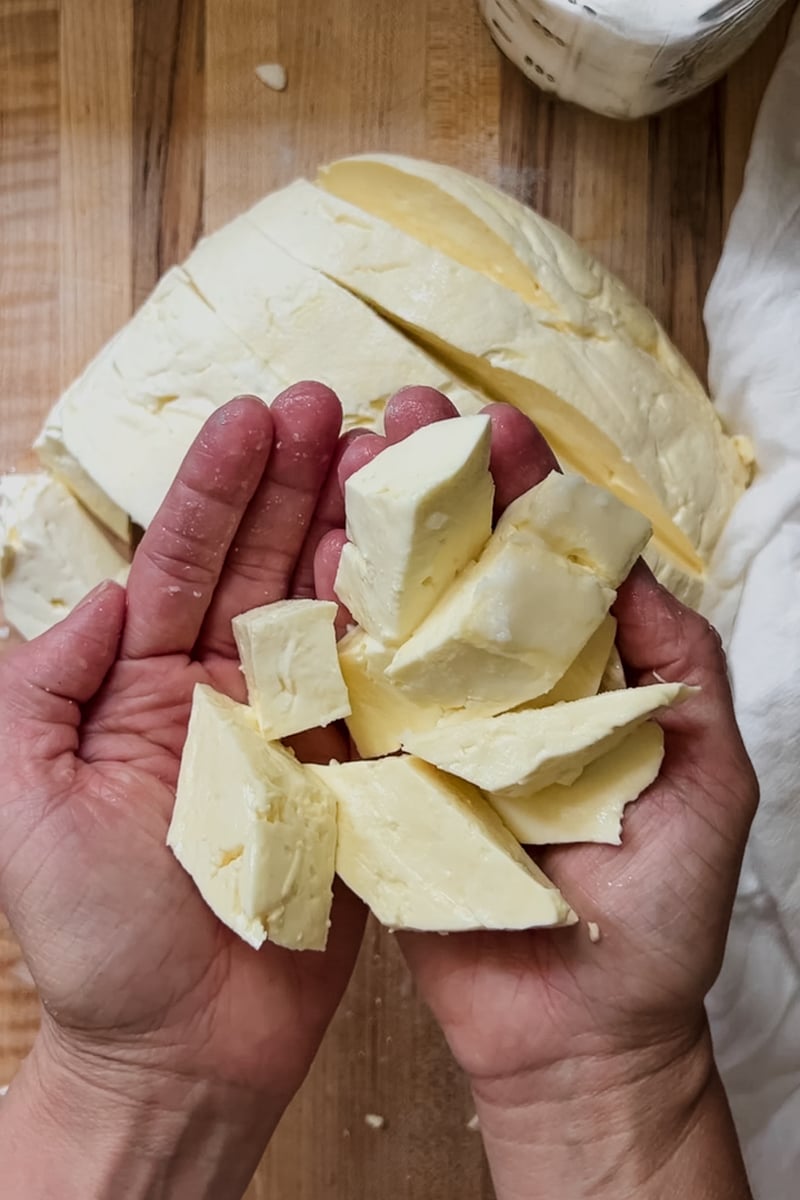
During this process, the curds slowly expel more whey while developing the texture and flavor cheddar is known for. It's okay if your cheddaring time goes a little long or short, it's more of a 'look and feel' step rather than a specific guideline. Once the whey has pressed out of the curds, transfer the slab of curds to a cutting board and cut into 1" pieces.
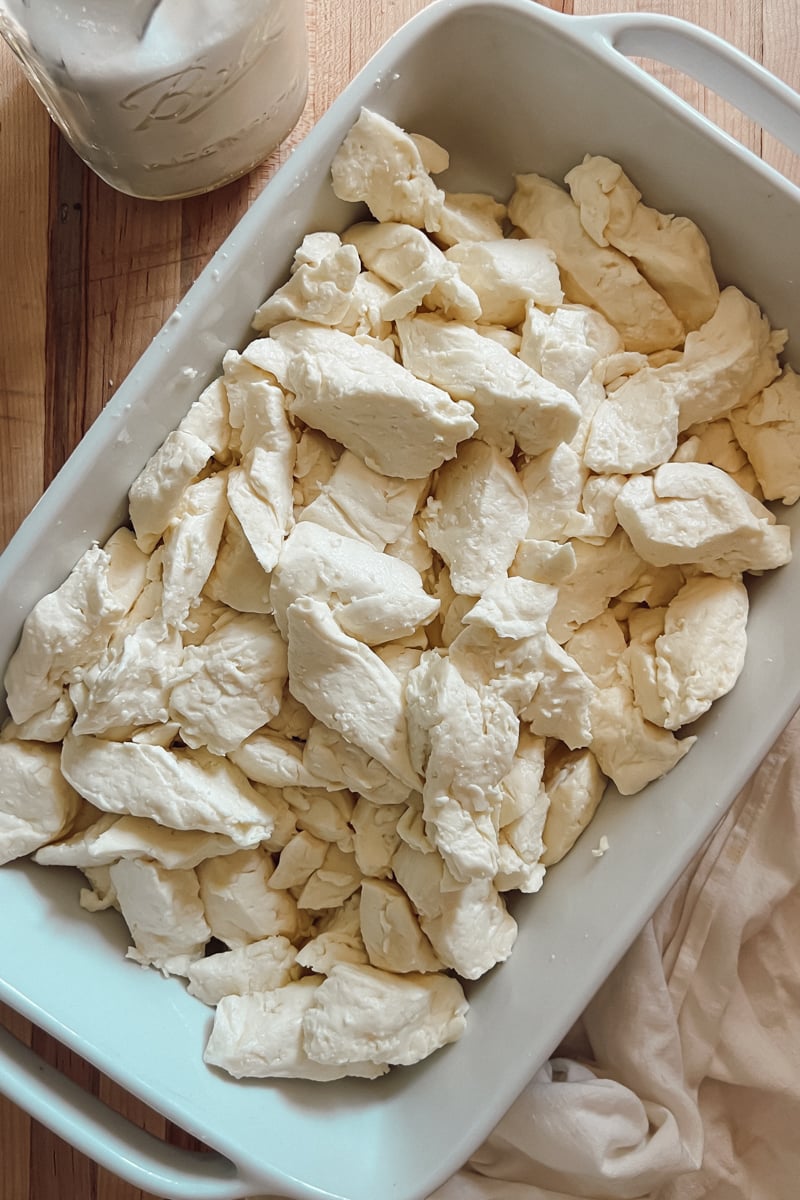
Step 6: Salt the Curds
Transfer the warm curds to a large bowl and sprinkle with cheese salt.
Gently toss the curds until evenly coated. I call this tumbling, and it helps to gently round the crisp edges of the curds and give them a more classic shape. It also helps to distribute the salt evenly.
Fresh cheddar cheese curds are especially good while still slightly warm!
Step 7: Let the Curds Rest
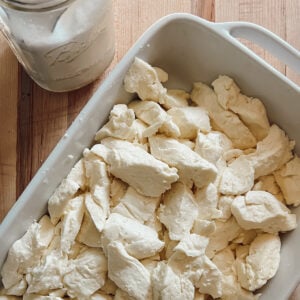
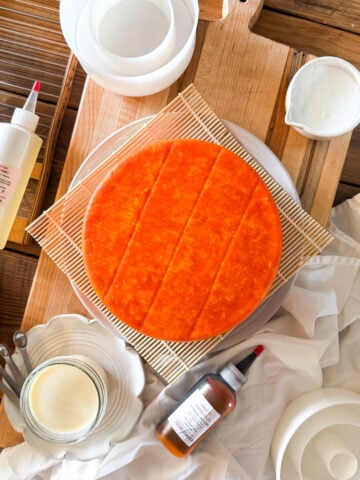
Spread the curds into a single layer on a draining mat or cheesecloth-lined rack. I use the same damp cheese cloth and mesh strainer that the curds had previously drained in.
Allow them to rest at room temperature for several hours or overnight.
This resting period and air drying helps:
- improve flavor
- firm the texture
- develop squeak
- create more authentic cheddar curds
In many parts of the country, fresh cheddar cheese curds are sold the same day they’re made at local cheese factories and creameries for this exact reason.

Recipe
Cheddar Cheese Curds
Equipment
- cheese cloth
- large cheese mold
- large stock pot
- slotted spoon
- thermometer
Ingredients
- 2 gallons milk raw or pasteurized (NOT ultra pasteurized)
- ⅛ teaspoon mesophilic starter culture
- ½ cup water cool and filtered
- ½ teaspoon Rennet liquid veal rennet is preferred
- ½ teaspoon annatto optional for orange color
- ½ teaspoon calcium chloride only necessary if using refrigerated or pasteurized milk
- 2 tablespoons cheese salt
Instructions
How to Make Homemade Cheddar Cheese Curds
- Pour 2 gallons of milk into a large stainless steel pot and slowly heat it to 88°F. If you’re using fresh raw milk, skip the heating and just filter it straight in from the cow — it’s already the perfect temp. Stir gently as it warms so the heat distributes evenly.
- Once the milk is at temperature, sprinkle ⅛ teaspoon of mesophilic starter over the surface. Let it sit for 5 minutes to rehydrate, then give it a gentle 30-second stir. Keep the milk at 88°F and let it ripen for 1 hour.
- Dilute ½ teaspoon liquid rennet and annatto (if you want orange colored cheese), plus calcium chloride(you only need this if you’re using refrigerated or pasteurized milk) in ½ cup of room temperature, non-chlorinated water. Pour it into the milk while stirring gently in an up & down motion for about 30 seconds so it’s evenly mixed. Now let it rest, undisturbed, for 45 minutes to 1 hour until it sets. Check for a clean break, then slip a knife in and if the curd separates neatly, you’re ready for the next step.
Cut, Heat & Strain the Curds
- Take a long knife and cut the curds into ½-inch cubes. Let them sit for about 10 minutes so they can firm up a bit before heating.
- Over the next 30 minutes, slowly heat the curds to 100°F (39°C), stirring gently to keep the warm curds from clumping. Once you hit 100°F, hold that temp for another 10 minutes with occasional stirring. You’ll notice the curds shrinking and firming up and they'll begin to sink to the bottom of the pot, and that’s exactly what you want.
- When the curds are firm and springy, pour off the whey. I like to line a mesh strainer or colander with cheesecloth and dump the curds in, saving the whey in case I need it later. Let them strain for about 20 minutes.
Cheddaring & Pressing
- This the beginning of the cheddaring phase, aka what that makes cheddar, well… cheddar. Take your drained curd mass and slice it into slabs. Stack them in your pot or on a board, then flip the stack every 20 minutes for about 2 hours. The texture will change as you go — the curds will get firmer, smoother, and a little more elastic.
- Once cheddaring process is done, cut those slabs into ½ inch-sized pieces. Sprinkle on 2 tablespoons of cheese salt and toss to coat evenly.
- Spread the curds on a cheesecloth-lined mesh rack and let them rest at room temperature for about 2-24 hours. This helps them firm up and develop a little more flavor.
Notes
Nutrition
Cheese Curds vs Aged Cheddar Cheese
Fresh cheese curds are essentially the early stage of cheddar before the cheddaring process and aging process are fully completed.
Instead of pressing the curd mass into a wheel of aged cheese, the fresh curds are salted and eaten immediately. That’s why they taste milder, softer, and fresher than traditional aged cheddar cheese.
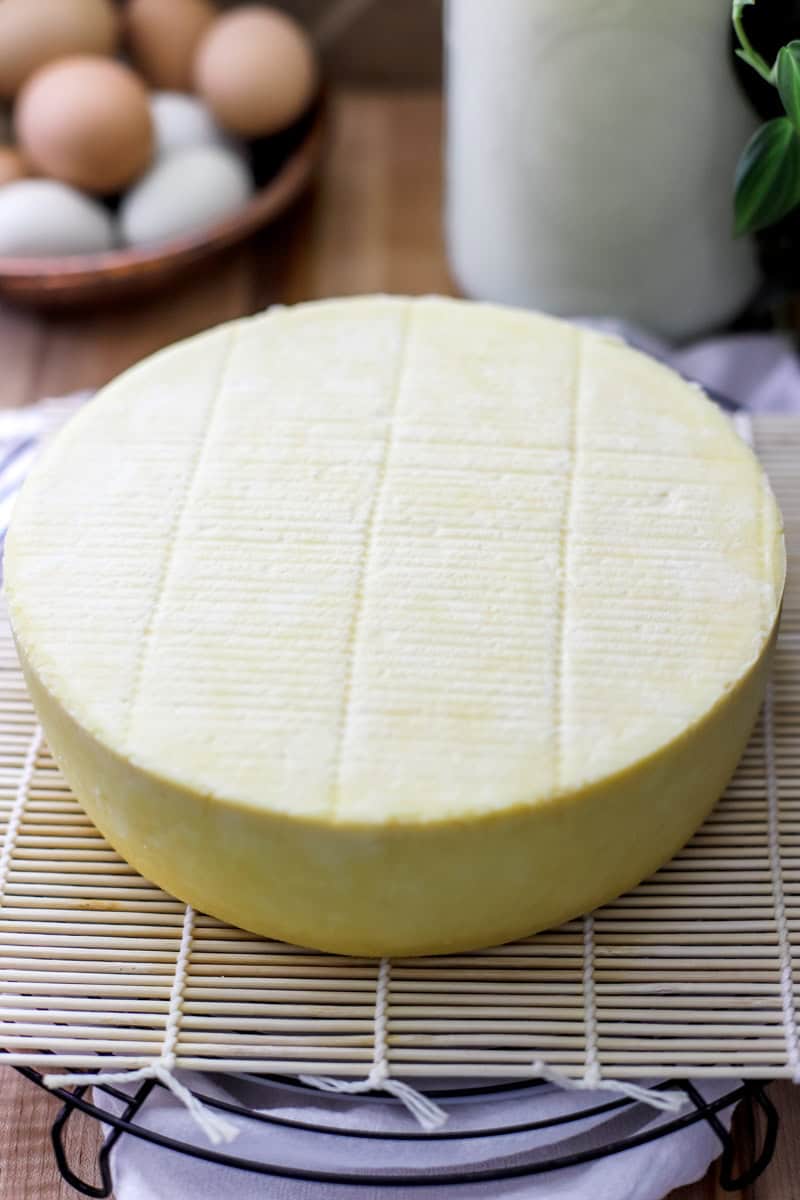
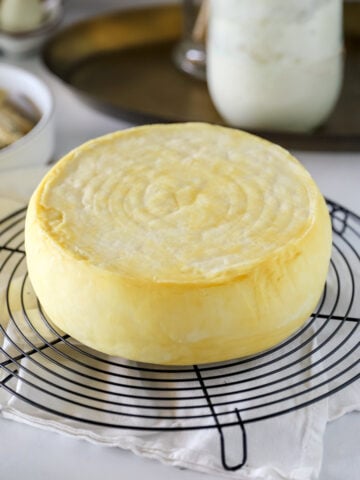
If you'd like to learn how to make cheddar, you can read my step-by-step instructions at How to Make Homemade Cheddar Cheese (pictured below) or watching my youtube video (above).
How to Store Homemade Cheese Curds
Store fresh cheese curds in an airtight container in the refrigerator.
They’re best eaten within the first couple days for maximum squeak and freshness.
Over time, the texture softens slightly and becomes less squeaky.
Flavor Variations for Fresh Cheese Curds
Once you make your own cheddar cheese curds, it’s hard not to experiment with flavors.
Some favorites around here:
- garlic herb curds
- dill pickle curds
- jalapeño cheddar curds
- smoked salt curds
- cracked black pepper curds
Just make sure any added ingredients are dry so they don’t introduce extra moisture.
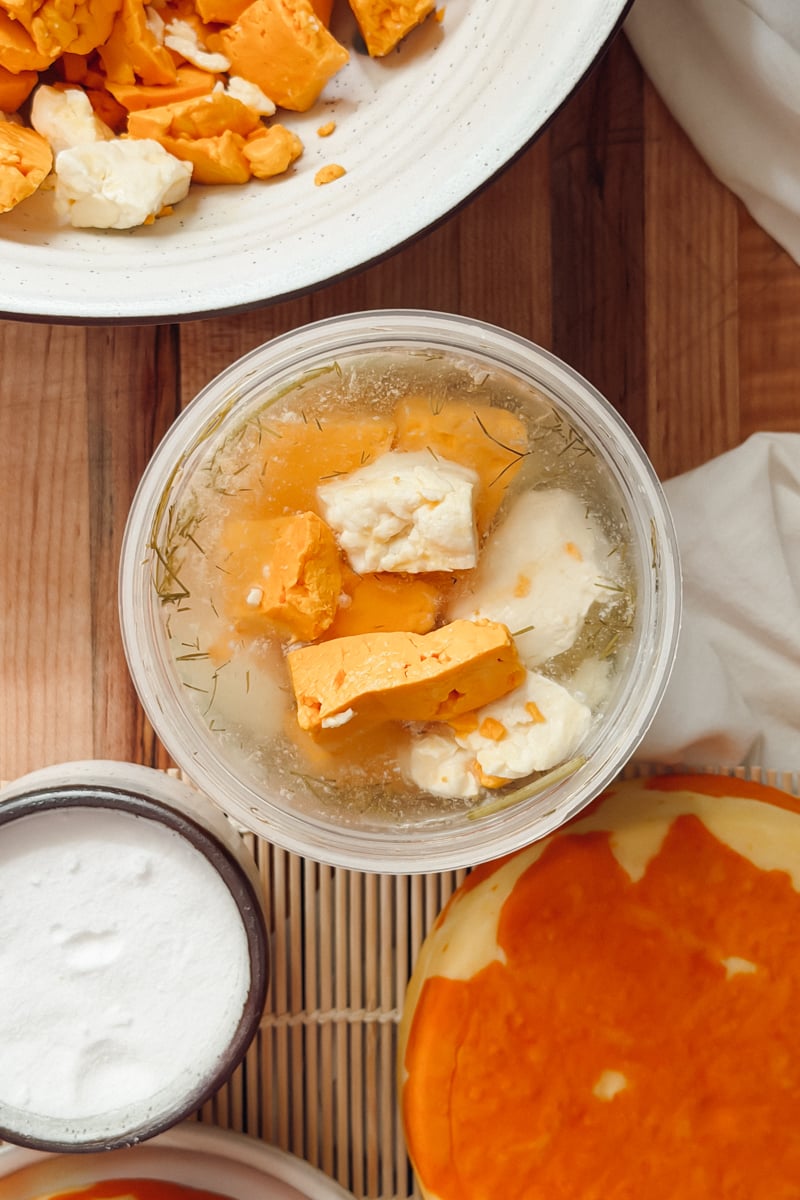
How We Use Pickle Brine for Cheese Curds
One of our favorite ways to store homemade cheese curds is in leftover pickle brine. Whenever we finish a jar of homemade dill pickles, I save the brine, garlic, and dill in the jar and toss the fresh cheese curds right in. The curds soak up all that tangy pickle flavor while the salty vinegar brine helps them stay firm and squeaky instead of turning mushy. My boys absolutely inhale them this way and it makes a great snack!
Troubleshooting Homemade Cheese Curds
Curds won’t form a clean break
This is usually caused by:
- weak rennet
- ultra-pasteurized milk
- incorrect temperature
- insufficient coagulation time
Curds are rubbery
Rubbery curds are often caused by:
- overheating
- cooking too quickly
- too much rennet
Curds are too soft
Soft curds can happen when:
- the curd wasn’t cooked long enough
- the milk didn’t fully coagulate
- temperatures were too low
Curds don’t squeak
Freshness matters most. For maximum squeak:
- eat them the same day
- allow proper draining
- avoid excess moisture
- don’t refrigerate too long before serving
Can You Make Cheese Curds with Raw Milk?
Absolutely.
Raw milk makes incredible homemade cheese curds because the natural enzymes and bacteria contribute amazing flavor and texture.
Fresh raw milk curds often taste richer and more complex than store-bought milk versions.
That said, store-bought whole milk still produces excellent results and is a great option for first-time cheesemakers.
Frequently Asked Questions
Yes. Fresh cheddar cheese curds are essentially cheddar before it’s pressed and aged into hard cheese.
The squeak fades with refrigeration and age. Fresh curds eaten the same day will squeak the most.
You can, but freezing changes the texture and reduces squeak.
Fresh cheese curds taste buttery, salty, slightly tangy, and rich with a springy texture. The flavor is very mild.
No. That’s one reason homemade cheese curds are such a great beginner cheesemaking project.
Yes! Fresh cheese curds are meant to be eaten fresh and are especially delicious while still slightly warm after salting.
More Homemade Cheese Recipes
If you loved learning how to make fresh cheddar cheese curds, here are a few more homemade cheese recipes to try next:
- Homemade Cheddar Cheese
- Homemade Gouda Cheese
- Homemade Mozzarella Cheese
- Raw Milk vs Pasteurized Milk for Cheesemaking
- Beginner Cheesemaking Equipment
- Quick Cream Cheese (Acid Set)
Final Thoughts
Making homemade fresh cheddar cheese curds is one of those old-fashioned kitchen skills that feels impressive the first time you do it.
Then suddenly you realize people have been turning milk into cheese in farm kitchens for generations using simple ingredients and patience.
There’s something really satisfying about watching milk transform into warm squeaky curds right in your own kitchen.
And once you taste fresh homemade cheese curds warm from the draining rack, it’s hard to go back to store-bought versions.

Comments
No Comments