How to Make and Maintain a Clabber Culture
There’s something fascinating about watching milk slowly transform on your kitchen counter.
Long before freeze-dried starter packets existed, cheesemakers relied on living dairy cultures to ferment and preserve milk naturally. One of the oldest and simplest methods was clabber, a traditional fermented milk culture that works a lot like a sourdough starter.
And lately, clabber culture is making a huge comeback.
Homesteaders, cheesemakers, sourdough bakers, and fermentation enthusiasts are rediscovering this old-fashioned skill and realizing that clabber culture is surprisingly approachable once you understand what you’re looking at.
If the idea sounds a little strange at first, you’re not alone. I was skeptical the first time I tried it. But after years of working with raw milk, cheesemaking, and fermented dairy in my own farmhouse kitchen, clabber has become one of my favorite traditional dairy skills to maintain.

What Is Clabber Culture?
Clabber is raw milk that has been naturally fermented by beneficial bacteria already present in the milk. As the milk cultures, it thickens into a delicate yogurt-like consistency and develops a mild cultured flavor and aroma.
Traditionally, clabber was used in farmhouse kitchens long before commercial cheesemaking cultures existed. Instead of opening freeze-dried packets, cheesemakers often maintained living cultures from batch to batch using fermented milk.
That’s why so many people now refer to clabber as “the sourdough starter of cheesemaking.”
Like sourdough starter, clabber is:
- alive
- actively fermenting
- maintained over time
- refreshed with fresh food
- and influenced by its environment
Once a healthy culture is established, a spoonful of mature clabber can be used to culture fresh milk again and again.
The Natural Progression of Raw Milk
One of the things that fascinated me most when I first began working with raw milk was realizing how differently it behaves compared to store-bought milk as it ages.
Pasteurized milk often seems to move very quickly from “fresh” to simply spoiled. Most people have probably discovered an abandoned sippy cup or forgotten carton at some point and immediately recognized that sharp, rancid smell.
Raw milk behaves differently.
Instead of immediately putrefying, fresh raw milk often moves through recognizable stages of natural fermentation when left at room temperature. As beneficial bacteria begin consuming the milk sugars, the texture and smell gradually change.
First comes fresh sweet milk.
Then lightly cultured milk.
Then clabber.
As fermentation continues, the milk may eventually separate into curds and whey, which historically could be strained further into simple fresh cheeses like clabber cheese or cottage cheese.
That doesn’t mean raw milk cannot spoil or become unsafe. It absolutely can if handled improperly or contaminated. But traditional cultures around the world have relied on controlled fermentation for centuries as a way to preserve and transform dairy naturally.
Understanding that process completely changed the way I viewed milk, cheesemaking, and fermentation as a whole.

My First Attempt at Making Clabber Went Terribly Wrong
When I tried making my first batch of clabber, I had absolutely no idea what I was doing.
At the time, I wasn’t even milking cows yet. My friend Alyssa's first family milk cow freshened, and we were both completely fascinated by old-fashioned dairy skills. One morning she brought me a half-gallon mason jar of fresh raw milk, and we each decided to try making clabber in our own kitchens.
We filled large mason jars with milk, screwed the lids on tightly, and left them sitting on the counter.
That first ferment went horribly.
Instead of thickening into beautifully cultured clabber, the milk developed an awful smell after several days. The best way I can describe it is like a moldy washcloth that had been forgotten on the floor of a damp bathroom shower for weeks.
Around that time, my friend Katya had been watching my Instagram stories and gently reached out to explain a few mistakes I was making. I was trying to culture far too much milk at once, and sealing the jar tightly wasn’t creating the environment she personally recommends for maintaining clabber cultures.
Once I adjusted the process and followed her guidance, my next batch turned out beautifully. You can purchase Katya's book, The Art of Clabber, on her site or find her on instagram at Slavic Beauty Separator.
That experience taught me something important:
Healthy clabber should smell clean, mild, and pleasantly cultured, not rotten, putrid, or aggressively sour.
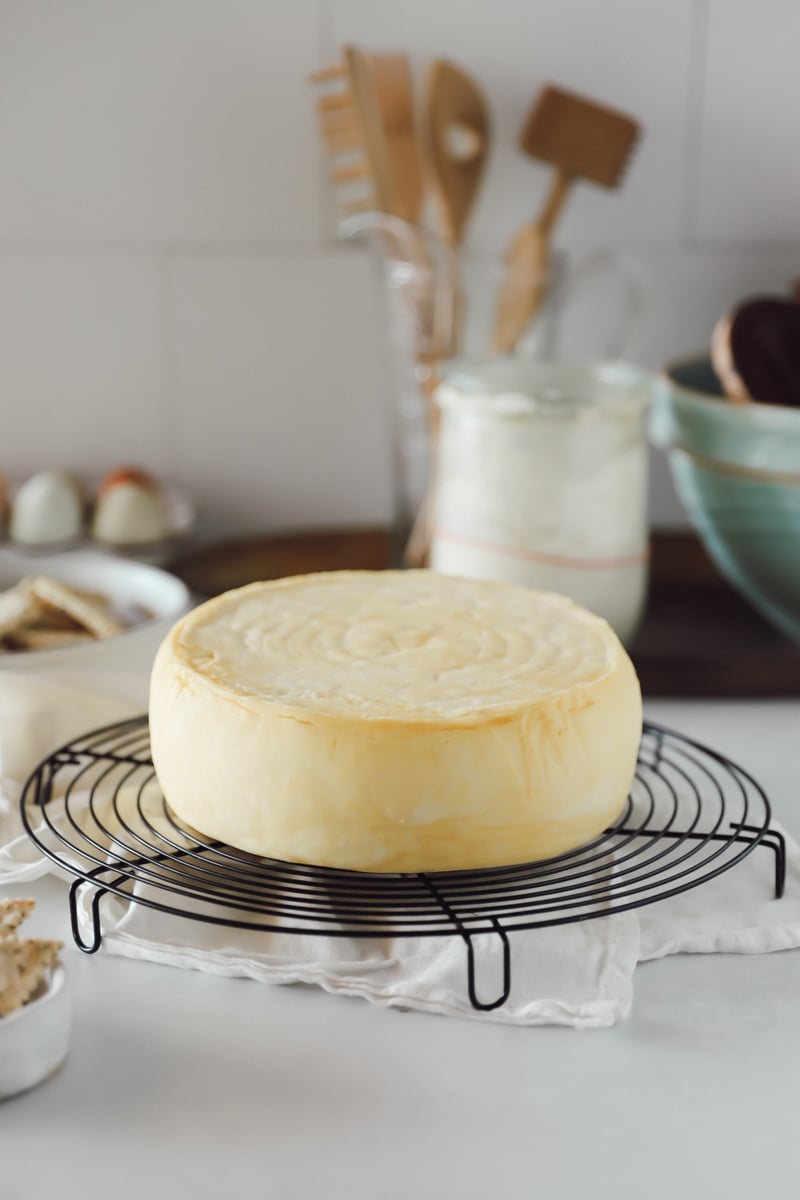
What Healthy Clabber Looks Like
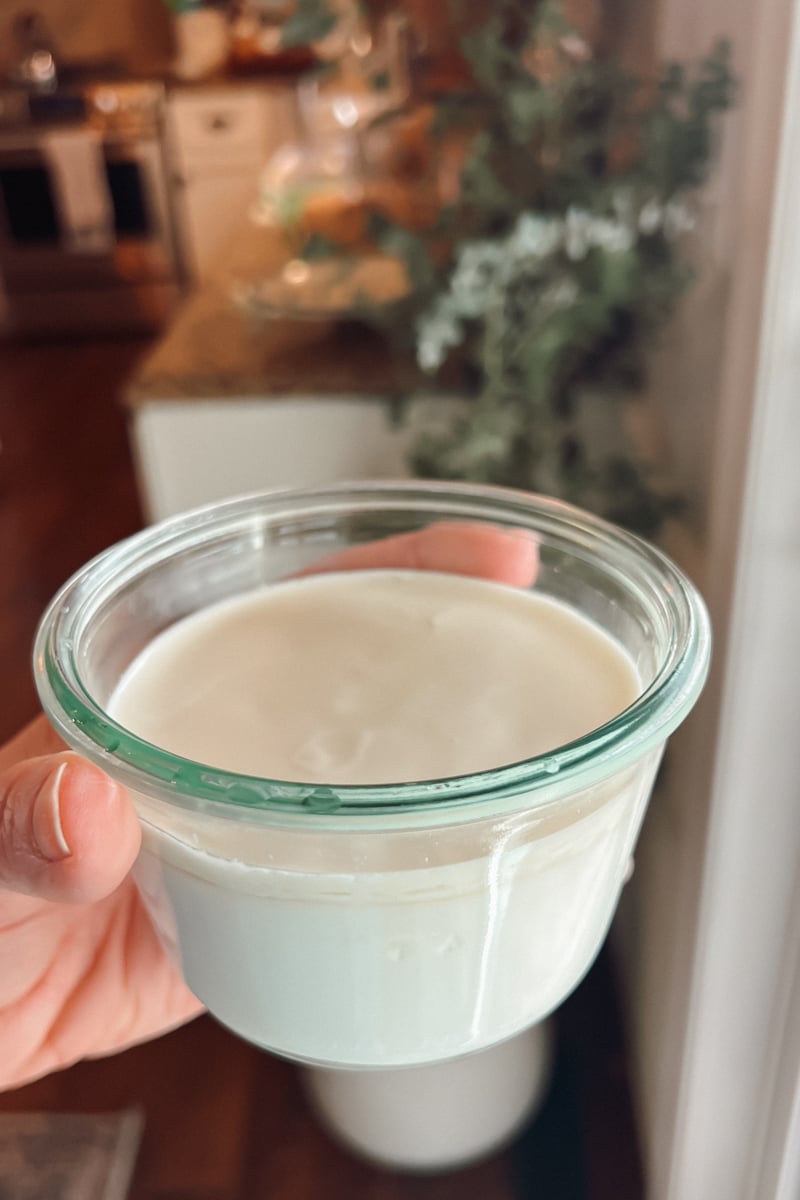
One of the biggest surprises for me was how delicate healthy clabber actually looks.
It reminds me of very young yogurt.
When you gently tilt the jar side to side, the surface bulges slightly but doesn’t slosh like liquid milk anymore. It looks softly thickened, almost like a light-set pudding. But once you break through the surface with a spoon, you realize how delicate it really is — thinner than pudding but thicker than kefir or buttermilk.
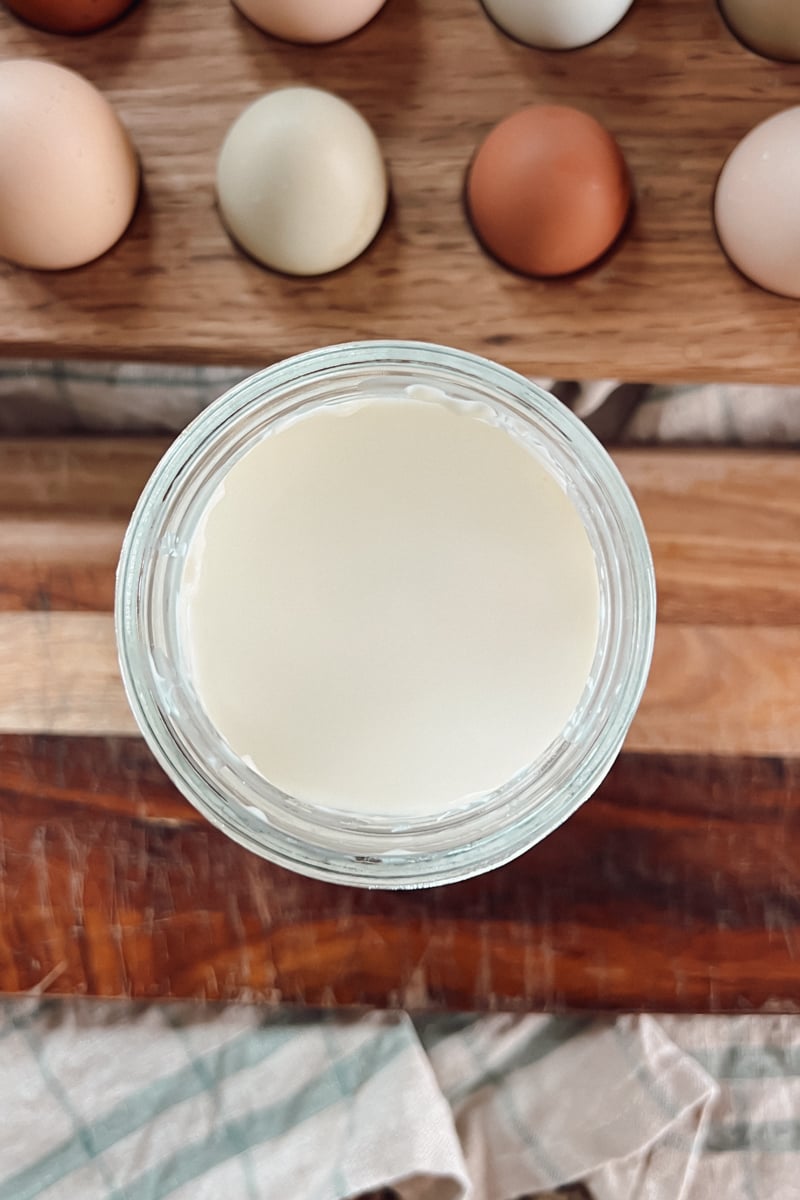
In my kitchen, properly cultured clabber usually looks:
- softly thickened
- smooth and glossy
- creamy
- gently set
- slightly wobbly
- and delicate rather than firm
If I leave the cream layer on top, it often develops a beautiful golden color from the beta carotene in our cows’ grass-fed milk. Sometimes I even notice tiny bubbles beneath the cream layer as the milk cultures and thickens.
What Healthy Clabber Smells Like
This is where beginners often get nervous.
Online descriptions sometimes make clabber sound intensely sour or sharply fermented, but healthy fresh clabber has always smelled surprisingly mild to me.
Creamy. Slightly sweet. Delicately cultured. Almost like plain yogurt before it develops a strong tang.
In fact, if my clabber starts smelling aggressively tangy or overly sharp, I usually consider it slightly over-fermented for the way I personally like to use it in cheesemaking.
Healthy clabber should never smell:
- rotten
- putrid
- moldy
- rancid
- or unpleasant
If it smells like mildew, dirty laundry, mold, or spoiled food, I start over.
Does Clabber Require Raw Milk?
Traditionally, clabber was made using raw milk because the naturally occurring bacteria present in raw milk drive the fermentation process.
Pasteurized milk behaves differently because heating destroys much of the native bacteria that naturally culture the milk.
Many people find it easiest to begin a clabber culture using fresh raw milk from a trusted clean source. In my experience, milk that has never been chilled tends to culture more quickly and reliably when starting a brand-new clabber culture.
Once my culture is established, though, I often feed and maintain it using refrigerated milk without any problems.
How to Start a Clabber Culture
Starting a clabber culture is surprisingly easy once you understand the basics.
Here’s the general process I personally use:
1. Start Small
One of my biggest beginner mistakes was trying to culture far too much milk at once.
Now I almost always use a clean jelly jar to start fresh clabber cultures. Small cultures establish more quickly.
Wide-mouth jars work especially well.
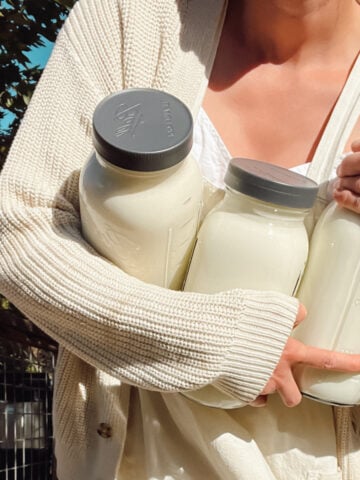
2. Add Fresh Raw Milk
Pour fresh raw cow's milk into a glass jar, leaving plenty of room at the top. I bring it straight into the kitchen from our dairy cow, Rosie, but refrigerated raw milk will work, too. While many cultured dairy products can absolutely be made using pasteurized milk and introduced starter cultures, traditional clabber relies on the naturally occurring bacteria already present in fresh raw milk.

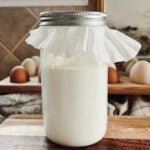
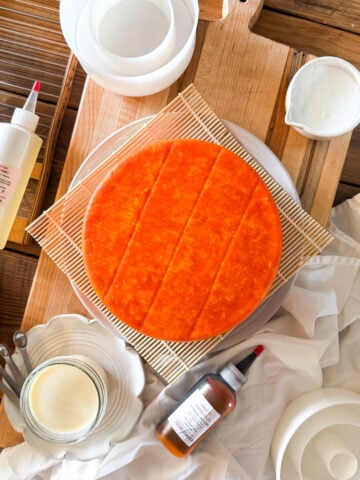
3. Cover the Jar With Something Breathable
I personally use:
- a coffee filter with a rubber band or canning ring (pictured above).
- or simple fabric jar covers I sewed from scrap fabric
I avoid airtight lids, plastic wrap, or beeswax wraps while the milk is actively culturing.
4. Leave the Jar Undisturbed
My clabber culture lives on a quiet section of my kitchen counter away from direct sunlight.
Our kitchen actually stays fairly dark because of the mature trees around our house, and I’ve found clabber cultures beautifully there as long as they’re left undisturbed.
The kids know not to swirl, shake, or stir the jar while it’s actively fermenting. Once the milk begins thickening, I prefer to leave it completely alone and let the fermentation happen slowly and naturally.
5. Watch the Texture and Smell
Depending on the ambient temperature in your kitchen, milk quality, and season, the timing can vary quite a bit.
In my kitchen, clabber cultures much faster during the summer months. I’ve often wondered whether that’s connected not only to temperature, but also to the cows’ fresh grass diet and the natural seasonal changes in the milk itself.
Historically, cheesemaking was often more active during spring and summer while butter making became more common during winter months. I can’t help but wonder if seasonal milk changes played a role in that rhythm too.
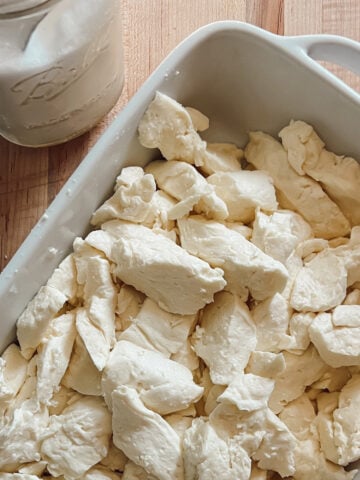
How I Maintain My Clabber Culture
Once a healthy culture is established, maintaining it becomes surprisingly simple.
I usually check mine morning and night.
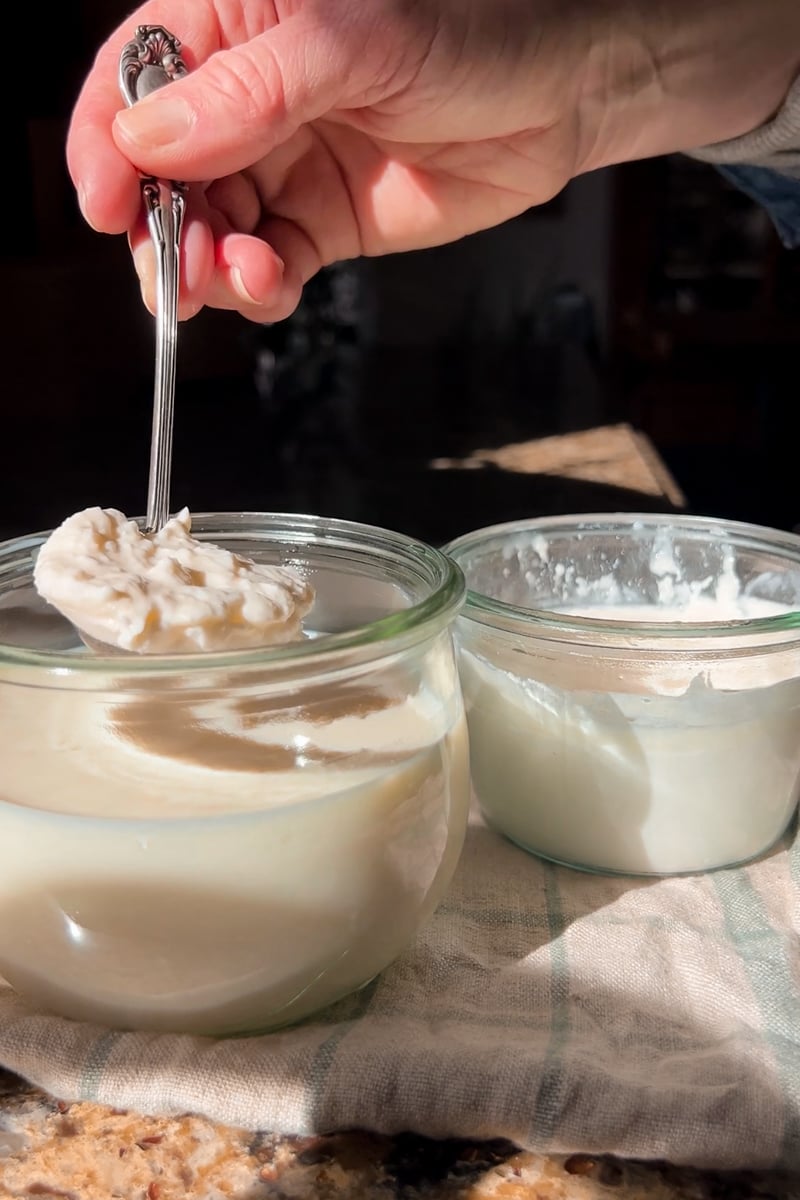
When it’s ready to be fed, I transfer a spoonful of mature clabber into a clean jar and add fresh milk. The amount I make depends entirely on what I plan to use it for that week (pictured above).
During seasons when my cows are dry and raw milk is scarce, I even keep milk frozen in ice cube trays so I can continue feeding my clabber culture without wasting extra milk.
The mature clabber either goes into the refrigerator or gets used immediately in cheesemaking.
Then the natural fermentation process starts over again.
One thing I’ve learned over time is that clabber doesn’t have to completely control your life.
If I know I’m going to be out of the house all day or life is especially busy, I’ll often move the entire culture into the refrigerator temporarily to slow the fermentation process down until I can pay attention to it again. It's very much like a sourdough starter in that way!
How to Make & Maintain a Clabber Culture
Materials
- 1 glass jar jelly jar, pint, or half-pint
- 1 rubber band or canning ring
- breathable cover such as a coffee filter
- spoon
- 1 pint milk raw
Instructions
- Pour fresh raw milk into a clean glass jar, leaving a little room at the top for stirring and fermentation.
- If maintaining an existing culture, stir a spoonful of mature clabber into the fresh milk. If starting a fresh culture, you won't add anything.
- Cover the jar with something breathable like a coffee filter secured with a rubber band or a fabric jar cover. Avoid airtight lids, plastic wrap, or beeswax wraps while the milk is actively fermenting.
- Place the jar on the kitchen counter away from direct sunlight and allow it to sit undisturbed at room temperature. Once the cream separates to the top, skim it off. Do not stir the milk.
- Check the culture morning and night as it ferments. Depending on the temperature of your kitchen and the freshness of the milk, the timing can vary quite a bit. A fresh culture can take up to 3-4 days to ferment, while an active culture could be ready in 12-24 hours.
- Watch for the milk to thicken into a softly set, delicate texture that bulges slightly when the jar is tilted but no longer sloshes like liquid milk.
- Smell the culture as it develops. Healthy clabber should smell mild, creamy, lightly sweet, and pleasantly cultured — similar to plain yogurt.
- If the clabber becomes sharply sour, watery, heavily separated, moldy smelling, or unpleasant, discard it and begin again with fresh milk.
- Once the clabber reaches the stage you prefer, either use it immediately for cheesemaking, baking, cultured dairy recipes, or transfer it to the refrigerator to slow the fermentation process.
- To maintain the culture long-term, continue feeding fresh milk to a spoonful of mature clabber as needed.
Notes
- Healthy clabber should smell mild, creamy, and pleasantly cultured, not rotten, moldy, or sharply sour.
- Fermentation timing will vary depending on kitchen temperature, milk freshness, and season. Summer cultures often ferment much faster than winter ones.
- Raw milk that has never been chilled typically cultures more quickly when starting a brand-new clabber culture.
- Leave the jar undisturbed while fermenting. Shaking or stirring the milk repeatedly can disrupt the delicate texture as it thickens.
- If the culture becomes watery, heavily separated, overly bubbly, or aggressively tangy, it has likely over-fermented.
- Refrigerating the culture will slow the fermentation process if you need to pause feeding for a busy day or overnight.
- Mature clabber can be used in cheesemaking, pancakes, muffins, biscuits, cultured butter, smoothies, and other traditional farmhouse recipes.
- Small batches are often easier for beginners to manage and establish more reliably than large jars of milk.
What Over-Fermented Clabber Looks Like
Over-fermented clabber usually becomes:
- more watery
- more separated
- more bubbly
- and much sharper smelling
The flavor and aroma become much stronger and tangier as fermentation continues.
That doesn’t necessarily mean it’s ruined immediately, but it usually means the culture has moved past the mild stage I personally prefer for cheesemaking.
Why Clabber Is Making a Comeback
I honestly think people are craving old-fashioned food skills again.
After years of ultra-processed convenience foods, there’s something deeply grounding about learning how previous generations preserved and cultured food naturally in their own kitchens.
Clabber also overlaps beautifully with the recent resurgence of:
- sourdough baking
- canning
- raw dairy
- cheesemaking
- gardening
- and traditional homestead skills
People want food that feels alive again.
And for many home cheesemakers, clabber offers a fascinating glimpse into the way farmhouse dairy traditions existed long before commercial starter packets became the norm.
What Can You Make With Clabber?
One of my favorite things about maintaining a clabber culture is how versatile it becomes once you get comfortable using it.
Most people immediately think about cheesemaking, but honestly, I use clabber all throughout my kitchen in place of yogurt, buttermilk, or other cultured dairy products.
Because clabber is naturally rich in beneficial bacteria and behaves similarly to other cultured dairy products, it adds beautiful texture and gentle acidity to baked goods without making them taste “fermented.”
Baking With Clabber
I especially love using clabber in pancakes, waffles, muffins, biscuits, and other old-fashioned baked goods in place of buttermilk or yogurt.
It makes batter rise beautifully and creates an incredibly soft, tender texture. The flavor stays very mild and neutral to me — more like buttermilk or plain yogurt than anything sharp or sour.
In a simple recipe like pancakes and muffins, it gives that fluffy old-fashioned bakery texture that’s hard to describe until you see it happen in your own kitchen.
Breakfast & Everyday Uses
Clabber is also surprisingly easy to work into everyday meals.
I often eat it:
- with fresh berries for breakfast
- drizzled with a little honey
- or blended into protein shakes for my boys after sports practices
Once the culture is established, it starts feeling less like a “project” and more like a normal part of your kitchen rhythm.
Cheesemaking With Clabber
Of course, one of the most traditional uses for clabber culture is using it for making cheese recipes the old-fashioned way.
Clabber acts similarly to a natural mesophilic culture by encouraging beneficial lactic acid bacteria to acidify and culture milk naturally.
I personally love using clabber in:
- Gouda cheese, Cheddar cheese or cheddar cheese curds - replace the freeze-dried starter culture with ¼-½ cup of active fresh clabber per 2 gallons of milk. The culture MUST be healthy and active.
- curds and whey or clabber cheese
- raw cottage cheese
- cultured butter
- sour cream & cream cheese
- homemade salad dressings & dips
In the next post in this series, I’ll walk through exactly how I use clabber culture in homemade cheesemaking and which types of cheese work best with it.
Frequently Asked Questions
No. Properly cultured clabber should smell clean, mild, and pleasantly cultured — not rotten or putrid. It is not the same as sour milk.
Not exactly. Both are cultured dairy products, but they rely on different bacteria and fermentation methods.
Yes. Clabber has traditionally been used as a natural starter culture in many farmhouse-style cheeses.
While actively culturing, many people keep clabber at room temperature. Refrigeration can help slow fermentation once the culture reaches the stage you prefer.
Yes. If it smells rotten, moldy, unpleasant, or develops unusual colors, it should be discarded.
Final Thoughts
The first time I successfully made clabber, it honestly felt a little like kitchen magic.
Not because it was difficult, but because I suddenly understood how generations of people quietly maintained living food cultures long before modern grocery stores and commercial starter packets existed.
It’s simple.
Slow.
A little messy sometimes.
And surprisingly beautiful once you understand what you’re looking at.
And if you’re interested in using clabber culture in actual cheesemaking recipes, the next post in this series will walk through exactly how I use it in homemade cheese.
More Dairy & Cheesemaking Recipes You'll Love
If you’re still deciding what type of milk to use for homemade cheese, make sure to read my post on raw milk vs. pasteurized milk for cheesemaking. I break down the differences in flavor, texture, fermentation, curd formation, and why milk quality matters so much when working with natural cultures like clabber.
New to homemade cheese? I also put together a beginner-friendly guide to the cheesemaking supplies and tools I actually use in my own kitchen, including cultures, molds, thermometers, cheesecloth, presses, and the simple setup I recommend for starting out at home.

Comments
No Comments