How to Make Colby Cheese: A Step-by-Step Guide for Beginners
As an amazon associate, this post contains affiliate links, which means I make a small commission at no extra cost to you. See my full disclosure here.
Making Colby cheese at home is a rewarding and simple process that yields a mild, creamy cheese perfect for slicing, melting, and snacking. Colby’s signature moist texture and gentle flavor make it a family favorite, and the best part is that you can make it with raw milk right in your kitchen!
The first time I made Colby, I followed the original recipe from Home Cheese Making by Ricki Carroll, and it was delicious. But you know me... I couldn’t leave it alone. I’ve made this cheese more times than I can count, tweaking and adjusting things a little each time until it turned into the version I trust completely. It’s creamy, mellow, melts like a dream, and it turns out beautifully every single time. If you’ve got good milk and a little patience, this recipe is the one you want.
Jump to:
Why You'll Love This Recipe!
- Simple, Beginner-Friendly Process: Colby cheese is an excellent choice for first-time cheesemakers, as it skips complicated steps like cheddaring and requires minimal aging compared to other hard cheese. It also tastes so much better than cheese from the grocery store!
- Washed Curd Method for Creamy Texture: The unique washed curd process lowers the acidity, resulting in a smooth, moist cheese that’s perfect for melting or slicing.
- Ready to Enjoy in Just a Few Weeks: Unlike aged cheeses that take months, Colby can be ready to eat in as little as 4-6 weeks, making it a quicker option for homemade cheese lovers.
- Perfect for Raw Milk Cheesemaking: This recipe is designed for raw milk, allowing you to create a rich, natural flavor that shines through in every bite.
Welcome to the Farm!
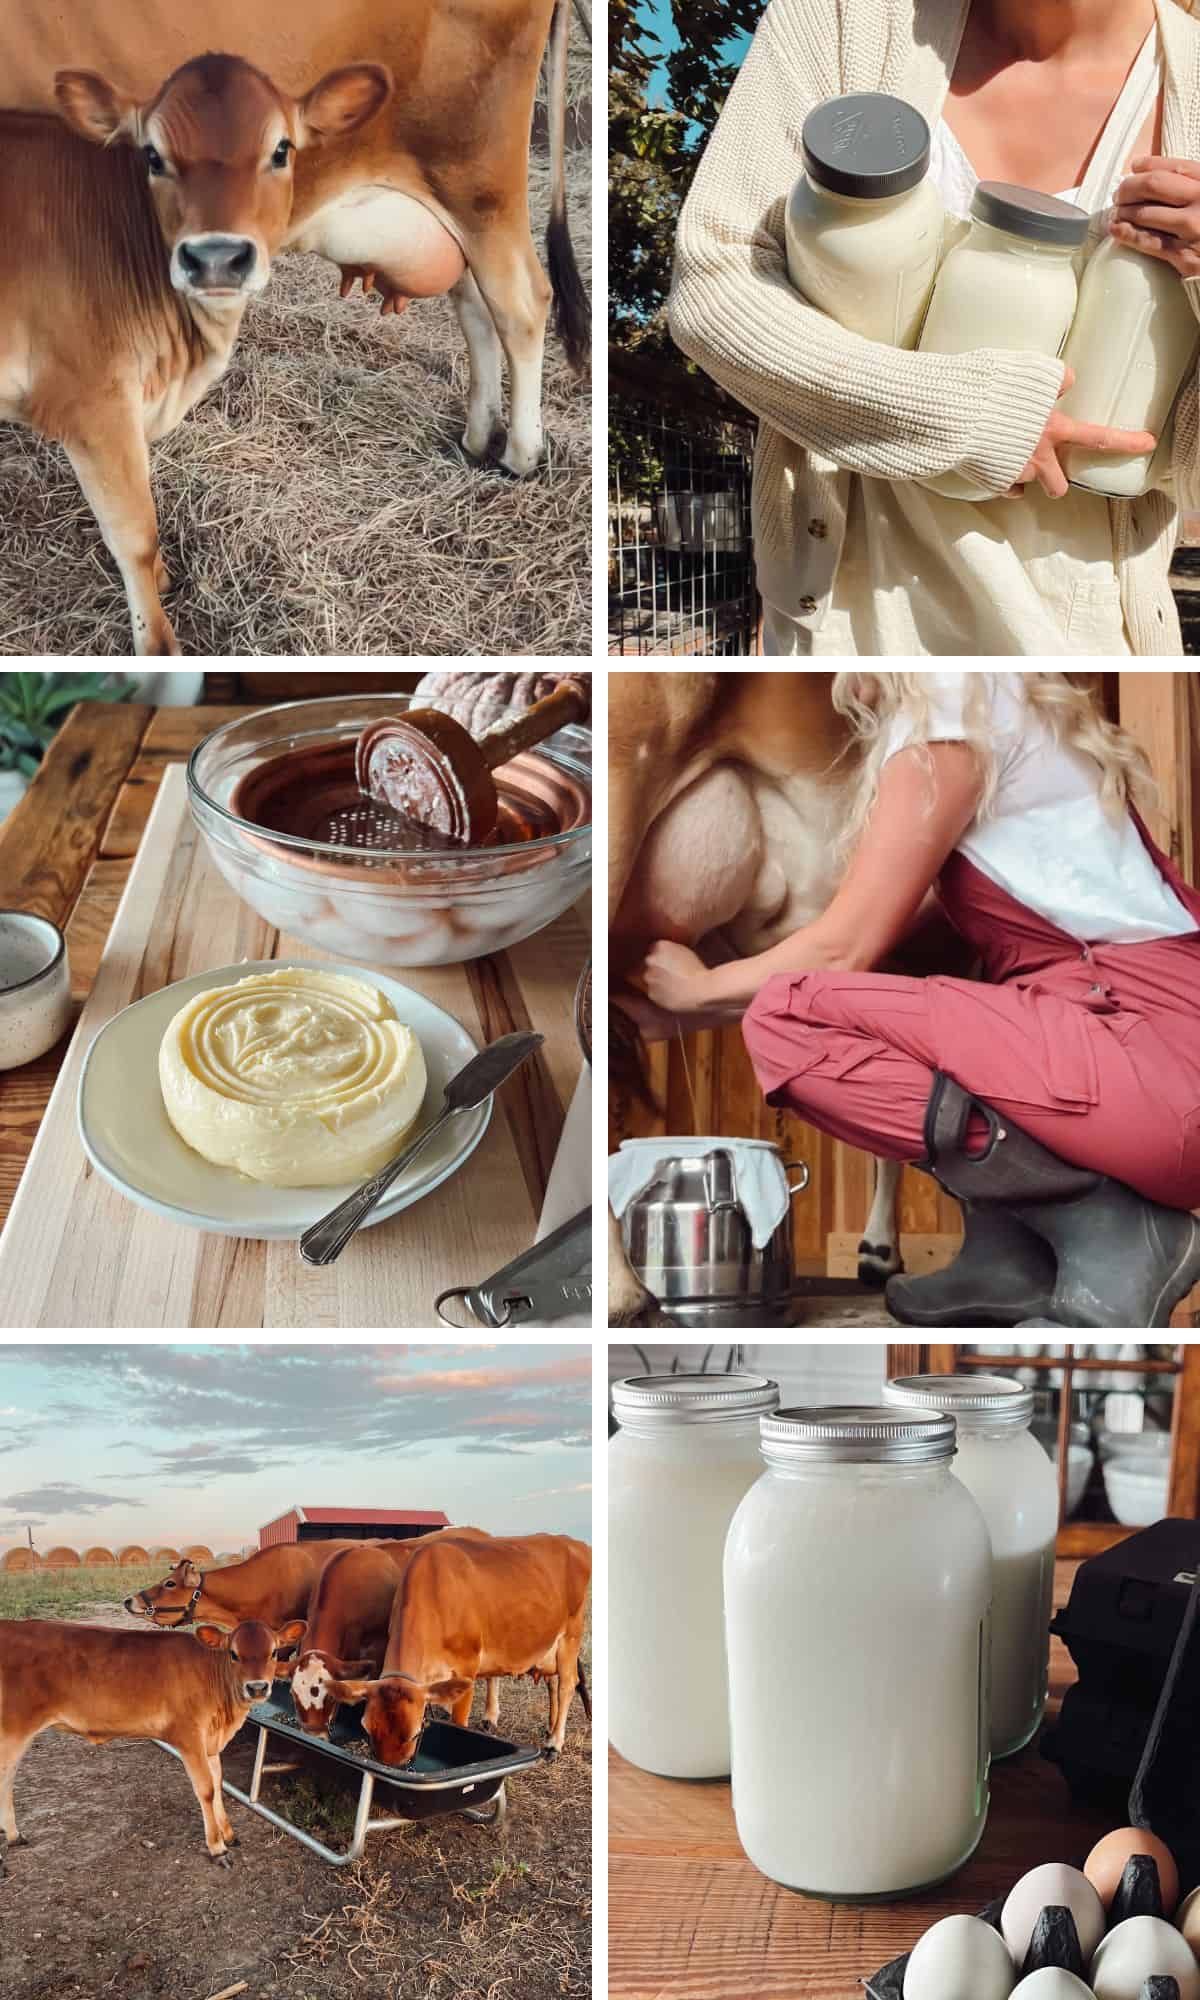
Hi, I’m Meg! Every morning, I milk our two Jersey cows to keep our family stocked with nutritious raw milk. From cheeses (like cheddar and mozzarella) and butter to yogurt, it’s a cornerstone of our homesteading life.
Depending on where my cows are in their lactation, our milk supply either flows abundantly or has us carefully rationing every drop. Here's a little glimpse over on instagram!
The cows pictured above are Rosie and Spice, my milking mamas. Spice’s calf, Maple, and Rosie’s calf, Daisy (who’s no baby anymore!), are part of the herd too. We practice calf sharing, which means the calves stay with their moms to nurse, and we milk for the extra. This system gives us the best of both worlds—happy calves, well-fed with robust immune systems, and flexibility in my milking schedule. Of course, there are challenges, like moms holding back the richest cream for their babies, but it’s a tradeoff that works well for us.
Once the calves are weaned, they’re reintroduced to the herd (like Daisy!). Some grow up to be future dairy cows here or find their place with another homesteader just starting their journey.
Helpful tools
- A cheese press- mine is called a Dutch press
- Large stock pot (3 or 4 gallon works great)
- Thermometer
- Measuring spoons
- A large cheese mold for shaping
- Cheesecloth or butter muslin
Ingredients
- Raw milk: This recipe is written for 2 gallons of milk, but can easily be scaled! I filter the milk and bring it to the kitchen immediately after milking. When I do this, the milk is naturally between 85-90F. If using refrigerated milk, for best results it needs to be less than 3 days old and warmed slowly over medium/low heat.
- Starter Culture- I'm using Flora Danica Starter Culture, but have also had success with this Mesophilic Cheese Culture. I prefer freeze-dried cultures, but some people have luck with using active kefir. It's never turned out correctly when I've tried it, so I don't recommend kefir starter cultures for beginners.
- Liquid animal rennet : Rennet comes in many forms, including tablets and vegetable rennet. I only make recommendations based on what I've been successful with, so for this recipe we are using liquid animal rennet.
- Annatto: This ingredient is optional if you prefer your Colby cheese to be orange. Annatto is made from the seed of the Achiote tree.
- Cheese brine: see note below
How to Make a Saturated Cheese Brine
- 1 gallon water
- 2 ¼ pounds cheese salt
- 1 tablespoon calcium chloride
- 1 teaspoon white vinegar
- Measure all ingredients into a large non-reactive pot, like stainless steel, and bring to a boil, stirring occasionally.
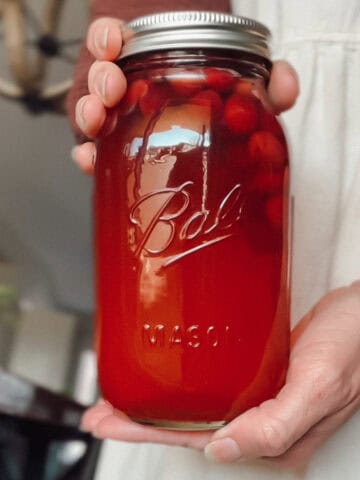
- Cool the saturated brine to room temperature before using. Store extra brine in mason jars in a cool, dark place. I like to make my brine while the cheese is culturing. This gives it plenty of time to cool fully before it's needed (and also before I get busy and forget about it!).
How to Make Colby Cheese
Ripen/Set Curd
- Start by slowly heating 2 gallons of raw milk to 86°F (30°C). Stir gently as it warms to avoid scorching.
- Sprinkle the mesophilic culture over the top of the milk. Let it sit for 2-3 minutes to rehydrate, then stir it in gently for about 30 seconds. Let the milk ripen for 1 hour, keeping the temperature steady at 86°F. A good trick is to place the pot in a sink filled with 86°F hot water.
- Dilute ½ teaspoon of liquid rennet in ½ cup of room-temperature, non-chlorinated water. If using annatto, dilute ¼ teaspoon in another ½ cup of water. Gently stir the diluted rennet and annatto into the milk using an up-and-down motion to mix it evenly.
- Let the milk sit undisturbed for 45-75 minutes until the curd sets. Check for a "clean break" by inserting a knife into the curd—if it comes out clean and the curd separates easily, you’re good to go. If not, let it sit a little longer. See the middle picture below for an example of what a clean break looks like and then cutting the curds.


Cut & Wash Curds
- Once the curd is set, cut it into ½-inch cubes with a long knife, or a curd knife if you have one. Let the curds rest for 5 minutes to firm up.
- Slowly heat the curds to 102°F (39°C) over 30 minutes, stirring gently with your hands or a long spoon to prevent clumping. The curds will shrink and firm during the heating process. Hold them at 102°F for 10 minutes.
- Drain about one-third of the whey until it’s level with the top of the curds. You can save this first round of whey for recipes like ricotta cheese or whey caramel! Add 70°F cold water to replace the whey, gently stirring to cool the curds to 90°F.
- Let the curds rest for 5 minutes. Again, pour out whey to the level of the curds and replace with cool water. Repeat this process 1-2 more times (do not save whey - it will be too diluted). Gradually cool the curds to 75°F. Washed-curd cheese reduces acidity, giving Colby its mild flavor. Once the curds reach 75°F, let them rest for 15 minutes.
- Pour off the whey and transfer the curds to a colander lined with cheesecloth. The whey will be very diluted by this point and isn't worth keeping for whey recipes.
Press/Brine
- Pack the curds into a cheese mold lined with cheesecloth. Follow these pressing steps:
- Lightly press at 10 lbs of pressure for 1 hour.
- Remove the cheese, flip it over, rewrap it in cheesecloth, and press at 20 lbs for 1 hour.
- Rewrap again and press at 40 pounds of pressure for 1 hour.
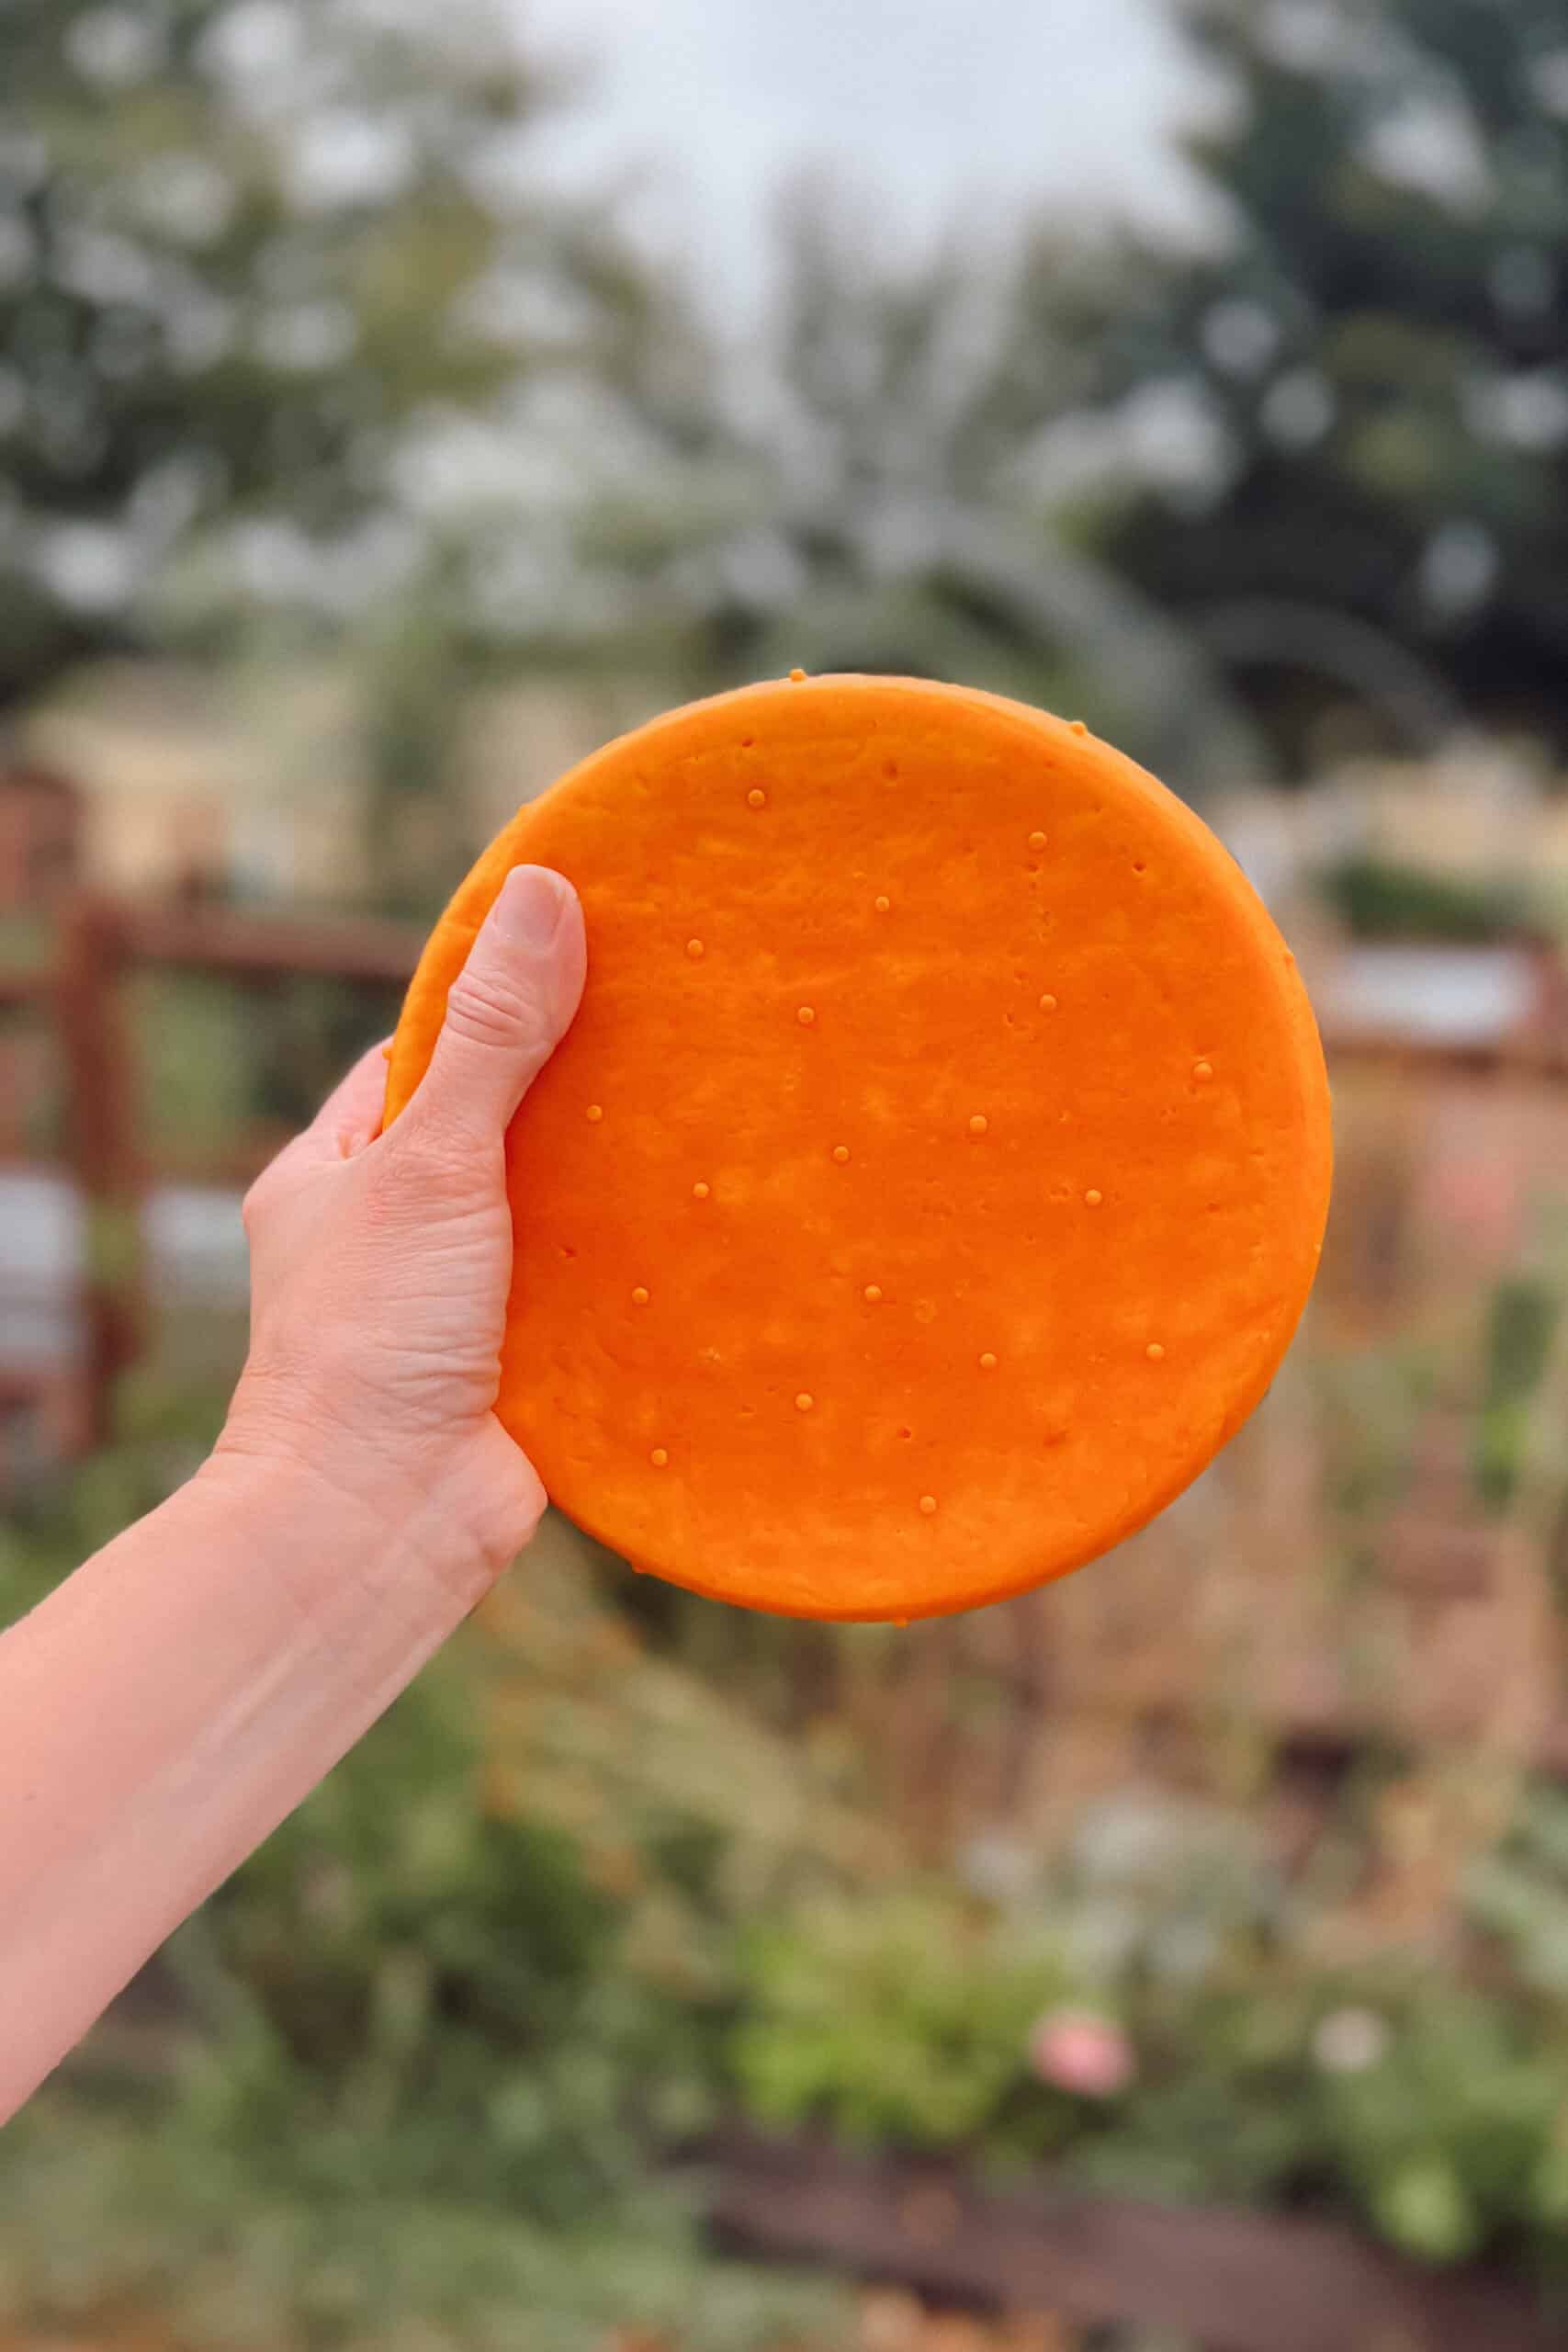
- Finally, rewrap and press at a heavy pressure of 50 lbs for 8 hours or overnight. NOTE: the bumps on my wheel of Colby are from performing the last press without a cheese cloth, per a recommendation I read in a cheesemaking book. Personally, I didn't like the nippled appearance, so I went back to using a cheese cloth for the final press.
- The total pressing time will be about 12 hours. Pressing a little longer will create a dryer textured cheese, shortening the pressing time will produce a softer Colby.
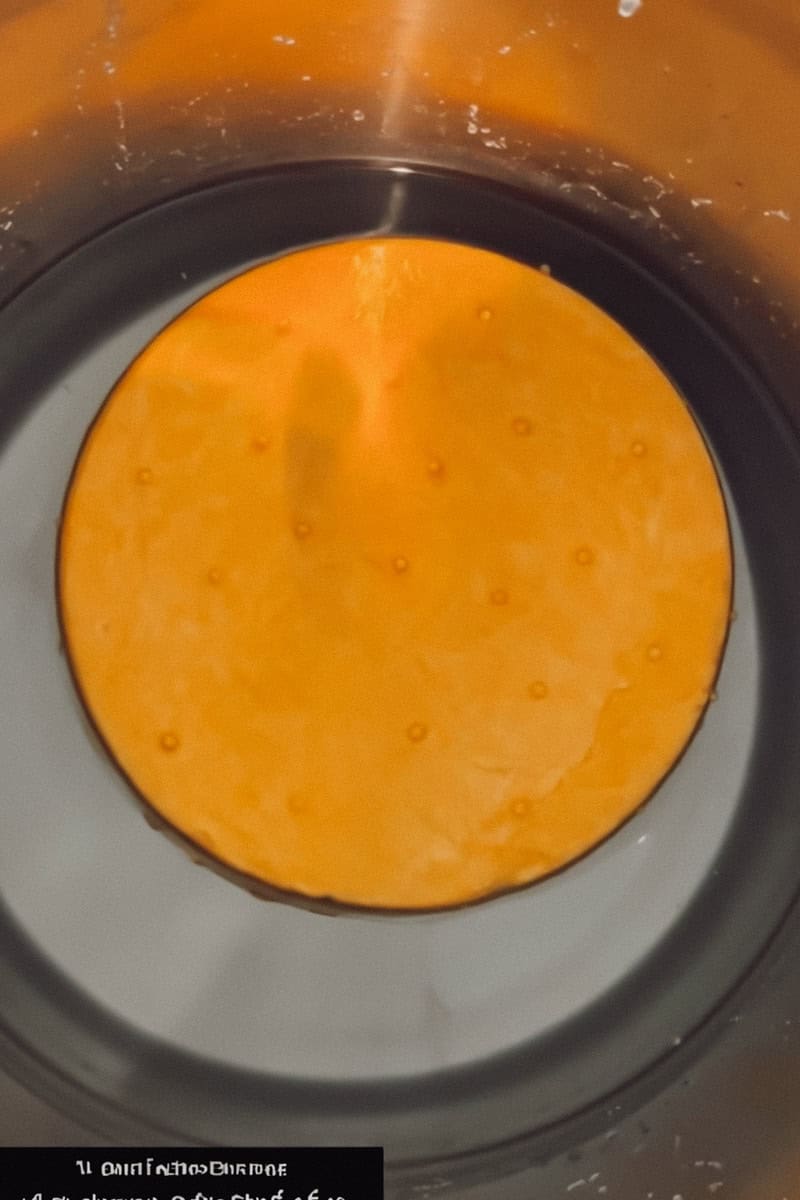
- After pressing, soak the cheese in a salt brine solution for 6 hours, flipping it halfway through (3 hours per side). Just a heads up, Colby will float and not rest along the bottom of the pot. Sprinkle a tablespoon of cheese salt on the exposed side, covering lightly and evenly.
- Remove the cheese from the brine and let it air-dry (uncovered) on a rack for 1-3 days, flipping every 12 hours. The surface will feel like a 'clammy handshake' when it's ready for packaging.
Tip: When drying your cheese on a wire rack, the moisture from the cheese can sometimes cause the rack to rust, leaving discolored spots on your cheese wheel. To prevent this, place a fresh coffee filter or paper towel between the cheese and the rack every time you flip it. This keeps the cheese clean and free from any unwanted marks!
Recipe

Colby Cheese
Equipment
- cheese press
- large cheese mold
- large stock pot
- measuring spoons
- long handled knife and spoon
- strainer
- cheese cloth
Ingredients
Colby Cheese
- 2 gallons Milk raw, unpastuerized
- ½ teaspoon Mesophilic starter culture I'm using Flora Danica
- ½ teaspoon Rennet liquid, animal-based
- ¼ teaspoon Annatto
Instructions
- Start by slowly heating 2 gallons of raw milk to 86°F (30°C). Stir gently as it warms to avoid scorching.
- Sprinkle the Flora Danica starter culture over the surface of the milk. Let it sit for 2-3 minutes to rehydrate, then stir it in gently for about 30 seconds. Let the milk ripen for 1 hour, keeping the temperature steady at 86°F. A good trick is to place the pot in a sink filled with 86°F water.
- Dilute ½ teaspoon of liquid rennet in ½ cup of room-temperature, non-chlorinated water. If using annatto, dilute ¼ teaspoon in another ½ cup of water. Gently stir the diluted rennet and annatto into the milk using an up-and-down motion to mix it evenly.
- Let the milk sit undisturbed for 45-75 minutes until the curd sets. Check for a "clean break" by inserting a knife into the curd—if it comes out clean and the curd separates easily, you’re good to go. If not, let it sit a little longer. See the middle picture below for an example of what a clean break looks like and then cutting the curds.
- Once the curd is set, cut it into ½-inch cubes with a long knife. Let the curds rest for 5 minutes to firm up.
- Slowly heat the curds to 102°F (39°C) over 30 minutes, stirring gently with your hands or a long spoon to prevent clumping. The curds will shrink and firm as they cook. Hold them at 102°F for 10 minutes.
- Drain about one-third of the whey until it’s level with the curds. You can save this first round of whey for recipes like ricotta cheese or whey caramel! Add 70°F water to replace the whey, gently stirring to cool the curds to 90°F.
- Let the curds rest for 5 minutes. Repeat this process 1-2 more times (do not save whey - it will be too diluted), gradually cooling the curds to 75°F. This washing step reduces acidity, giving Colby its mild flavor. Once the curds reach 75°F, let them rest for 15 minutes.
- Pour off the whey and transfer the curds to a colander lined with cheesecloth. The whey will be very diluted by this point and isn't worth keeping for whey recipes.
- Pack the curds into a cheese mold lined with cheesecloth. Lightly press at 10 lbs of pressure for 1 hour. Remove the cheese, flip it over, rewrap it in cheesecloth, and press at 20 lbs for 1 hour. Rewrap again and press at 40 lbs for 1 hour. Finally, rewrap and press at 50 lbs for 8 hours or overnight.
- The total pressing time will be about 12 hours. Pressing a little longer will create a dryer textured cheese, shortening the pressing time will produce a softer Colby.
- After pressing, soak the cheese in a brine solution for 6 hours, flipping it halfway through (3 hours per side). Sprinkle a tablespoon of cheese salt on the exposed side, covering lightly and evenly. The brine enhances flavor and helps retain moisture. See picture below.
- Remove the cheese from the brine and let it air-dry (uncovered) on a rack for 1-3 days, flipping every 12 hours. The surface will feel like a 'clammy handshake' when it's ready for packaging.
Video
Notes
- 1 gallon water
- 2 ¼ pounds cheese salt
- 1 tablespoon calcium chloride
- 1 teaspoon white vinegar
- Measure all ingredients into a large non-reactive pot, like stainless steel, and bring to a boil, stirring occasionally.
- Cool to room temperature before using. Store extra brine in mason jars in a cool, dark place.
Nutrition
Aging/Storage
Vacuum-seal the air-dried finished cheese or apply cheese wax. I age the sealed Colby in the back of our refrigerator at 38°F for 4-6 weeks before taste testing. Traditional cheesemakers will tell you this is wrong, but in all of the cheesemaking groups I'm in online, this is how home cheese makers are having success. People are rarely waxing cheeses anymore due to the convenience of vac sealing!
The original recipe recommends aging in a cool, humid spot (around 55°F/13°C), which is cooler than a regular fridge but warmer than room temperature. A wine fridge is a good place if you want to go this route!
Pictured below, a little glimpse of a few of my cheese wheels and wedges after vacuum sealing.

Frequently Asked Questions
Colby uses a washed curd method to create a milder flavor, moister cheese, while traditional cheddar involves the cheddaring process, which makes it sharper and more crumbly.
Making Colby cheese typically takes 4-6 hours for the curds to form and process, but it needs to age for 1-3 months to develop its flavor.
Yes, but it's best to use non-homogenized, pasteurized milk. Avoid ultra-pasteurized milk, as it won't form proper curds. You will also need to add calcium chloride to the milk. I would find a recipe tailored to making Colby cheese with pasteurized milk instead of adapting this one.
You’ll need a mesophilic starter culture, which works best at lower temperatures used in making Colby. I prefer to use Flora Danica. You can also make Colby with 1 cup of active kefir as the starter culture.
The orange color in Colby comes from annatto, a natural food coloring, which you can add during the cheesemaking process if desired. It's completely fine to omit the annatto and make white Colby!


Hi! When you say raw milk are you using the milk with the cream or do you wait and skim the cream off then use the remaining milk? Thanks!! 🙂
Hi Jess! I'm leaving the cream on for this cheese recipe. It's so much easier to just pour & filter the warmed milk straight from the cow into my cheese pot instead of cooling it and reheating it. Just my personal preference! If you want to skim the cream first, you certainly can! Your cheese might be a little less creamy, but you probably won't even notice the difference. Great question! Thanks for asking.
Meg
Thanks so much!! Going to make it this morning, super excited!! Have a good day!
I bought a small cheese mold. Can I cut this recipe in half or save half and press after the first??? I could always just buy a bigger mold- just checking!
Hi Ali! You can certainly cut the recipe in half. And also cut the brine recipe in half, too.
I made this yesterday and I had the wheel in a large bowl but I didn't notice the cheese floating. Have you ever had any that didn't float?
Do you skim the cream off for this recipe?