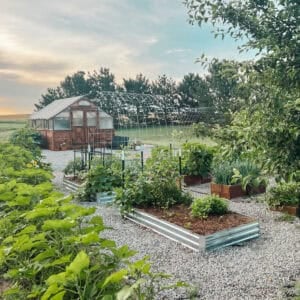
Yoderbilt Greenhouse Review: Is It Worth It After 4 Years?
We've owned our 12x16 Yoderbilt greenhouse since 2022, which means it's survived four years of Kansas wind, hail, drought, snow, and daily use.
If you're considering buying a Yoderbilt greenhouse, this review covers what I love, what I'd change, how it has held up over time, and whether I think it's worth the investment.
This is my review of my 12X16 Yoderbilt Greenhouse. I was not given free product or any sort of compensation in exchange for this review.
Jump to:
- Yoderbilt Greenhouse Review After 4 Years
- Why I Chose a Yoderbilt Greenhouse
- What size of Yoderbilt greenhouse is best?
- Which additional features are worth it?
- Is a Yoderbilt Greenhouse Worth It?
- How long did it take for my greenhouse to arrive after I placed the order?
- What are the temperature ranges throughout the season?
- Summer Temperatures in a Yoderbilt Greenhouse
- Can a Yoderbilt Greenhouse Stay Above Freezing in Winter?
- What Foundation Does a Yoderbilt Greenhouse Need?
- Is a Yoderbilt Greenhouse Worth the Cost?
- What Would I Do Differently?
- What upgrades are worth the money?
- FAQ about Greenhouses
- That's a wrap!
- Latest Posts
- Comments
Yoderbilt Greenhouse Review After 4 Years
We've owned our 12x16 Yoderbilt greenhouse since 2022, which means it has survived four years of Kansas wind, hail, drought, heat waves, snow, and daily use.
Overall, I've been extremely pleased with the quality and durability. The polycarbonate panels have held up beautifully through multiple hail storms with no cracking, yellowing, brittleness, or other damage. The automatic vent still works as designed, the windows glide open and closed smoothly, and we've never experienced any leaks.
Maintenance has been minimal. In four years, I've stained the greenhouse once, adjusted the doors once, and patched a couple of small gaps that developed in the shiplap siding. Other than that, I haven't replaced a single component.
What surprised me most wasn't the durability, though. It was how much I would actually use it.
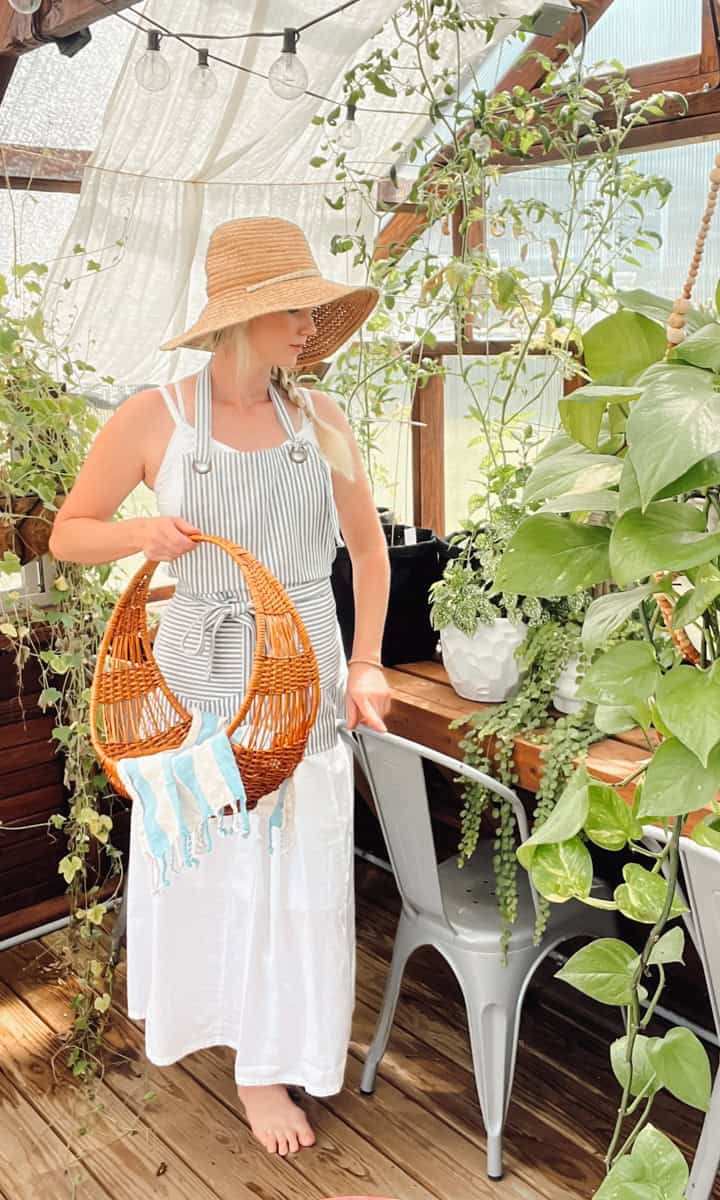
I originally envisioned a place to start seeds and extend my growing season. Instead, it has become one of the most-used spaces on our homestead. I'm inside it every day, whether I'm watering plants, potting up seedlings, harvesting greens, or simply enjoying a quiet place to work with a cup of coffee. We've hosted gardening classes, family dinners, photo shoots, and countless conversations inside these walls.
If someone offered me cash for the original purchase price today but wanted to haul my greenhouse away, I'd tell them no thanks. The only changes I would make would be choosing the insulated version and buying a larger model.
Why I Chose a Yoderbilt Greenhouse
Before ordering our greenhouse, I spent months researching different greenhouse styles and manufacturers. I narrowed my search down to a Bootstrap Farmer high tunnel and a Yoderbilt polycarbonate greenhouse.
As a gardener in south-central Kansas, I wasn't looking for the cheapest option. I wanted something that could withstand high winds, hail, extreme temperatures, and years of daily use.
These were my non-negotiables:
- Sturdy construction: Our area regularly experiences severe thunderstorms and prairie winds. Since installing our greenhouse, we've experienced wind gusts exceeding 80 mph that damaged other structures on our property. The greenhouse never moved.
- Long-term durability: I wanted a greenhouse that would last for decades with extensive maintenance.
- 8mm polycarbonate panels: Hail resistance was a major concern. We've experienced ping-pong-ball-sized hail with no damage to the panels.
- Automatic ventilation: My greenhouse includes five screened windows and an automatic gable vent that opens and closes based on temperature, which has been invaluable during hot Kansas summers.

What size of Yoderbilt greenhouse is best?
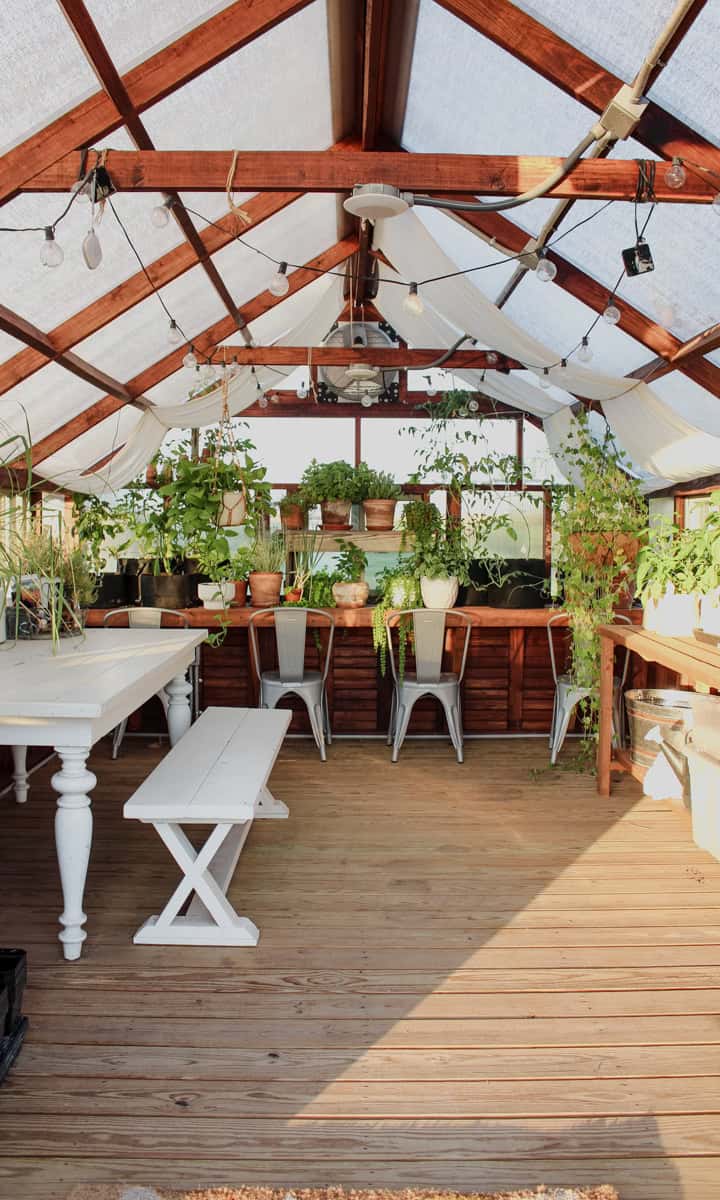
This is such a personal decision. My budget was small, so I went with a 12X16 greenhouse. If you can afford to go larger, do it! I could easily have filled a 12X32 foot greenhouse if it would have been in the budget.
My sixteen foot greenhouse is very cramped once the seedlings really begin to take off late winter and early spring. I add additional tables as well as utilize floor space. Standing room only when the plants start growing!
As an amazon associate, this post contains affiliate links, which means I make a small commission at no extra cost to you. See my full disclosure here.
Which additional features are worth it?
I did splurge on a few upgrades. The double doors on the front of the greenhouse are AMAZING. If I could only choose one add-on, it would be the doors. Not only does it increase the airflow, but it also makes it so much easier to carry bulky plants in and out.
An electrical package is an upgrade that I added, and then we installed an outdoor ceiling fan with lights. The ceiling fan has been so helpful for keeping air flowing on the hot days!
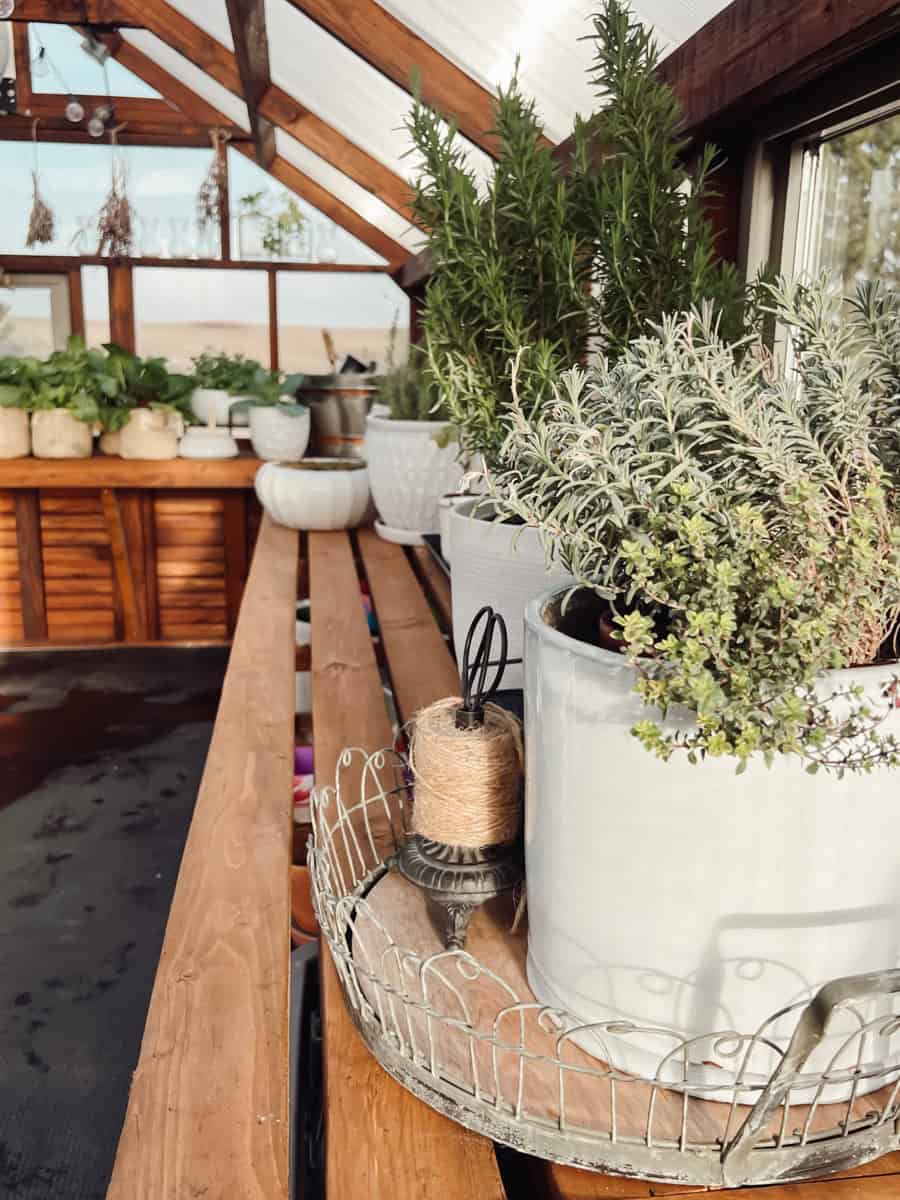
I also like to have the option of plugging in seed starting mats during the cold months to create a better environment for germination.
Another helpful tool that I utilize is a 16 gallon heated livestock watering bucket during the winter. It doesn't put off much heat, but it does help to add warmth and humidity, plus it allows me to water plants without turning on an outdoor hose or hydrant.
Is a Yoderbilt Greenhouse Worth It?
Yes. After four years of daily use, I would absolutely buy our Yoderbilt greenhouse again. It has survived Kansas wind, hail, heat, and winter storms with very little maintenance. The only changes I would make would be ordering a larger model and choosing the insulated version.
How long did it take for my greenhouse to arrive after I placed the order?
I ordered my greenhouse over the phone while speaking directly with Angela from Yoderbilt. We customized my build and then she emailed me an invoice.
Once the invoice was paid, the greenhouse order was submitted and the building project began. It took about six weeks from the day I placed the order until the greenhouse was delivered to our homestead.
What are the temperature ranges throughout the season?
This question kept coming up over and over again, and you might be surprised by the answer.
I purchased an inexpensive bluetooth digital read Govee thermometer and hygrometer so that I could monitor the temperature and humidity in the greenhouse from a distance.
As long as my phone and the device are connected to the same wifi, I'm able to get a reading. If they are not on the same connection, the device records the temperature and humidity and I can download the results whenever I'm ready.
Being able to see the last four years of humidity and temperature data has been really helpful!
Summer Temperatures in a Yoderbilt Greenhouse
One thing that surprised me as a new greenhouse owner was just how quickly temperatures can climb during the summer.
In my experience, the greenhouse typically runs about 10–15°F warmer than the outside air, even with the windows, automatic vent, and double doors open. On a 100°F Kansas summer day, temperatures inside can easily reach 115°F or higher.
After a lot of trial and error, the single most effective improvement I've made was adding a shade cloth over the roof of the greenhouse.
I currently use a 70% Aluminet shade cloth secured to the exterior of the greenhouse with hooks and bungee cords. It isn't the prettiest setup. My family jokingly refers to it as the greenhouse's "tinfoil hat." But it dramatically reduces heat buildup and helps protect plants from intense summer sun.
If I were ordering a greenhouse today in a climate like mine, I would budget for a shade cloth from the very beginning. It has made a bigger difference than any other summer modification we've made.
Can a Yoderbilt Greenhouse Stay Above Freezing in Winter?
This is probably the question I receive most often.
The honest answer is yes, but not without some help.
My goal is not to keep the greenhouse warm and tropical through winter. I simply want to prevent freezing temperatures and extend my growing season.
A thick jute rug over most of the floor during the cold months blocks drafts while allowing air flow. I tried covering the floor with stall mats my first winter with the greenhouse, but later learned that a heavy rubber covering was not recommended.
For nights in the upper 20s, I cover plants with inexpensive frost clothes and position them on tables near the center of the greenhouse rather than along the exterior walls. If the day has been sunny and the greenhouse has stored some heat, this method works surprisingly well.
When temperatures are forecast to drop below freezing, I run a electric radiator style heater in the center of the greenhouse. As long as temperatures stay above about 25°F and winds aren't extreme, it does a good job preventing freezing.
One of the most helpful additions has been a heated livestock waterer. It keeps water available for winter watering, adds humidity to the air, and contributes a small amount of supplemental warmth.
For severe cold snaps, I've occasionally used a propane heater. While it can be effective, I don't recommend it without careful research and extreme caution. Propane heaters can be unpredictable, and any fuel-burning appliance in an enclosed structure introduces additional safety concerns.
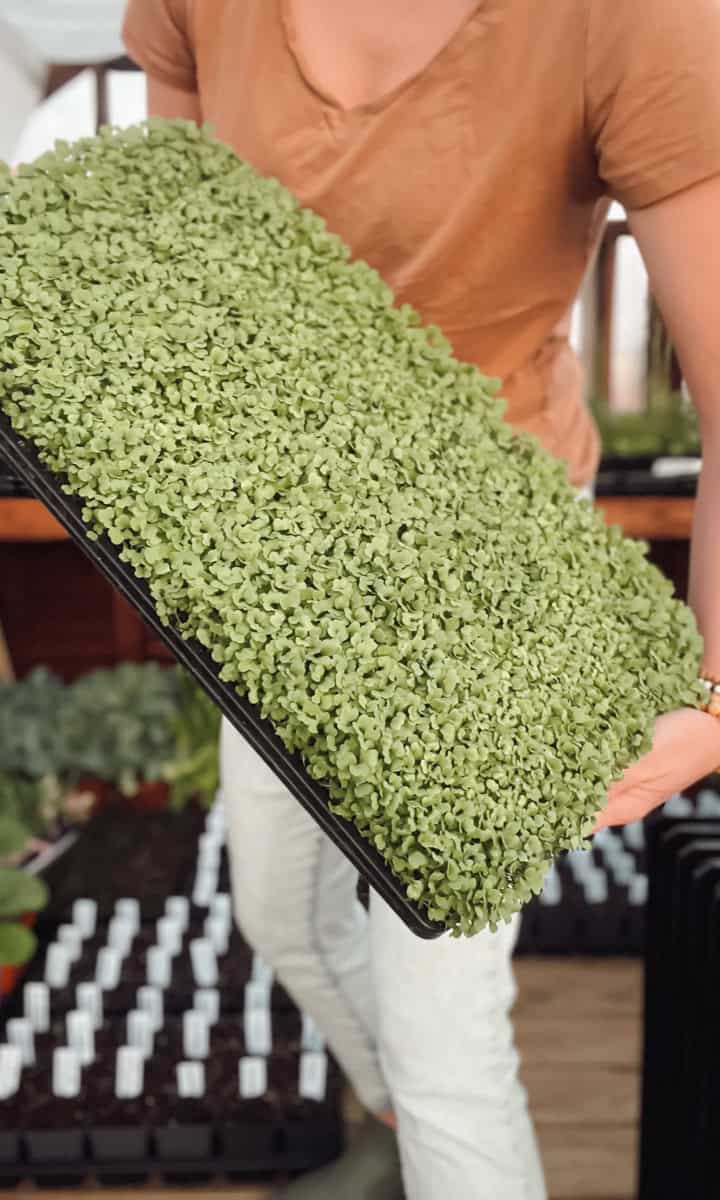
With this setup, I can successfully overwinter cold-hardy crops such as lettuce, kale, cabbage, beets, radishes, and microgreens. Tender plants are a different story. During prolonged arctic weather, I move sensitive plants such as lemon verbena and eucalyptus indoors until temperatures recover.
What Foundation Does a Yoderbilt Greenhouse Need?
Our greenhouse sits on several inches of ¾-inch crushed limestone. Since our driveway was already limestone, extending the pad was the simplest and most cost-effective option for us.
Before delivery, Yoderbilt provided detailed site preparation instructions, including the required dimensions and grading recommendations. We were responsible for preparing the site, but the process was straightforward.
After installation, we added pressure-treated pine skirting around the base of the greenhouse. This helps reduce drafts during the winter and discourages digging pests such as raccoons and opossums (and our own dogs!) from getting underneath the structure.
If you decide to add skirting, learn from my mistake and wait several months before staining pressure-treated lumber. I stained ours immediately, and the fresh wood didn't absorb the stain very well. Allowing the lumber to dry first will give you a much better result.
If I were building another greenhouse tomorrow, I would use the same limestone foundation and add skirting again.
How Are Yoderbilt Greenhouses Delivered?
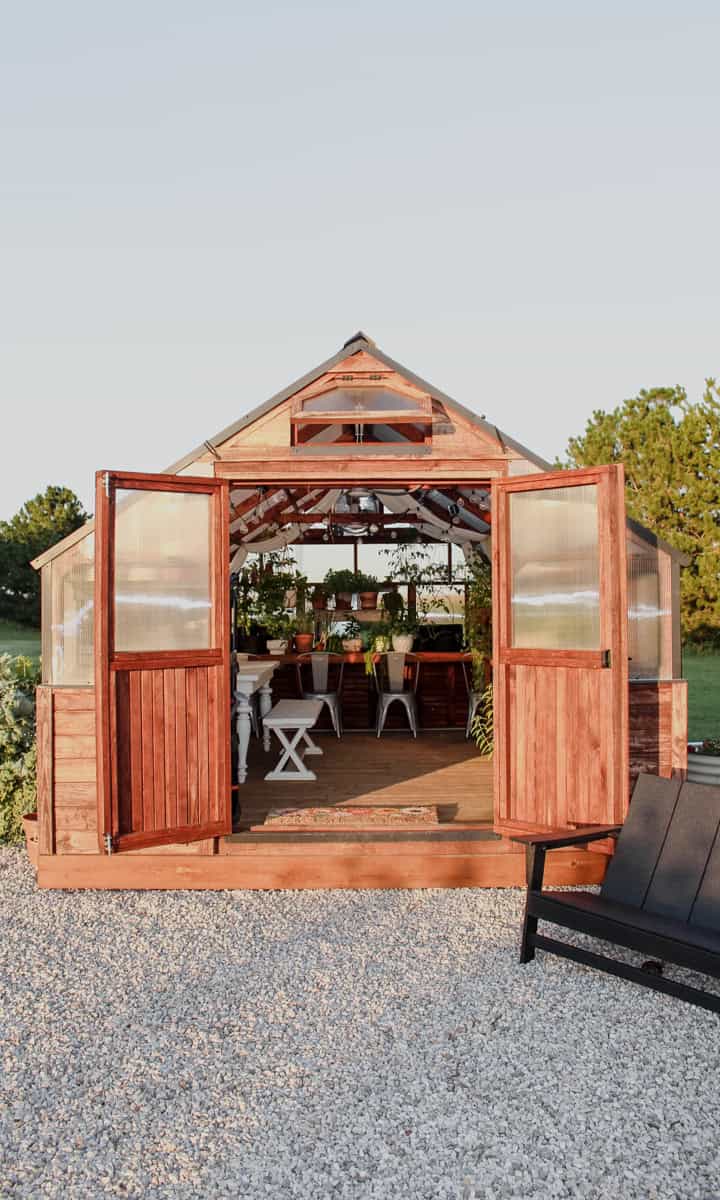
One of the things that originally attracted me to Yoderbilt was that the greenhouse arrives fully assembled.
Watching the delivery was honestly one of the most impressive parts of the entire process. The greenhouse arrived on a trailer already built, and the driver used specialized equipment to place wheels underneath it and maneuver it into position.
I was also relieved to learn that our site didn't need to be perfectly level before delivery. We simply had to provide the recommended number of pavers, and the delivery crew used them to level the greenhouse during installation.
Once we added skirting around the base, the pavers disappeared from view and the finished greenhouse looked like it had always been there.
If the idea of assembling a greenhouse from a kit feels intimidating, the delivery and installation process alone is a major advantage of choosing Yoderbilt.
Is a Yoderbilt Greenhouse Worth the Cost?
A Yoderbilt greenhouse is a significant investment. The exact cost will depend on the size, upgrades, delivery distance, and current pricing, so I recommend contacting the company directly for a quote.
The better question is whether it has been worth the money.
After four years of ownership, my answer is an easy yes.
This greenhouse has become one of the most-used structures on our homestead. I use it every single day, whether I'm starting seeds, watering plants, harvesting greens, potting up transplants, or simply enjoying a quiet place to work with a cup of coffee.
Over the years, we've hosted gardening classes, family dinners, photo shoots, and countless conversations inside these walls. It's not just a greenhouse anymore. It's become part of our daily life.
If someone handed me a check for the original purchase price today but took the greenhouse away, I would order another one tomorrow. The only difference is that I would buy a larger model and choose the insulated version.
Yoderbilt's customer service was excellent throughout the entire process, and I've been pleased with both the quality of the greenhouse and the support I've received from the company.

What Would I Do Differently?
The short answer? I'd buy a bigger greenhouse.
When we ordered ours, I chose the 12x16 model because it fit our budget at the time. Looking back, I underestimated both how much I would enjoy greenhouse gardening and how much space plants actually require.
During seed-starting season, every table fills up quickly. By late winter and early spring, I often find myself using additional tables and even floor space to accommodate seedlings and transplants.
If I were ordering again today, I would choose at least a 12x24 model and probably a 12x32 (if my budget allowed).
I would also opt for the insulated version. While I've been able to successfully keep plants alive through winter using frost cloth, supplemental heat, and a few tricks I've learned along the way, the additional insulation would make winter growing easier and more efficient.
Finally, if I could do it over again, I would purchase the greenhouse tables directly from Yoderbilt rather than building my own. Our homemade tables work fine, but the factory-built options would have saved time and likely made better use of the available space.
None of these things are regrets. They're simply lessons learned after four years of daily use.
What upgrades are worth the money?
If I could only choose one upgrade, it would be the double doors. They improve airflow, make the greenhouse feel more open, and make it much easier to move large plants, trays, and supplies in and out.
I also highly recommend the electrical package. Being able to run seed-starting mats, grow lights, fans, and heaters has made the greenhouse much more versatile throughout the year.
Outside of the official upgrades, adding a shade cloth and ceiling fan has been one of the best improvements I've made. It dramatically reduces heat buildup during the summer months.

FAQ about Greenhouses
Short answer: yes, after four years of ownership I would absolutely buy another one. It's one of the most-used structures on our homestead and has held up exceptionally well.
About six weeks from the time I placed my order until delivery.
Yoderbilt uses Southern Yellow Pine above the floor and pressure-treated lumber for the floor and substructure. After four years, I've been pleased with how the wood has held up. I've stained the greenhouse once, adjusted the doors once, and patched a couple of small gaps that developed in the shiplap siding. Other than that, I haven't had any maintenance issues.
We've experienced multiple severe thunderstorms, hail, and wind events exceeding 80 mph here in Kansas. The greenhouse has never shifted, lifted, or suffered structural damage.
After four years, we've experienced multiple hail storms with no cracking, yellowing, brittleness, or other damage.
Very little. In four years of ownership, I've stained the greenhouse once, adjusted the doors once, and patched a couple of small gaps that developed in the wood shiplap siding. The polycarbonate panels have survived multiple hail storms without damage, the windows still glide open and closed smoothly, and the automatic vent continues to work as designed. Overall, maintenance has been far less than I expected.
Without hesitation.
If someone offered me cash for the original purchase price today but wanted to haul my greenhouse away, I'd tell them no thanks.
The greenhouse has become one of the most-used spaces on our homestead. I use it nearly every day, and it has held up beautifully through four years of Kansas wind, hail, heat, snow, and daily use.
The only changes I would make would be choosing the insulated version and buying a larger model.

That's a wrap!
Alright, friends! I hope this answered your questions about our Yoderbilt Greenhouse. I'd love it if you'd leave a question or comment if there is anything you'd like to discuss in more detail!
If you want to see more of our garden, I recommend reading my Ultimate Guide to Growing Potatoes, Guide for Growing Tomatoes, How to Grow Pumpkins, and When to Plant Seeds in Zone 6B. There is also a category at the top of this post that is simply called 'garden.' Click on it and explore!
If you are looking for ways to boost the nutrients in your garden soil, I suggest reading Cheap Ways to Add Nitrogen to Soil for my best tips! Some gardeners like to mulch their garden with cedar, but I usually reserve this for landscaping or walkways due to it's slower break down time. Read about the Pros and Cons of Cedar Mulch in your garden to make an informed decision.
You could also consider opting for organic pesticides, such as neem oil or diatomaceous earth. Read more in my Guide to Organic Pest Control in the Garden in this blog post!
Happy gardening!
-Meg


I am beyond inspired to get myself my own greenhouse on our new land after reading this post. SUCH amazing information! Your greenhouse is stunning and so very functional.
Very helpful information
I want a GH to save my huge outdoor plants during the winter and grow tomatoes
Did you try to keep any outdoor plants alive?
Hi Leslie! I do save some of my outdoor plants over winter. It works best when I keep the plants in pots and just move the pots back in before the first freeze. Last year we had an unexpected VERY early hard freeze, and I panicked and tried transplanting many of my favorite plants and herbs. I had a lemon verbena that was nearly three feet tall and gorgeous! Some of the plants survived being transplanted, but most went into shock and didn't make it. My strategy for this fall is to keep my 'favorites' in containers that I can simply move into the greenhouse before it gets too cold. I also have grow bags with peppers, tomatoes and herbs that have been in the greenhouse all summer, and will *hopefully* keep producing into winter. We will see! I hope this helps! Happy gardening!
Loved your article. Thanks for the information.
I am a hobby gardener and have wanted a greenhouse for many years. I would like to either have a lean-to or free standing greenhouse at the top of a concrete driveway. It faces east and will get direct sunlight till about 1:00pm. After that, indirect light and some shade. However, this wall has 2 electric clothes dryer vents and I would like to run them into the greenhouse to help heat it during the winter. Any thoughts or suggestions?
Thank you for the informative details you shared about the Yoderbilt greenhouse! I so enjoyed reading through your information and pictures; you all have a wonderful place! I have been researching and considering greenhouses for about 8 months and I think I have finalized my decision after reading your experience. My application will be somewhat different than perhaps the norm. I live in central Texas and we do get freezing temperatures in the winter. Therefore, all my many plants in the yard must be protected in the winter. I have been keeping them in part of my garage, but have literally grown out of the space, not to mention wanting the space. Thanks again for the wonderful information!
Hi Vicki! I'm glad it was helpful! We also deal with below freezing temperatures, so I can understand your dilemma. This last winter was the first time I added supplemental heat with radiator-style heaters, and it made such a difference! I just updated the post to include this method and remove the recommendation for using stall mats to cover the floor after watching a facebook live with the Yoderbilt team discussing how to insulate and heat the greenhouses the best way. If you ever have any questions, just ask!
- Meg