Homemade Vanilla Pudding (milk and egg recipe)
Homemade vanilla pudding is thick and creamy and made with just 6 ingredients! If you have ever wanted to make pudding from scratch, this is the only pudding recipe you'll ever need! It might sound a bit difficult, but don't worry. I've got the trick for making your pudding come out perfect, every time!
I have to admit it, I'm a big fan of pudding. Here's a little peak at my fav two below, in case you need some puddinspiration. (It's a word that's going to catch on soon!)
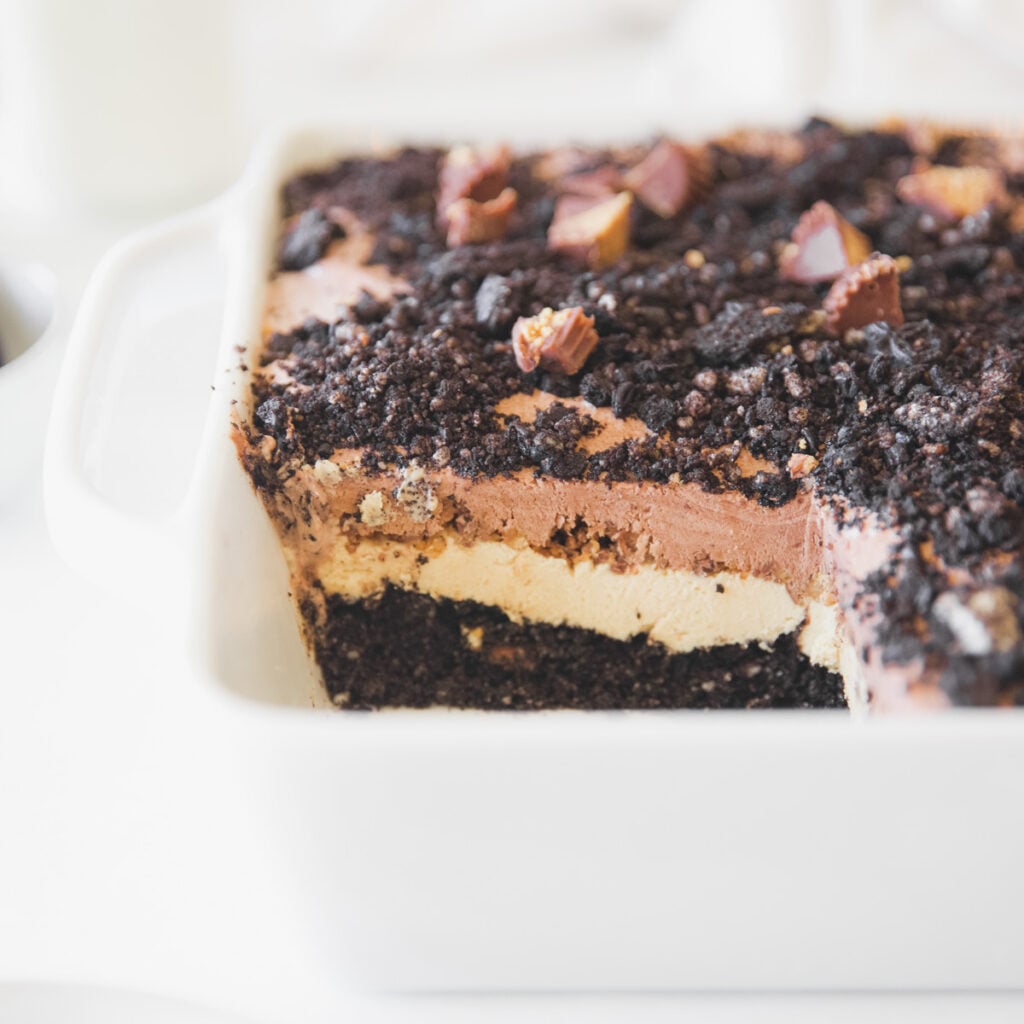
Two of my favorite pudding desserts are Chocolate Delight and Oreo Icebox Cake. They are easy to make and crowd pleasers, too!
Another reason I've become quite fond of pudding desserts lately, is because we've recently began milking our cow, Rosie. She is giving us between 1-3 gallons of creamy A2/A2 milk every day! Recipes that call for a lot of milk are becoming my new go-to desserts.
My family is firmly convinced that too much raw milk is a good problem to have!
Jump to:
- Why this recipe works
- Helpful tips & tools from the baker
- The Importance of Tempering Egg Yolks for Vanilla Pudding
- How to keep pudding from scorching
- Ingredients for homemade vanilla pudding
- How to make homemade vanilla pudding
- Recipe
- The Importance of Tempering Egg Yolks for Vanilla Pudding
- How to keep pudding from scorching
- How to keep pudding from scorching
- How long does pudding last in fridge?
- Variations
- Ways to use up extra eggs and milk:
- How to store pudding
- The plastic wrap trick: How to prevent "skin" from forming on pudding
- FAQ
- If you are having a dessert craving...
- Comments
As an amazon associate, this post contains affiliate links, which means I make a small commission at no extra cost to you. See my full disclosure here.
Why this recipe works
Homemade pudding is fast, easy and comes together without any fancy ingredients. Before I learned a few tricks for making pudding the easy way, I thought it was more of an intermediate-level cooking activity.
Now that I have learned, it's such an easy and fun dessert to make! Goodbye, toxin filled pudding cups. Hello homemade vanilla pudding!
Helpful tips & tools from the baker
Alright, scoot on over here. I'm spilling the tea on how to make pudding without scorching it or getting gross chunky bits.
Before you start, let's really look at your stock pot. Is it heavy duty? Is the bottom made from enameled cast iron or triple ply stainless steel? I didn't realize it, but the set of pots and pans that we were given as wedding gifts weren't very high quality.
For making a pudding or custard, you will want a pan that has a thick bottom layer. Since my stainless steel stock pot was too thin, I have started using my enameled cast iron dutch oven. It's much better and keeps the pudding from scorching!
You will also need a whisk that can be pressed flat against the bottom of the pan. Some whisks are very firm and will hold their shape during stirring, but you want one that is flexible and can really get some substantial surface area on the bottom of the pan.
If you are seeing a theme here, it's that pudding is prone to scorching. But don't let that scare you off!
The Importance of Tempering Egg Yolks for Vanilla Pudding
Tempering the egg yolks is a crucial technique when making pudding, as it ensures a smooth and silky texture while preventing the yolks from curdling or scrambling due to sudden exposure to high heat.
- To temper the yolks, begin by whisking them in a separate bowl. Gradually ladle a small amount of the hot milk mixture into the yolks while continuously whisking. This gradual addition raises the temperature of the yolks without shocking them, effectively bringing them to a similar temperature as the rest of the mixture.
- Once tempered, the yolks can be safely incorporated into the main pudding mixture without the risk of curdling.
How to keep pudding from scorching
Cooking pudding to perfection requires careful attention to prevent scorching, which can result in a burnt taste and undesirable texture. Follow these steps to ensure your pudding comes out creamy and delicious:
- Low to Medium Heat: When cooking pudding, always use low to medium heat. High heat can cause the mixture to stick to the bottom of the pot and scorch. A heavy-bottomed saucepan is ideal for distributing heat evenly and minimizing the risk of scorching.
- Constant Stirring: Stirring the pudding mixture consistently is key to preventing scorching. Use a heat-resistant spatula or wooden spoon to gently stir the mixture in a figure-eight pattern or circular motion. This motion helps to evenly distribute heat and prevent any one area from becoming too hot.
- Constant Attention: Pudding can scorch quickly, so never leave it unattended. Stay by the stove and continue stirring until the mixture thickens to the desired consistency. This attentive approach prevents the mixture from sticking to the pot and burning.
- Adjust Heat as Needed: If you notice the pudding starting to stick to the bottom of the pot or if you see any signs of scorching, immediately reduce the heat and adjust your stirring technique. This proactive step can salvage the pudding and prevent further scorching.
- Remove from Heat Promptly: As soon as the pudding reaches the desired thickness, promptly remove it from the heat source. The residual heat will continue to cook the mixture slightly, and removing it from the stove prevents overcooking or scorching.
Ingredients for homemade vanilla pudding
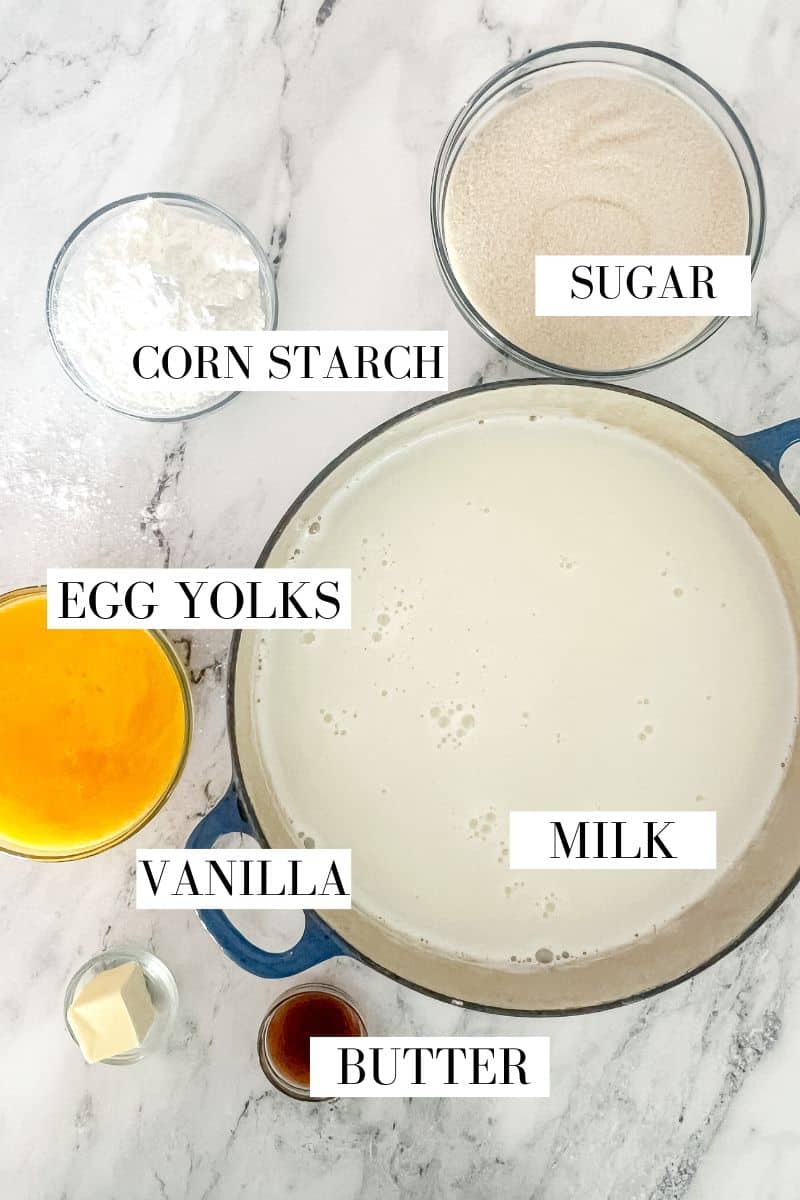
- Sugar
- Corn starch
- Whole milk
- Eggs
- Butter
- Vanilla extract
See recipe card for quantities.
How to make homemade vanilla pudding
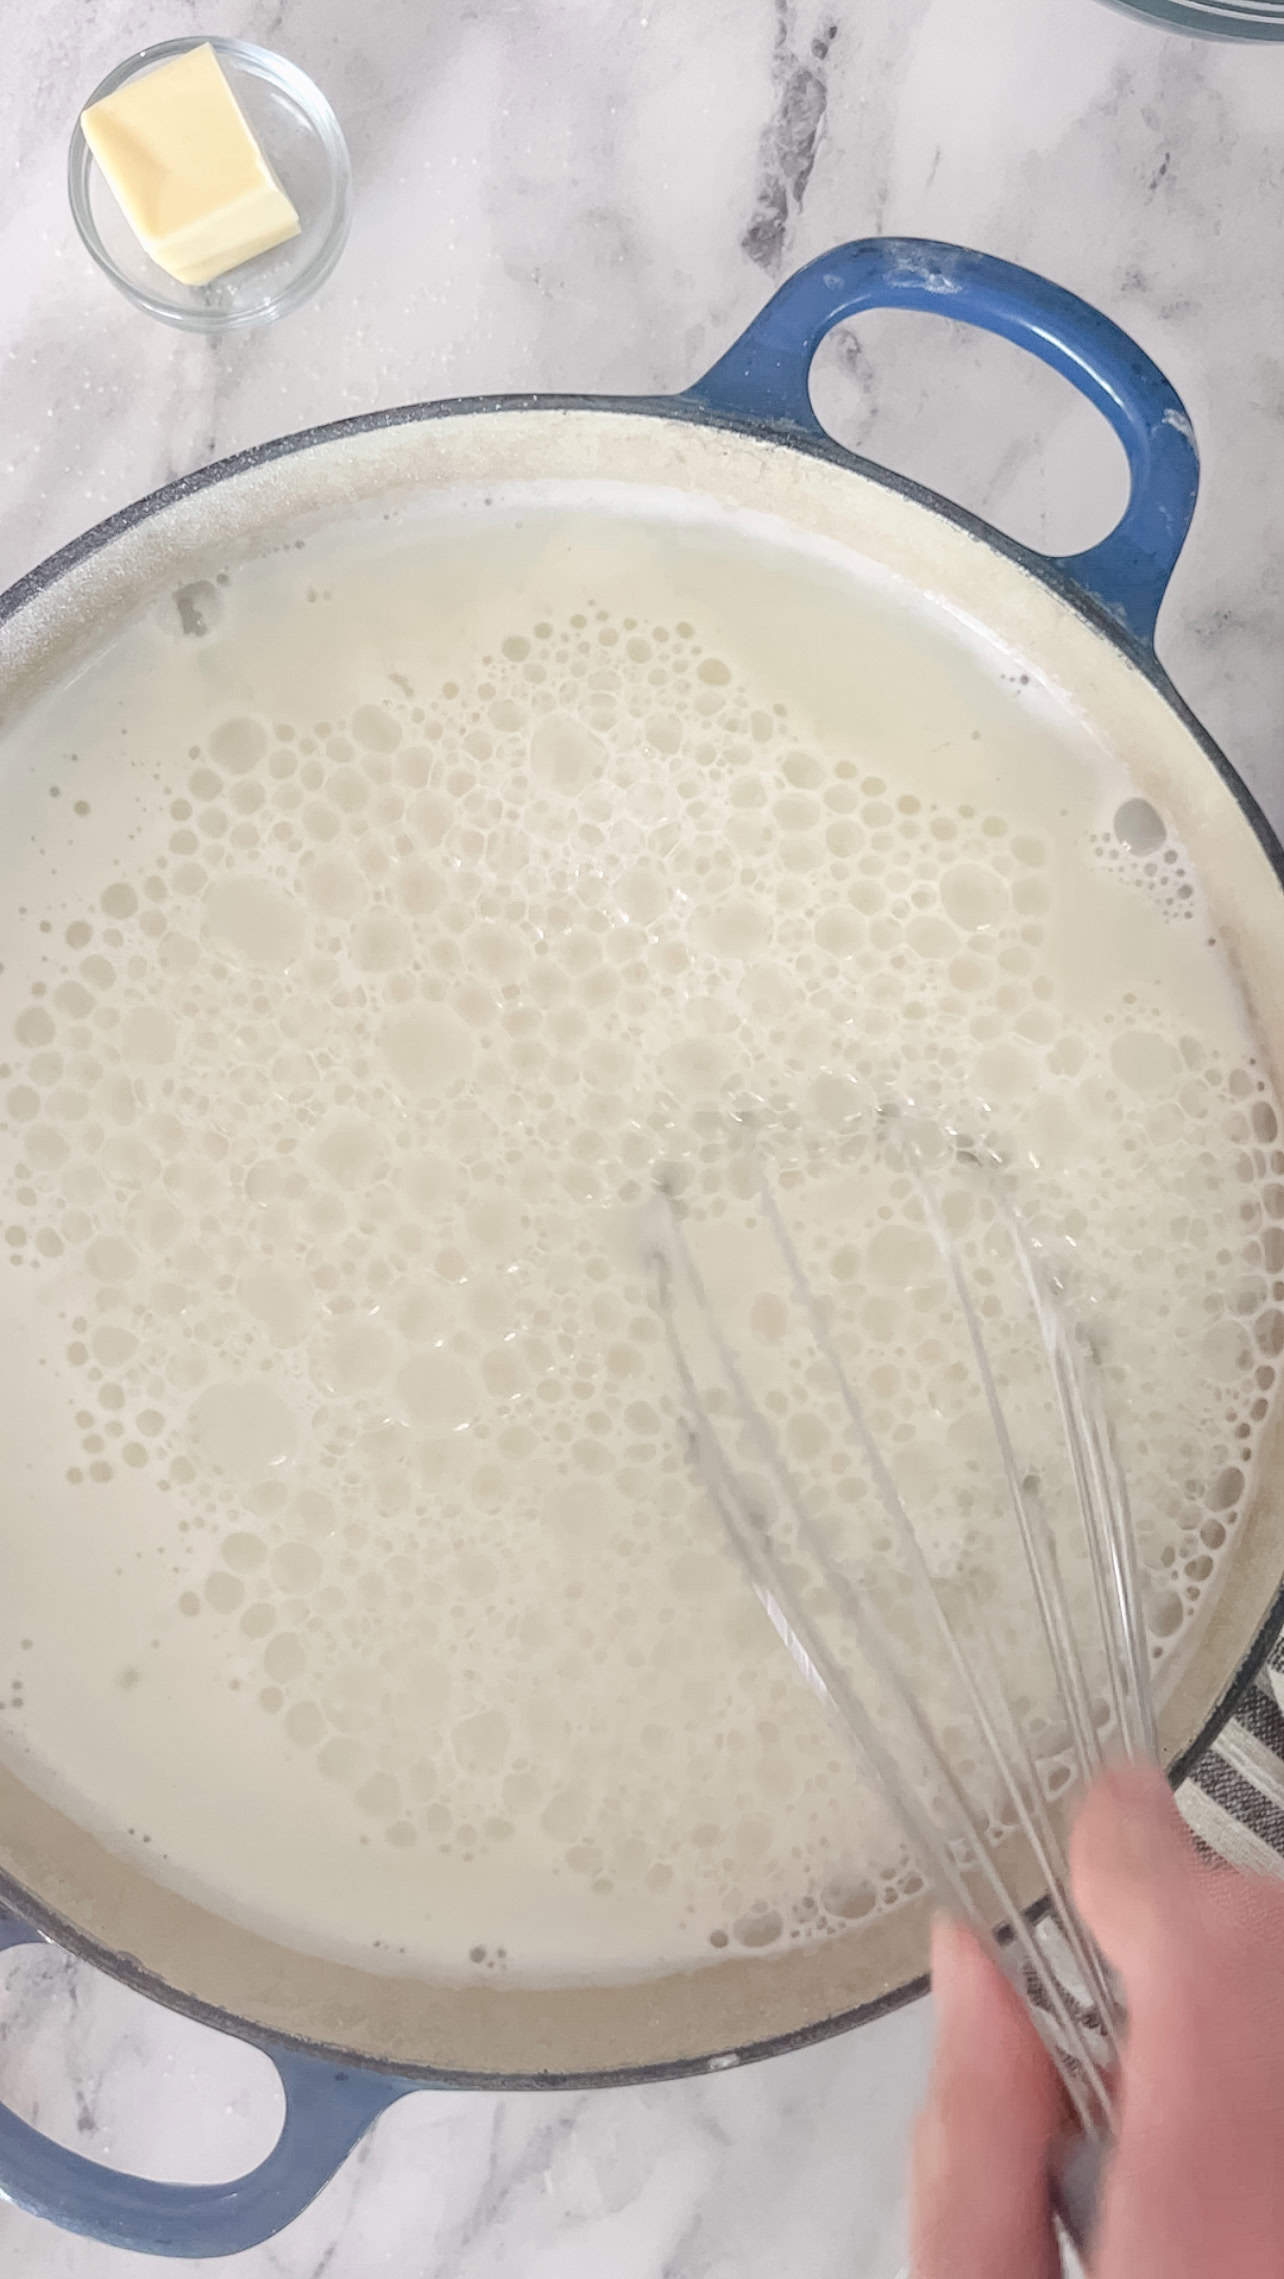
In a heavy saucepan or enameled dutch oven, combine the sugar and cornstarch.
Whisk in the milk.
Continue stirring and cook over medium heat until thickened and bubbly.
Cook 2 minutes more.
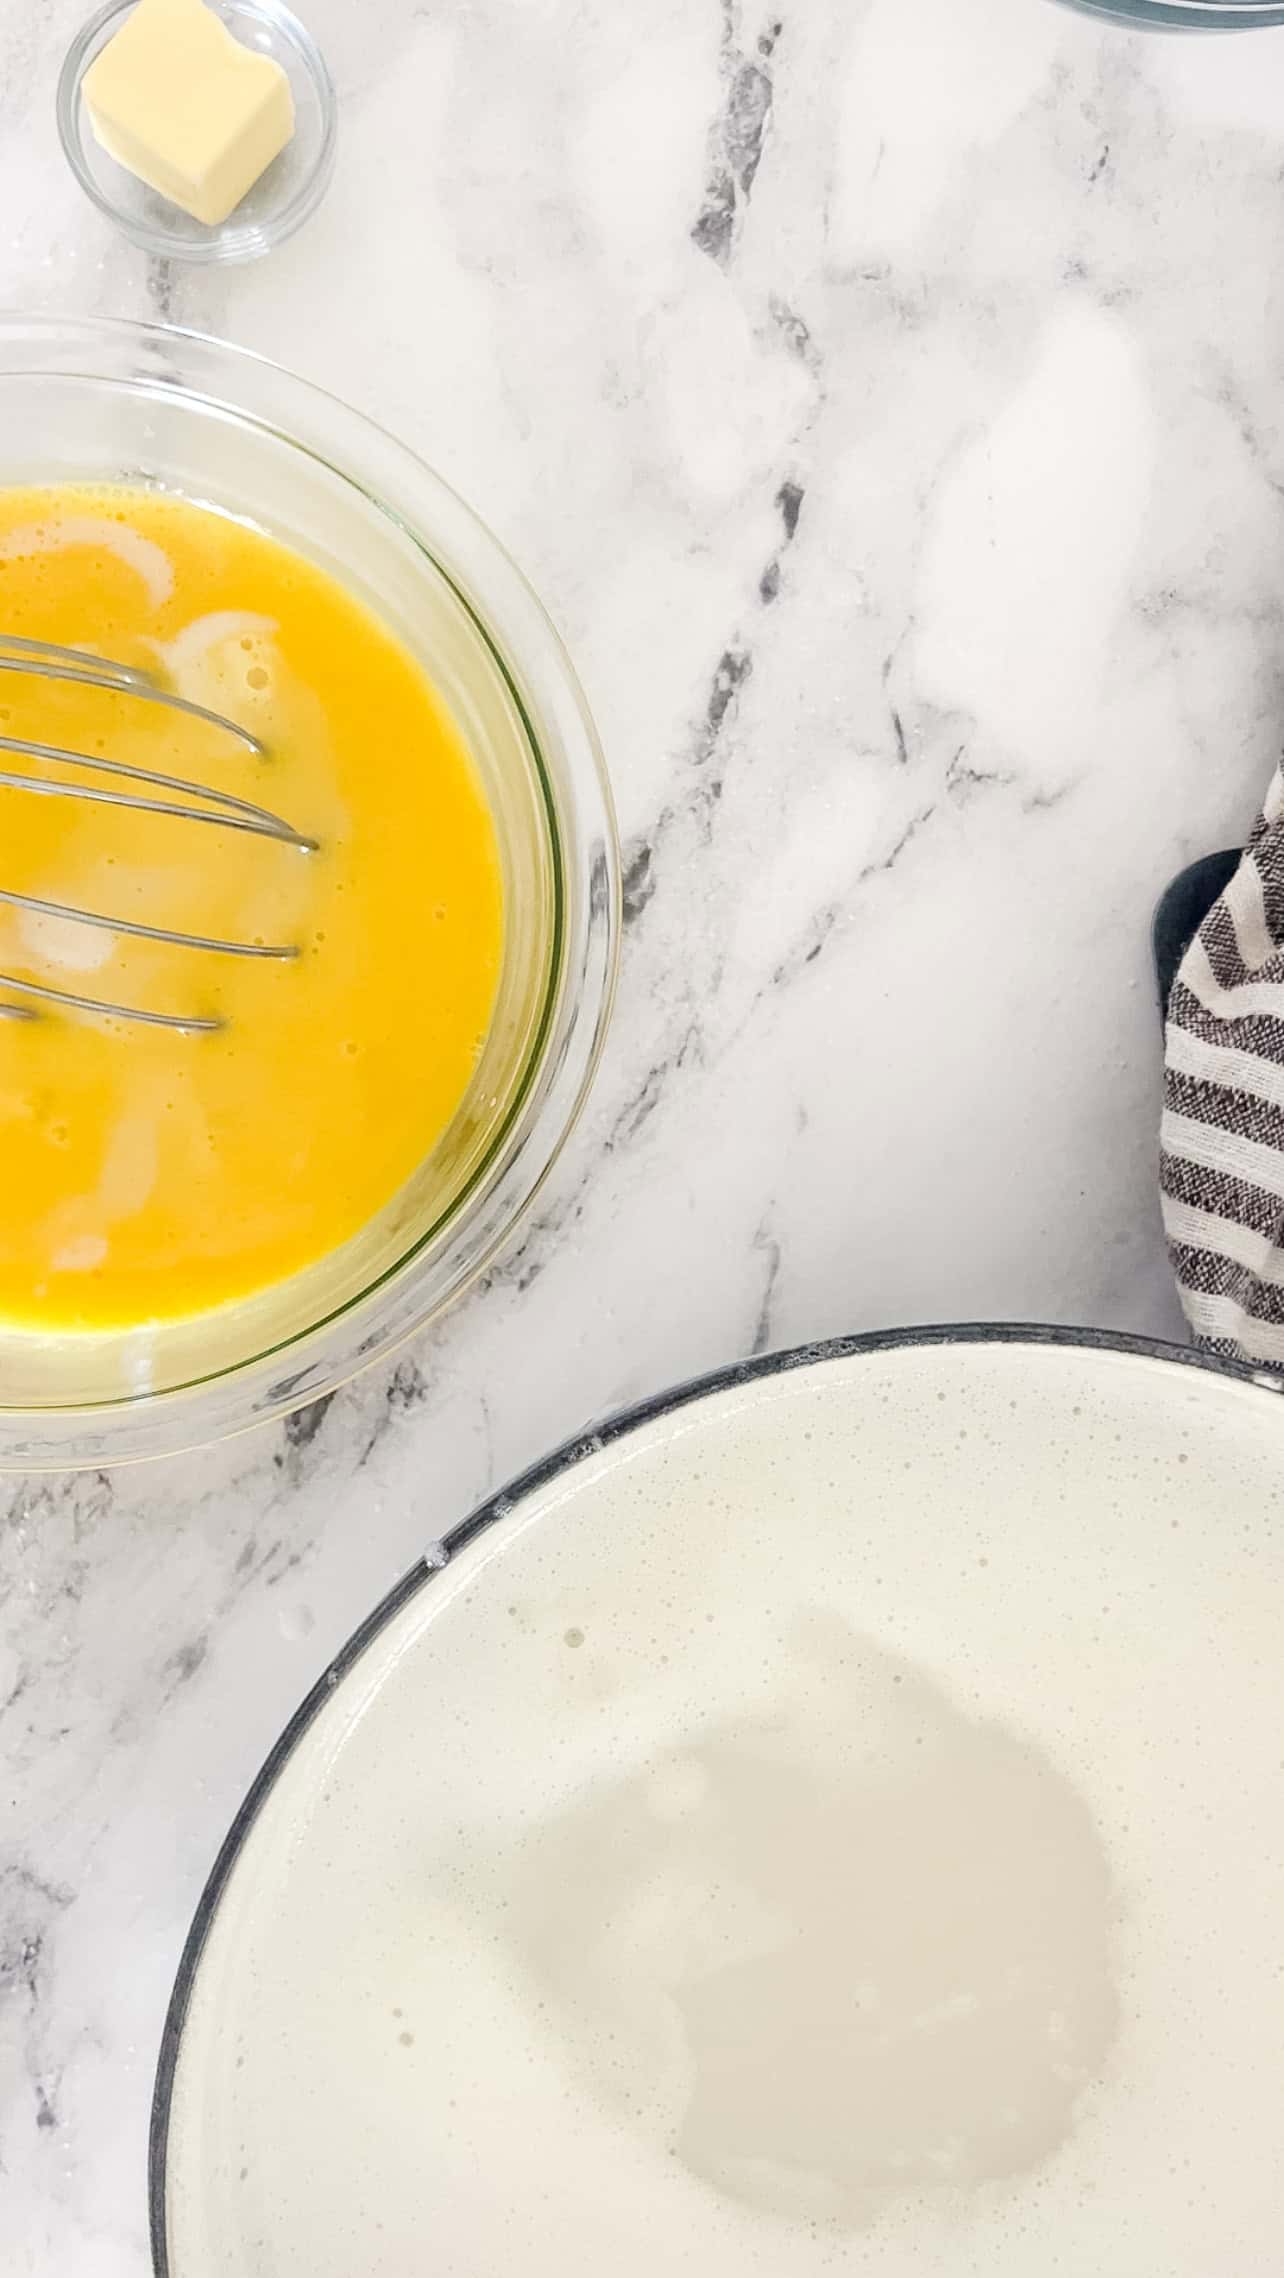
Remove the mixture from the heat and gradually stir in one cup of the hot milk mixture into the egg yolks.
Once the eggs are very hot, pour them into the milk mixture and whisk to combine.
Bring it to a gentle boil and then reduce heat.
Cook and stir for two more minutes.
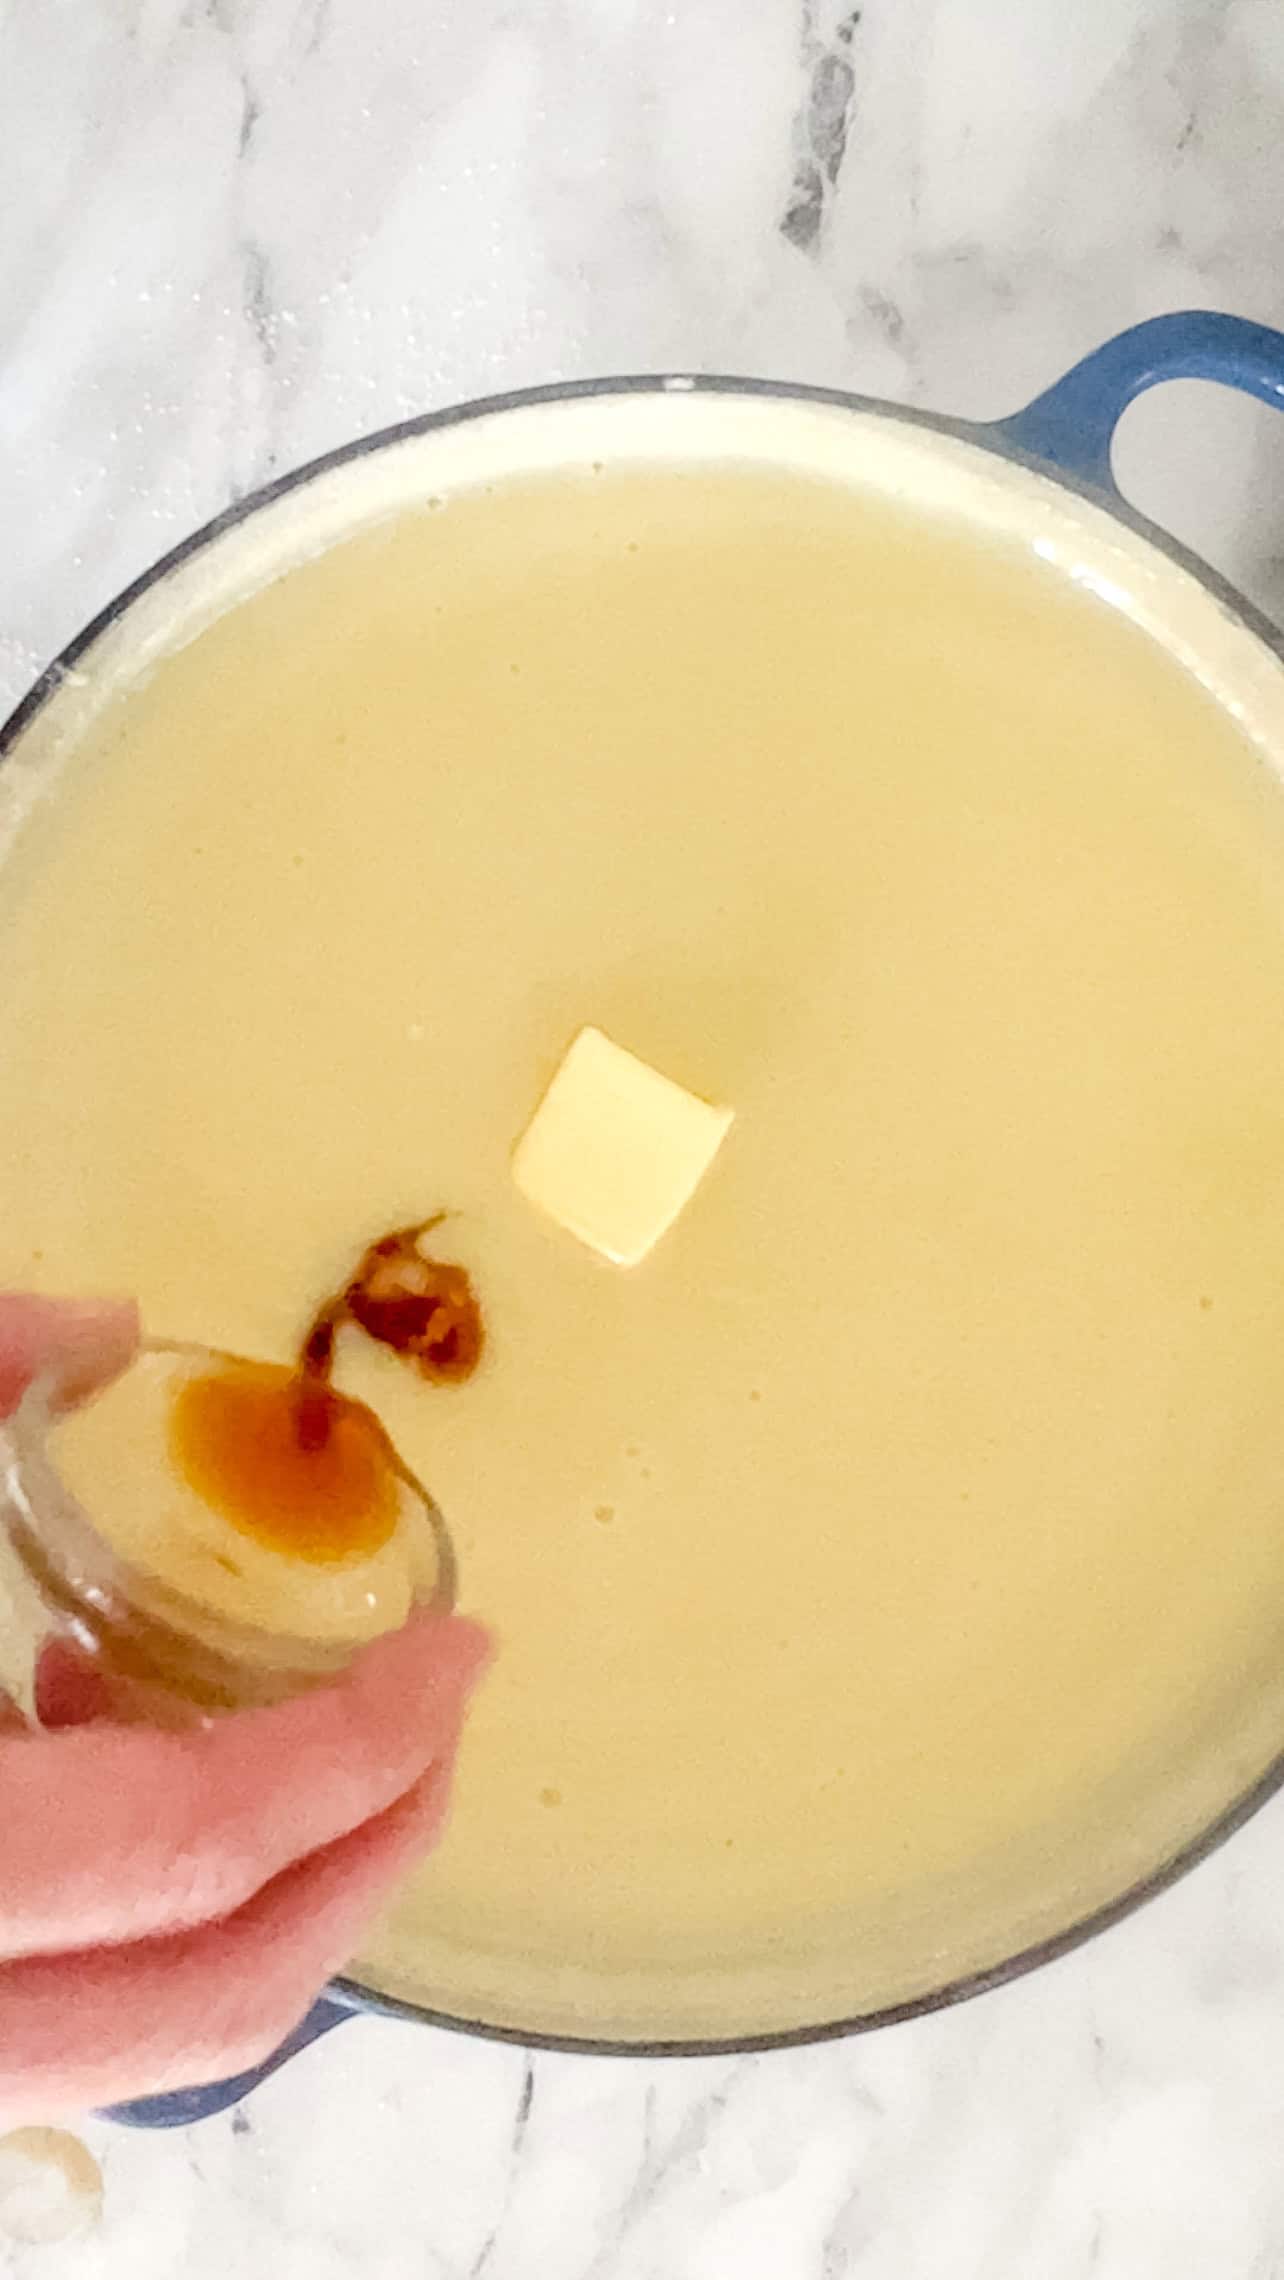
Remove from heat and stir in butter and vanilla.

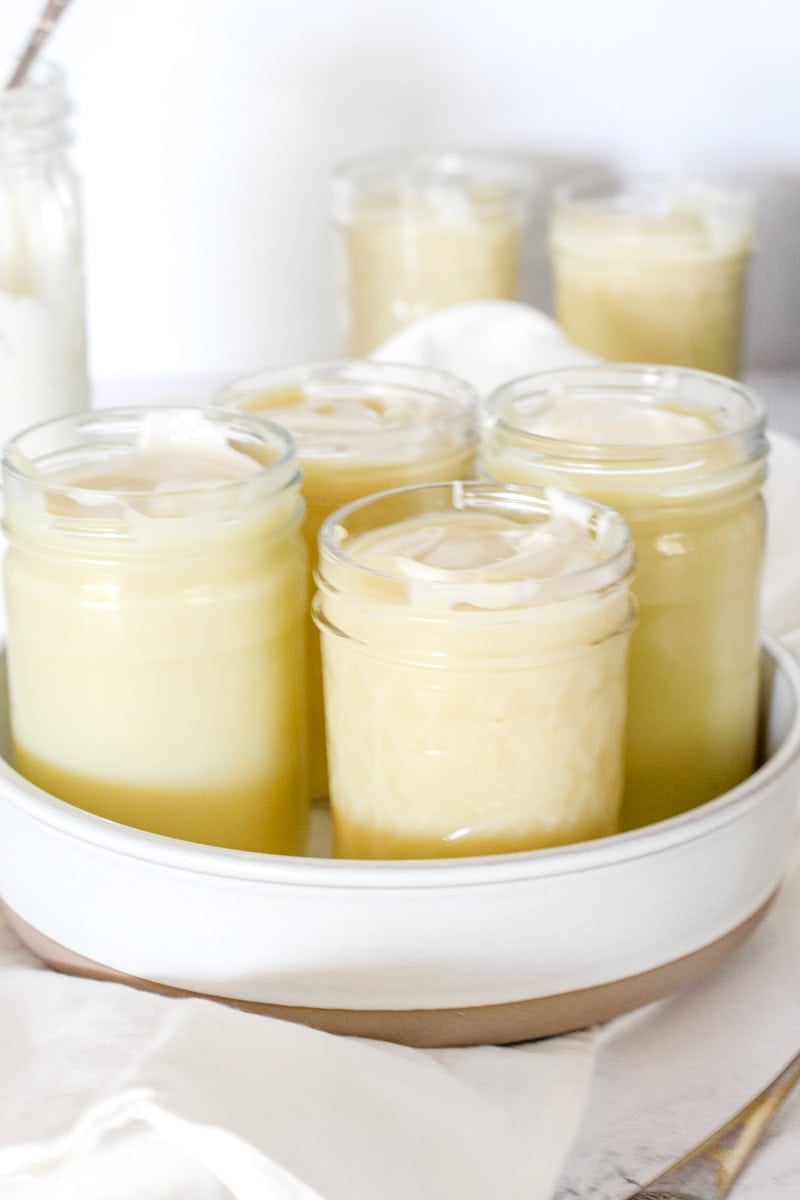
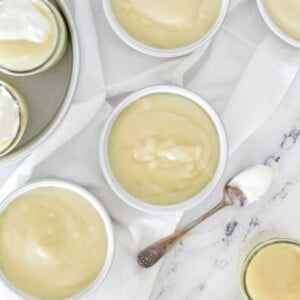
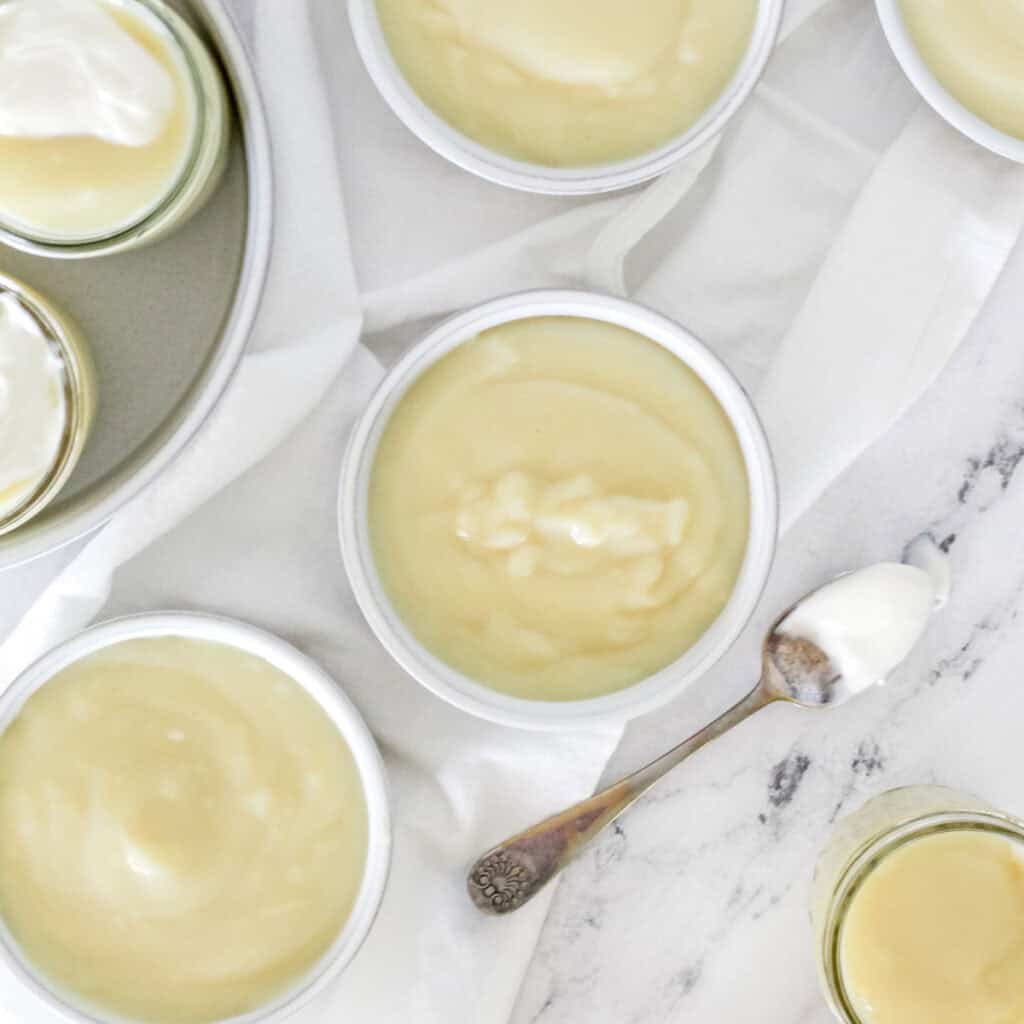
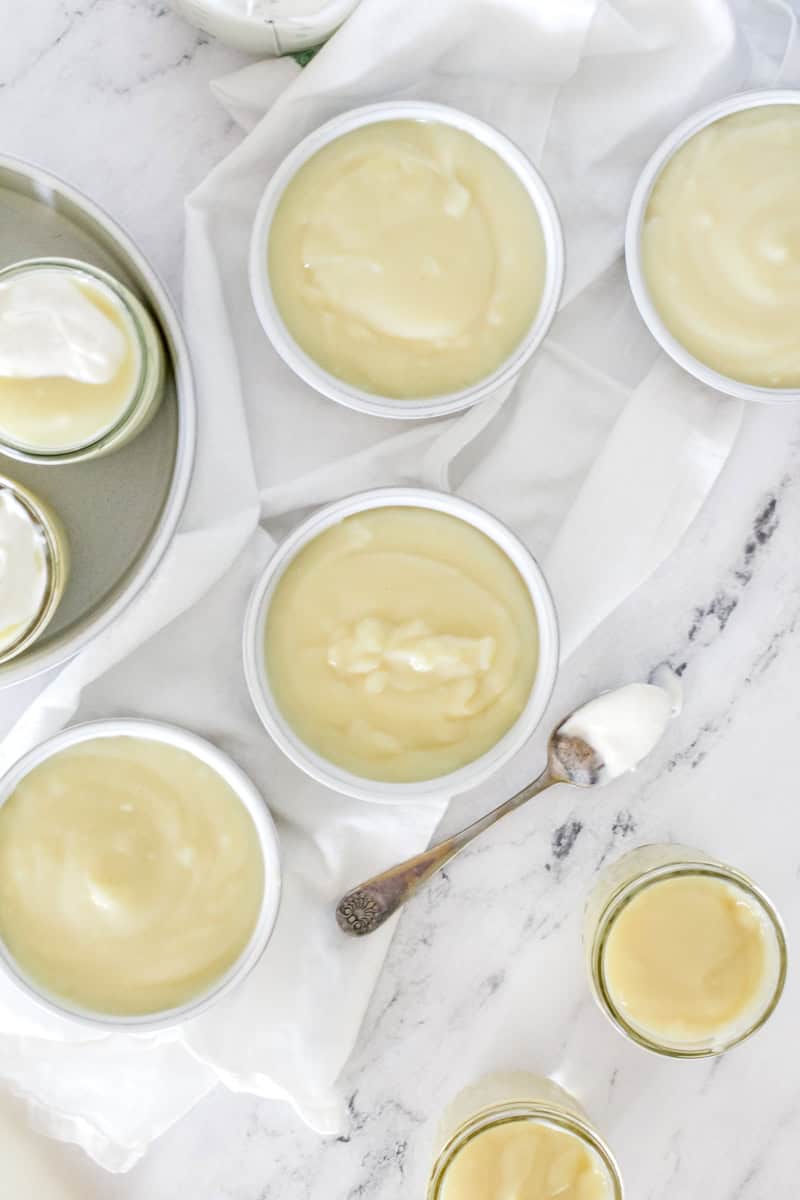
Pour the pudding into a bowl or two quart mason jars.
Store in the refrigerator for up to 3 days and see helpful tips below for the best way to keep pudding fresh.
Hint: To keep the top of the pudding from developing a film, lay a piece of plastic wrap directly on the pudding and remove just before serving.
If you make this recipe, please leave a comment below! This provides helpful feedback to both me and other readers. For more delicious recipes from scratch and homesteading tips, follow me on instagram @NinnescahHomestead
Recipe
Homemade Vanilla Pudding
Equipment
- heavy stock pot
Ingredients
- 1 ½ cup sugar (297 grams)
- 6 tablespoons corn starch (66 grams)
- 6 cups whole milk (1,464 grams)
- 8 egg yolks
- 2 tablespoon butter
- 3 teaspoons vanilla extract
Instructions
- In a heavy saucepan or enameled 5 quart dutch oven, combine the sugar and cornstarch. Whisk in the milk. Continue stirring and cook over medium heat until thickened and bubbly. Cook 2 minutes more.
- Remove the mixture from the heat and gradually stir in one cup of the hot milk mixture into the egg yolks. Once the eggs are very hot, pour them into the milk mixture and whisk to combine. Bring it to a gentle boil and then reduce heat. Cook and stir for two more minutes.
- Remove from heat and stir in butter and vanilla. Pour the pudding into a bowl or two quart mason jars. Store in the refrigerator.
Notes
The Importance of Tempering Egg Yolks for Vanilla Pudding
Tempering the egg yolks is a crucial technique when making pudding, as it ensures a smooth and silky texture while preventing the yolks from curdling or scrambling due to sudden exposure to high heat.-
- To temper the yolks, begin by whisking them in a separate bowl. Gradually ladle a small amount of the hot milk mixture into the yolks while continuously whisking. This gradual addition raises the temperature of the yolks without shocking them, effectively bringing them to a similar temperature as the rest of the mixture.
-
- Once tempered, the yolks can be safely incorporated into the main pudding mixture without the risk of curdling.
How to keep pudding from scorching
Cooking pudding to perfection requires careful attention to prevent scorching, which can result in a burnt taste and undesirable texture. Follow these steps to ensure your pudding comes out creamy and delicious:-
- Low to Medium Heat: When cooking pudding, always use low to medium heat. High heat can cause the mixture to stick to the bottom of the pot and scorch. A heavy-bottomed saucepan is ideal for distributing heat evenly and minimizing the risk of scorching.
-
- Constant Stirring: Stirring the pudding mixture consistently is key to preventing scorching. Use a heat-resistant spatula or wooden spoon to gently stir the mixture in a figure-eight pattern or circular motion. This motion helps to evenly distribute heat and prevent any one area from becoming too hot.
-
- Constant Attention: Pudding can scorch quickly, so never leave it unattended. Stay by the stove and continue stirring until the mixture thickens to the desired consistency. This attentive approach prevents the mixture from sticking to the pot and burning.
-
- Adjust Heat as Needed: If you notice the pudding starting to stick to the bottom of the pot or if you see any signs of scorching, immediately reduce the heat and adjust your stirring technique. This proactive step can salvage the pudding and prevent further scorching.
-
- Remove from Heat Promptly: As soon as the pudding reaches the desired thickness, promptly remove it from the heat source. The residual heat will continue to cook the mixture slightly, and removing it from the stove prevents overcooking or scorching.
Nutrition
How long does pudding last in fridge?
Homemade pudding tastes best when eaten within three days. If the pudding has not been spooned out, for example it is in a mason jar with a lid and has been undisturbed since pouring it in the jar, it could last up to six days and still be very good.
Dairy products, like pudding, naturally begin to separate after they have cooled. A watery liquid called whey is gradually released and can be off-putting to some people. The whey can be poured off or stirred back in.
I like to store my pudding in several small containers rather than one large container. Mason jars and jelly jars work great for keeping smaller portions!
Variations
This homemade vanilla pudding is just the beginning! Nine times out of ten, I just pour the pudding into small jelly jars to make individual serving sizes of snacks for my kids. But, it sure is fun to experiment when I have al little extra time!
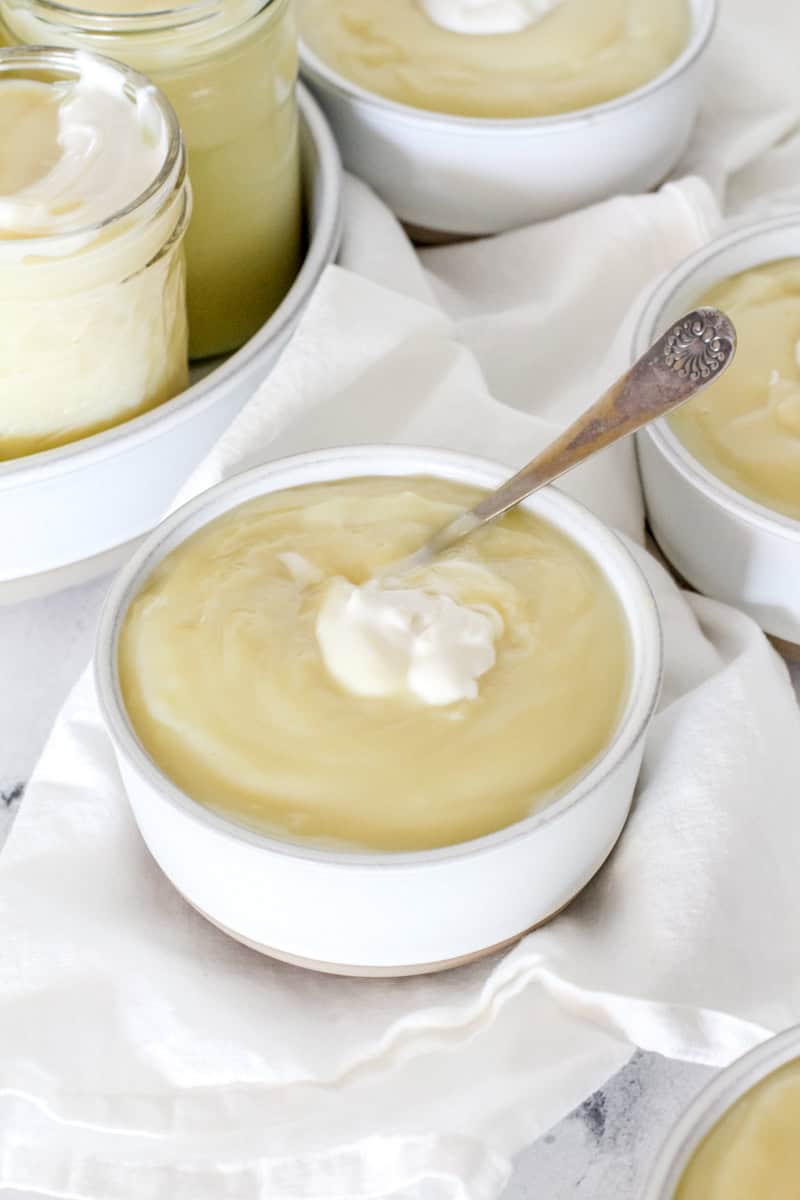
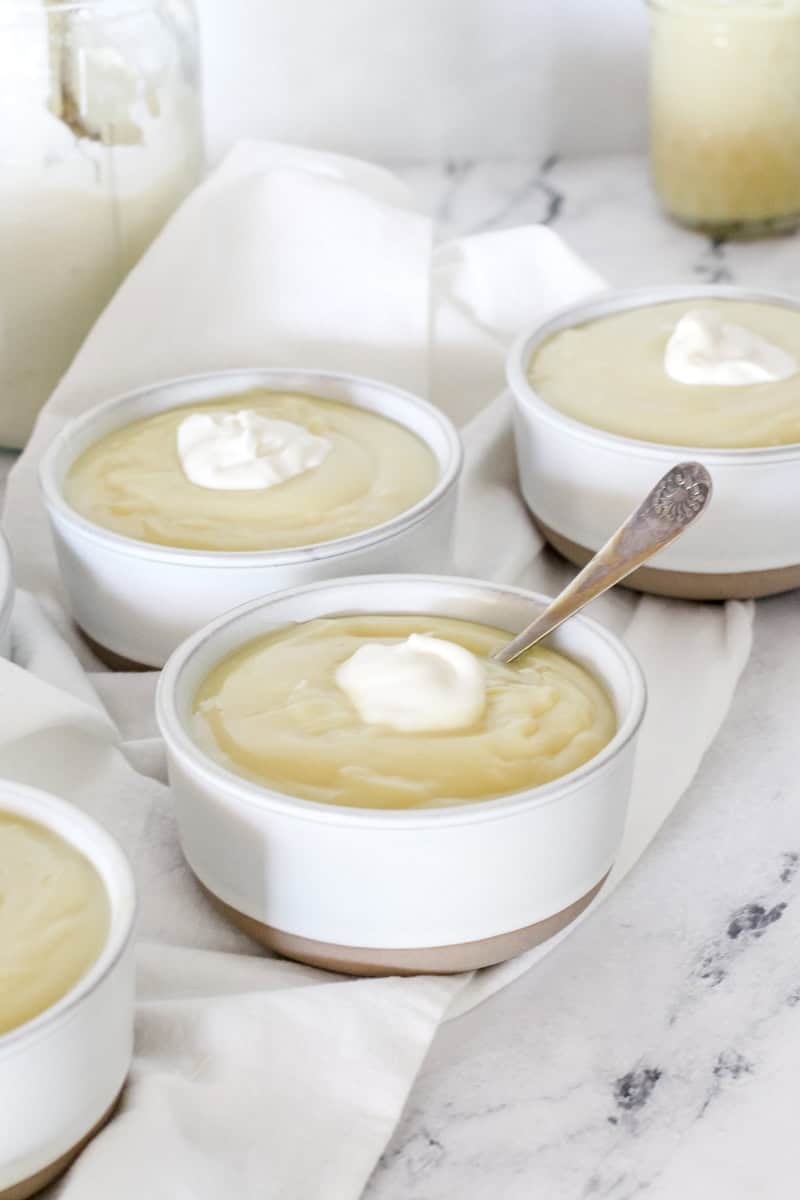
- Swirl - add homemade vanilla yogurt to the pudding in jars and lightly swirl to combine. This will make the pudding a little less sweet and add a healthy boost to this delicious recipe!
- Pudding pies - Pour the pudding into a homemade or pre-made graham cracker crust and add layer of whipped topping. Easy peasy!
- Icebox cakes & layered desserts - These are my favorite! They can be served frozen or refrigerated. Check out two of my family's favorite pudding desserts Chocolate Delight and Oreo Icebox Cake (pictured below!)

Ways to use up extra eggs and milk:
Now that my family is really embracing the homesteading life, there are certain seasons where we have plentiful eggs, milk, venison or pork. When we find ourselves with an abundance, here are a few of my go-to recipes to use up extra eggs and milk.
- Angelfood Cake requires 13 egg whites.
- A double batch of pudding uses 16 egg yolks and 12 cups of milk.
- Homemade mozzarella uses one gallon of milk.
- Cream puffs (with vanilla pudding!) uses 16 eggs.
- Instant Pot yogurt uses a gallon of milk.
- 20-Minute Sourdough crepes use 8 eggs!
- Use up leftover sourdough bread and 9 eggs and 7 cups of milk by making a pan of Sourdough Bread Pudding.
- My venison Farmer's Casserole uses 3 cups of milk and 8 eggs.
How to store pudding
For short-term storage, you can place the pudding in an airtight container in the refrigerator. Vanilla pudding can stay fresh and delicious for up to 3-4 days this way.
If you need your pudding to last longer than this, consider transferring the container to the freezer. Freezing your pudding is an easy option to prolong its shelf life for up to 1-2 months. However, it's essential to note that freezing may slightly alter the texture, causing the pudding to become firmer.
When you're ready to savor the frozen pudding, simply transfer it to the refrigerator a few hours before serving to allow it to thaw gradually.
The plastic wrap trick: How to prevent "skin" from forming on pudding
To prevent the formation of a thickened layer on the surface of your homemade vanilla pudding, a simple yet effective technique involves using plastic wrap. Once your pudding has finished cooking and is ready to cool, take a piece of high-quality plastic wrap and gently press it directly onto the surface of the pudding.
Double check that the plastic wrap makes full contact with the pudding to create a tight seal. This serves a dual purpose: it not only prevents air from coming into contact with the pudding, which can lead to the development of an unwanted skin, but also helps maintain the pudding's creamy consistency throughout.
The plastic wrap acts as a protective barrier, preserving the texture you've worked so hard to achieve. After applying the plastic wrap, you can proceed to cover the pudding with a lid or another layer of plastic wrap, and then transfer it to an airtight container for storage.
FAQ
Whisk the egg yolks in a separate bowl to create a smooth, uniform consistency. Ladle a small amount of the hot milk mixture into the whisked egg yolks while continuously whisking. This gradual addition prevents temperature shock. Once tempered, smoothly integrate the egg yolk mixture into the main pudding mixture without fear of curdling.
Use low to medium heat. Stir constantly, never leaving the pot while it is cooking. Adjust the heat as needed and use a whisk to continually move the pudding from the bottom of the pot. As soon as the pudding is finished cooking, immediately remove it from the heat.
If you are having a dessert craving...
I've got you covered! Looking for more sweet recipes? Try these:


I used this recipe to make your banana pudding with vanilla wafers---I was so happy to have leftover pudding. It was so delicious to eat warm! I didn't even give the pudding time to chill before eating it! Great recipe and easy to make!
I came across your recipe as I was searching for a way to use some extra egg yolks from making a cake for Easter. This pudding came out perfect and so tasty! Can’t wait to explore more of your recipes. Thank you!
Hi Mara! I'm glad this recipe helped you out with using up extra egg yolks. Using up extra milk and eggs is my favorite part of this recipe! Have a wonderful day!
Meg
Well that turned out delicious! Will now be a staple with me to use up extra milk and eggs! Thank you.
Yay! I'm so glad! This is my go-to, too. You can always tell when we are swimming in milk and eggs because there's always pudding in the fridge. This recipe also makes excellent pudding popsicles if you have a mold, too!
Not sure exactly what I did wrong but mines gritty with weird chunks. Maybe I messed up on tempering the eggs. I’ll have to try again and see if I can get better results
Hi Morgan!
Let's troubleshoot! Pudding can be difficult, and there are a few tips I have that can help you. It could be the eggs, as you suggested, or it might have scorched. This can happen if the pan you are using isn't thick enough, the heat is too high, the eggs aren't tempered or the bottom isn't getting stirred continuously.
I like to use an enameled dutch oven and have found that my thin stainless steel pot isn't quite thick enough on the bottom for making pudding. When I make pudding, I baby sit it while continually stirring against the bottom of the pan the entire time. Once it scorches, it's really hard to recover the pudding.
Another thing that it could have been is your corn starch might have had lumps in it that failed to incorporate into the milk mixture. If the corn starch is lumpy, try running it through a sifter as you add it to the milk.
Pudding can be tricky, but it's a pretty cool skill to master! I hope you find success the next time you make it from scratch!
Meg