How to Make a Sourdough Starter
Have you been feeling the urge to create a beautiful artisan loaf of bread with your own hands? Or maybe you are finding yourself wanting a more nutritious and gut-friendly bread option for your family? No matter your motives, I can teach you how to make a sourdough starter that will be the base for so many future recipes!
It's intimidating, believe me I know. The different types of flour, the terminology, the messy kitchen and screaming-hot dutch oven... there are so many reasons to feel like making sourdough might be too hard. But here's the big secret: it's truly not! Follow my recipes and you will soon be scoring your own sourdough flowers and flourishes while your family oohs and aahs over your baking skills!
Are you ready? Here's how to make a sourdough starter!
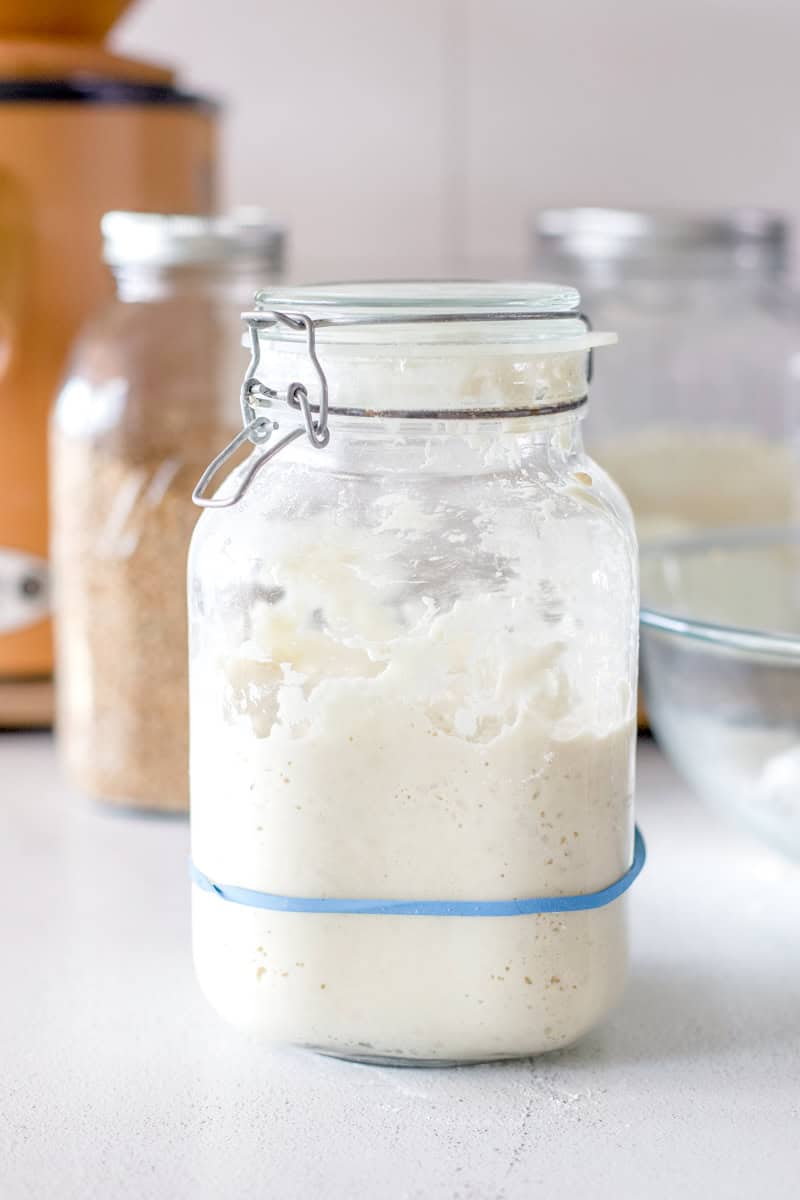
This is my sourdough starter, Bess. Once you dive in to the world of sourdough baking, you will find it is customary to name your starter. One of my boys came up with the name Burping Bessie, and it stuck. Every sourdough recipe starts with a culture like Miss Bess, here.
Jump to:
- What is a Sourdough Starter?
- Where to Buy a Sourdough Starter?
- Tools & Ingredients for Making a Sourdough Starter
- Instructions for Making a Sourdough Starter
- Top Tip
- When is My sourdough Starter Ready to be Used?
- Should My Sourdough Starter be Thick or runny?
- Troubleshooting Sourdough Starter
- Questions to Ask Yourself if You are Having Starter Problems
- Best Way to Store a Sourdough Starter
- FAQ
- Ready to bake with your starter? Here are a few of my favorite recipes!
- Recipe
- Sourdough Recipes
- What's happening around the homestead lately:
- Comments
What is a Sourdough Starter?
A sourdough starter is a fermented mix of flour and water containing wild yeasts and bacteria. When it is healthy and active, a sourdough starter makes your sourdough bread rise. It's basically like having a low-maintenance kitchen pet. You provide food, shelter and TLC, and it brings to the table hours of enjoyment and healthy snacks! This slow fermentation process replaces conventional yeast in recipes, and for thousands of years was how all bread was made!
Where to Buy a Sourdough Starter?
If you don't want to make a sourdough starter from scratch, there are plenty of resources for purchasing a dehydrated sourdough culture online. In fact, my friend Shari from The Flouring Home has a dehydrated sourdough starter that can be purchased online. Shari's an expert sourdough baker and you can find her on instagram here or her blog The Flouring Home.
Rehydrating a dried sourdough starter is basically the same process as making a new culture from scratch. The benefit is you may get a more diverse sourdough starter perhaps a little more quickly that by just utilizing the wild yeasts in your home.
Your best bet for getting a bubbly, thriving sourdough starter would be to have a friend or someone in your community share a portion of theirs with you.
When we are caring for a sourdough starter, we have to discard a small portion before every feeding. This discarded portion can be used in a discard recipe, stored for later, composted, fed to chickens, or gifted to a friend!
Tools & Ingredients for Making a Sourdough Starter
- Organic All-Purpose Flour | conventional flour is treated with conditioners and chemicals to keep it shelf stable. These additives can make it difficult for a culture of wild yeast to thrive, so choose a high quality flour! I also love to use freshly milled flour for feeding my sourdough starter. It really gives it an oomf!
- Water | City water won't work for this recipe because it contains chlorine and possibly fluoride, which both inhibit microbial growth. If you are unsure of the additives in your water, use filtered.
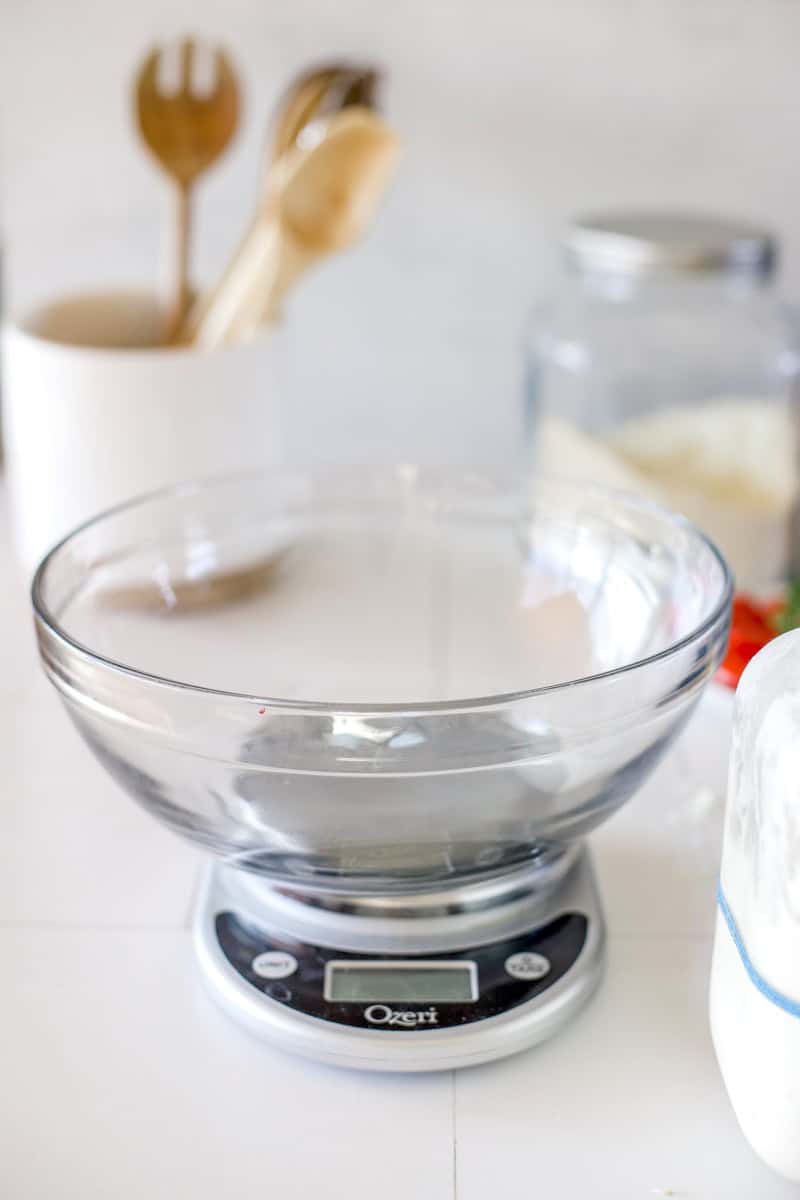
- A kitchen scale | You will need to be able to measure in grams when weighing sourdough ingredients. This doesn't have to be expensive or fancy.
- A large glass jar | The sourdough starter will grow best in a spacious jar with a breathable lid. The glass allows us to easily see where it is at in the fermentation process. The jar needs to be big enough that the flour and water mixture can easily double (or more) without running out of room.
- A dry erase marker or rubber band | To check for activity, you will need to be able to see what level the starter is at. Mark the starting height, then keep an eye on it!
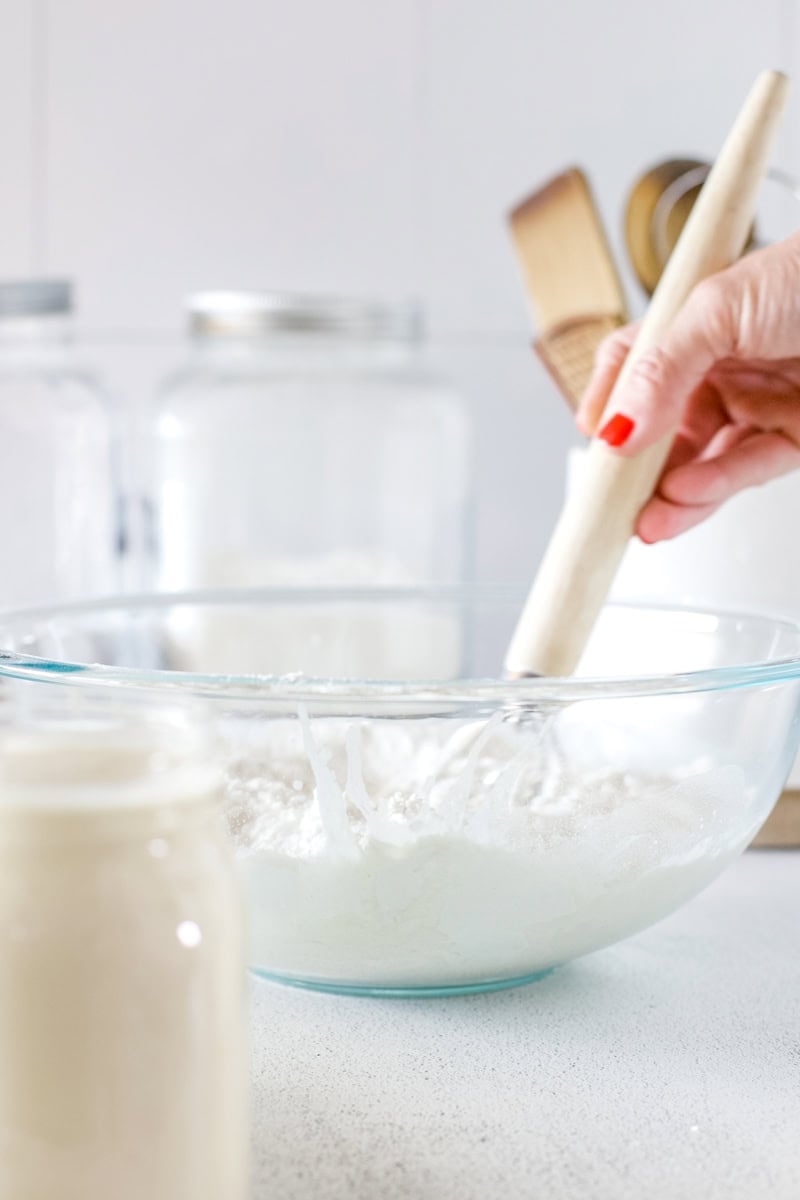
- A wooden spoon | Stirring sourdough is a thick, sticky mess. You will want a long-handled utensil for scraping the sides of the jar and getting it thoroughly stirred. If you are using a mason jar, I love the slender dutch whisk from Barlow & Co. You can get it here, and be sure to check out their bread bow knife for slicing your sourdough loaves! You can save 10% with my code MEGANAUSTIN. Both will make your life so much easier!
See recipe card for quantities & instructions.
Instructions for Making a Sourdough Starter
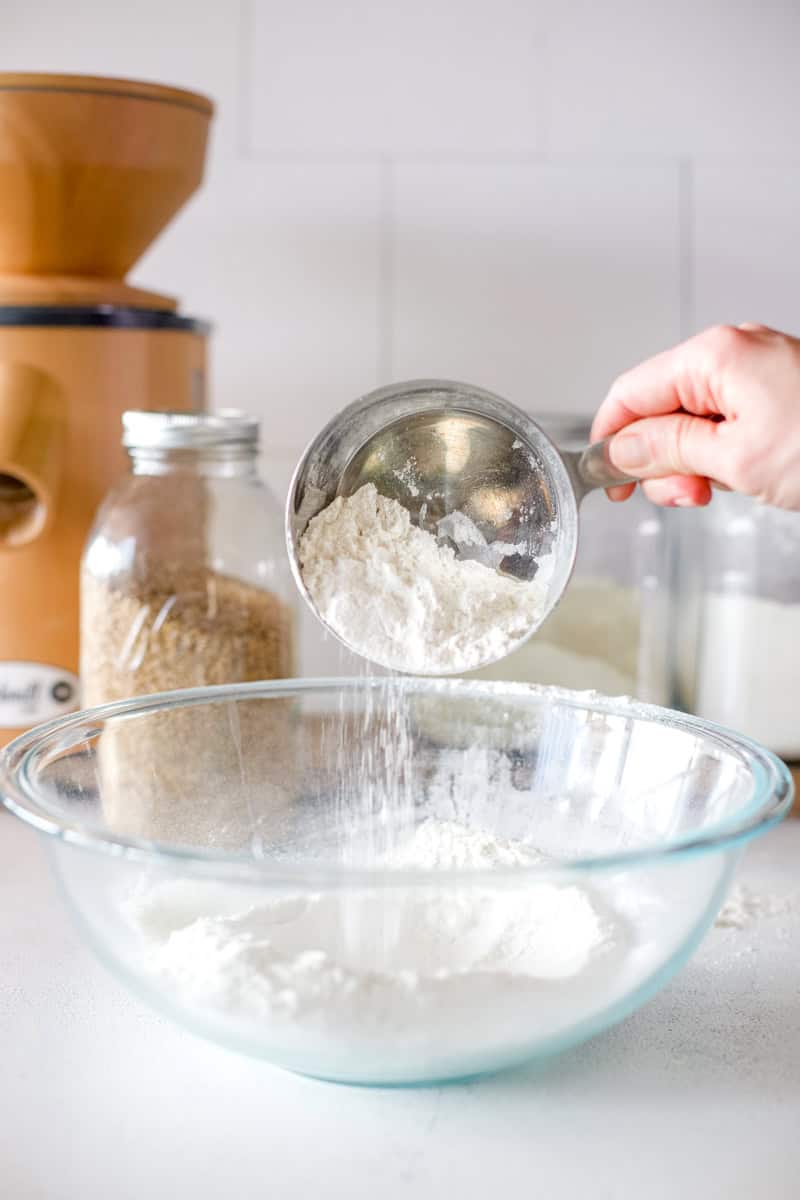
Day 1: Combine 113 grams (1 cup) organic all-purpose flour with 113 grams(½ cup) of room temperature water. Store this mixture in a one quart glass container. Cover the container loosely and let it sit at room temperature for 24 hours.
Day 2: Most likely, no activity will be occurring at this point. It is possible to see a bit of bubbling or growth. Regardless of the level of activity, we are now ready to do our first discard and feeding. Save 113 grams of starter and discard the rest. Feed the starter with 113 grams each of flour and lukewarm water. Stir it up, cover loosely and let it sit for another 24 hours.
Day 3: The starter may be showing a little life at this point: bubbling, growing and smelling a little funky. Now it is time to begin feeding the starter twice a day, ideally every 12 hours. Just like the previous days, a portion of the sourdough starter must be discarded so that we keep an equal ratio of 113 grams of starter plus 113 grams of flour and lukewarm water added back in. Stir and cover the starter. If the starter has not been growing or bubbling, repeat step 2.

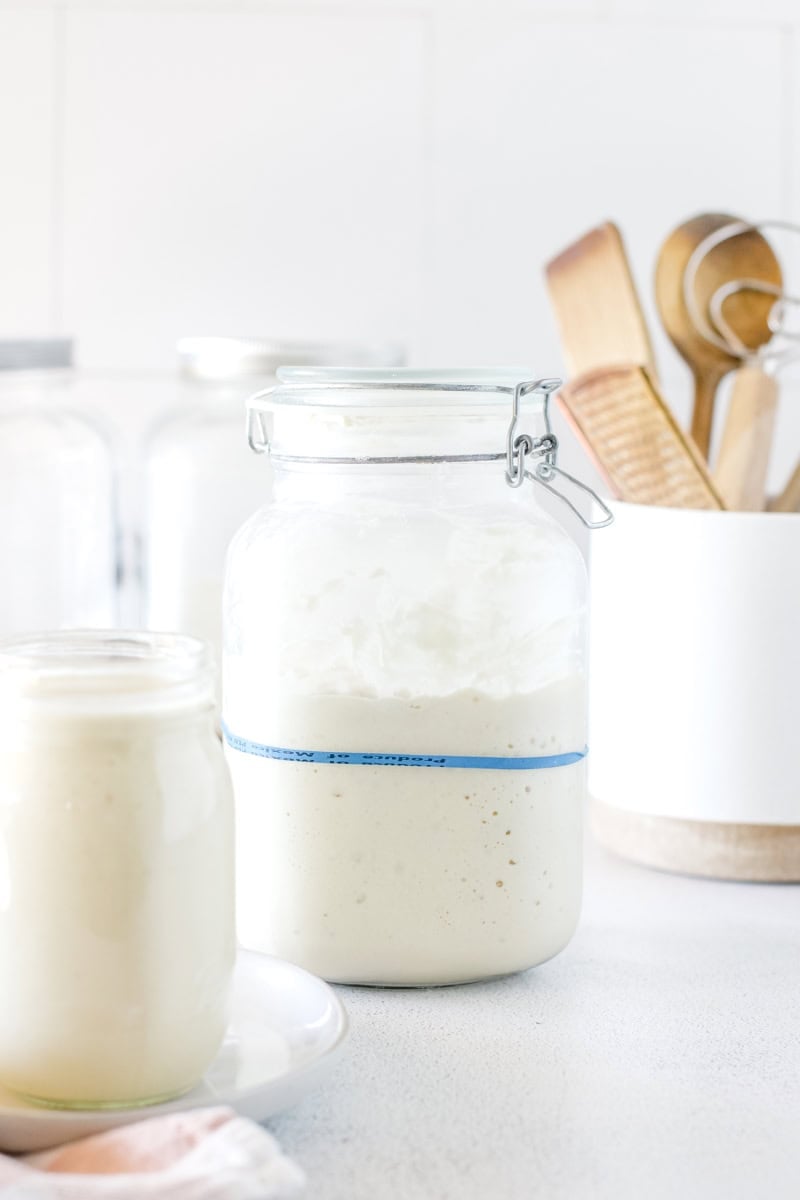
Day 4: Weigh out 113 grams of starter and discard the rest. Feed the starter 113 grams each of water and flour. Place a rubber band around the vessel at the level of the starter. This will measure the growth activity of the starter and act as a gauge for the level of activity. You might recognize my rubber band- I saved it from a bundle of asparagus!
Day 5 & 6: Repeat the feeding and discarding for two more days. The starter will become very bubbly and have a fruity, acidic aroma. It will rise in the vessel after feeding, then gradually shrink down a bit when the activity slows and it needs to be fed again.

Once your starter is active, begin a maintenance schedule of feeding and discarding every twelve hours (ideally) when stored on at room temperature, or every week when stored in the refrigerator.
Top Tip
Be patient! There are many factors that can speed up (or greatly slow down) a sourdough starter! Keep repeating the feeding and discarding process until you see activity. I also have a troubleshooting section at the bottom of this post if you need extra help!

When is My sourdough Starter Ready to be Used?
If your starter doubles (or triples!) in volume within 4 to 8 hours after a feeding, it is ready to go. It is so satisfying, and incredibly messy, when I find my starer has spilled out of the container like a yeasty little volcano. In a perfect world, I want to use my starter 4 to 8 hours after it's been feed or when it has doubled. This will absolutely make the tastiest crusty bread with a soft and airy texture.
Every time I feed my starter, I place a rubber band around the vessel it is in to mark its height. This helps me watch it's growth and see when it has doubled in volume and is ready to be used.
If your starter is not doubling within 4 to 8 hours of feeding it, you should spend a few days focusing on growing the culture back to optimal health by feeding and discarding regularly. Typically I can repeat this routine for 2-3 days and my starter will become very active and happy.
Should My Sourdough Starter be Thick or runny?
Every individual home environment, for example your elevation or humidity, could lead to some variations in the consistency of your starter.
Here's the simple truth: no matter your starter or home environment, the goal throughout this process is to maintain a thick gooey starter. It should settle smoothly into the bottom of the container and slowly move side to side as the jar is tipped, but it shouldn’t be easy to pour or runny like waffle batter. A healthy sourdough starter should be somewhere in between. As the starter becomes active, it will become spongy – like a fluffy marshmallow.
If I feel like my starter has become too stiff or too thin, increase or decrease an extra splash of water or flour until the desired consistency is reached. Do this a little at a time, such as a teaspoonful.
Troubleshooting Sourdough Starter
While sourdough starter can be a rewarding and versatile ingredient in bread baking, it is not without its challenges. Understanding and troubleshooting common sourdough starter problems can help you maintain a thriving and active culture. One issue that may arise is a sluggish or inactive starter, which can be due to insufficient feeding or improper storage conditions. To revive it, try discarding a portion of the starter and feeding it with equal parts flour and water at regular intervals until it becomes active again.
Another common problem is a sourdough starter that smells unpleasant or exhibits off-putting colors, such as pink or gray. This can be a sign of contamination or imbalance in the microbial community. In such cases, it is recommended to discard the affected starter and begin a new one using fresh flour and water.
I get several messages from newbies asking me if their starter is okay because it has a liquid on top. Sometimes the liquid looks like clear water, other times it is yellow or gray. This liquid is a fermented alcohol called hooch and simply means that the starter consumed the nutrients in the flour and is very, very hungry. It can be poured off or stirred back in, then continue feeding and discarding as normal.
Finally, a starter that consistently fails to rise or produce a good leavening effect may lack the strength and vitality of active yeast. Boost its vigor by feeding it with whole grain flours, reducing the hydration level, or adjusting the feeding schedule.
Remember, troubleshooting sourdough starter issues requires patience and experimentation, but with perseverance, you can overcome these obstacles and enjoy the benefits of a thriving sourdough culture.
Best Way to Store a Sourdough Starter
The best way to store a sourdough starter is by keeping it refrigerated when you aren't planning on baking within the next few days. Before refrigeration, it's important to ensure that the starter is well-fed and active. This means feeding it with equal parts of flour and water and allowing it to go through its fermentation process before storing it. Once ready, transfer the starter to a clean, airtight container.
A glass jar with a loose-fitting lid or a plastic container with a tight-sealing lid work well. Remember to leave some room for the starter to expand as it may continue to release gas during storage. Place the container in the refrigerator, which provides a cooler environment that slows down the fermentation process and helps maintain the stability of the starter. It is recommended to feed the starter regularly, ideally once a week, by discarding a portion and refreshing it with fresh flour and water.
Okay, so that's the real advice. But let me just tell you that in our kitchen, there have been times when I've forgotten to feed my refrigerated starter for WEEKS. Maybe a month, if I'm being honest. And it's survived and been just fine. Don't stress about this!
FAQ
If your recipe calls for more than a cup of starter, feed it without discarding until you've reached the amount you need. Just make sure that you always reserve enough starter to keep the process going!
A just-fed starter can be refrigerated immediately or before it has peaked, which is typically 3-4 hours. Once you are ready to bake, remove the starter from the fridge and feed it at least twice to regain potency before using it in a recipe.
Your starter will grow, and grow, and GROW! It will become very large and require more flour and water to reach activity. If you are concerned about waste, don't be! There are plenty of great sourdough discard recipes you can use, and also storing it in the refrigerator minimizes feedings and discarding.
Ready to bake with your starter? Here are a few of my favorite recipes!
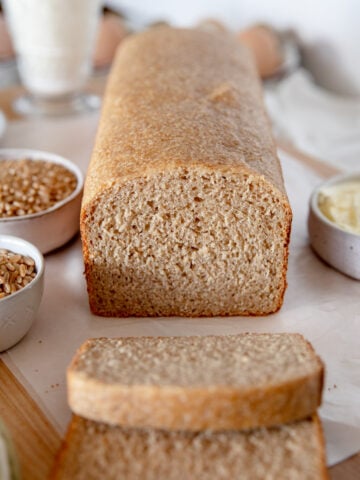
Once you have your starter, it's time to get baking! I recommend starting with How to Bake a Perfect Loaf of Sourdough. This is an artisan loaf that is straightforward to make and always delicious!
Once you have mastered the artisan loaf, I'd move on to perfecting your own style of focaccia. This is my Simple Sourdough Focaccia recipe, and it can be used as a base recipe for many different variations! You'd also would love to have a sourdough pizza night using this Sourdough Pizza Crust .
For gut-friendly breakfasts, try this popular discard recipe for Sourdough Coffee Cake or 20-Minute Breakfast: Sourdough Crepes. As I'm writing this, I just made a batch of Sourdough Pancakes for my kids who just started summer break this week.
Last but not least, you've got to try this Cheesy Sourdough Starter Discard Crackers recipe! It's SO SO SO good and a great way to use up extra sourdough starter discard.


If you make this recipe, please leave a comment below! This provides helpful feedback to both me and other readers. For more delicious recipes from scratch and homesteading tips, follow me on instagram @NinnescahHomestead
Recipe

How to Make a Sourdough Starter
Equipment
- large glass jar
- Mixing bowl
- wooden spoon or spatula
- rubber band or dry erase marker
Ingredients
- 113 grams Organic All-Purpose Flour
- 113 grams water filtered
Instructions
- Day 1: Combine 113 grams (1 cup) organic all-purpose flour with 113 grams(½ cup) of room temperature water. Store this mixture in a one quart glass container. Cover the container loosely and let it sit at room temperature for 24 hours.
- Day 2: Most likely, no activity will be occurring at this point. It is possible to see a bit of bubbling or growth. Regardless of the level of activity, we are now ready to do our first discard and feeding. Remove half of the starter, which is 113 grams or ½ cup. Feed the starter with 113 grams each of flour and lukewarm water. Stir it up, cover loosely and let it sit for another 24 hours.
- Day 3: The starter may be showing a little life at this point: bubbling, growing and smelling a little funky. Now it is time to begin feeding the starter twice a day, ideally every 12 hours. Just like the previous days, a portion of the sourdough starter must be discarded so that you have 113 grams starter and then 113 grams each of flour and lukewarm water added back in. Stir and cover the starter. If the starter has not been growing or bubbling, repeat day 2.
- Day 4: Weigh out 113 grams of starter and discard the rest. Feed the starter 113 grams each of water and flour. Place a rubber band around the vessel at the level of the starter. This will measure the growth activity of the starter and act as a gauge for the level of activity.
- Day 5 & 6: Repeat the feeding and discarding for two more days. The starter will become very bubbly and have a fruity, acidic aroma. It will rise in the vessel after feeding, then gradually shrink down a bit when the activity slows and it needs to be fed again. Only use it for baking when it is at peak activity, nice and bubbly.
- Once your starter is active, begin a maintenance schedule of feeding and discarding every twelve hours (ideally) when stored on at room temperature, or every week when stored in the refrigerator. The more you feed and discard, the faster it will consume the nutrients and grow! The fridge can help to keep it manageable when you aren't actively baking.
Notes
Nutrition
Sourdough Recipes
Is sourdough your latest hobby (or maybe obsession)?? Check out all of my favorite sweet and savory recipes using both sourdough discard and active sourdough starter!


Find more sourdough recipes →
What's happening around the homestead lately:
Looking for other posts like this? Try these:


After trying a few different recipes, and feeling frustrated, my daughter sent me your link she was trying and your steps and suggestions are perfect, especially for beginners, so THANK YOU! I had to use whole wheat to perk it up on day 7, and it worked awesome! For some reason it wanted a richer flour added. I am so excited, and am trying a number of your recipes. I, and many other followers appreciate you and your talents, as well as educating us all!😁❤
I am in day 3 now, and about to start my feeding 2 times daily. Do I split the 113gr over these 2 feeds (57gr per feeding) or use the 113 gr for every feed? It looks really well so don’t want to screw up now!
Best
Geraldine
Every time you feed, you will take out 113 grams (half of your starter) and add back in 113 grams each of flour and water. It seems wasteful now, but once your starter is active and established, you won't have to feed it so often. Are you seeing any bubbles yet?!! Can't wait to hear about it!
-Meg
Thank you for the clear and more detailed instructions. I read other recipes but I still had questions and yours answered them right away. Also, I found useful the troubleshooting section and now I have a question. I'm on day 3 and I feed it twice a day but I see only liquid or hooch on the top and it has not grown. On day 3 it says "if the starter has not been growing or bubbling, repeat day 2" and this means removing half of the whole starter which will leave me with more than half or just the 113 grams? I have been removing only 113 grams and adding 113 grams of flour and water each. Thanks again!
Hi Cecilia! The ratio is 1:1:1, so equal parts by weight of flour, water and sourdough starter. Good catch! I'll go back and clarify that step.
Meg
Hi,
Thank you for sharing how to make a sourdough starter. I would love to start making my own. Can I make it with fresh milled flour?
Hello. I came across your site from The Flouring Home. I've completed day 3 and today is day 4. There is very little bubbling but some. The starter looks fine and has that funky smell but not really growing from what I can tell. It says to repeat day 2 if no activity. I'm not sure if I should go back to day 2 or just move forward and see what happens. My home is a bit cooler this summer (I live in Alaska), I'm wondering if I should put it in a warmer spot.
Also, I read another persons post that on day 7 they had to add whole wheat to give theirs a boost which did the trick.
I appreciate your guidance as I continue my sourdough journey. Thank you!
Hi Sara! Shari (A Flouring Home) is just the best, isn't she? Growing a starter from scratch can sometimes take a little longer. I would continue feeding and discarding until you notice growth and bubbles. I'm sure your cooler kitchen is just slowing things down a bit, which isn't a problem! I sometimes use a seed starting mat or a sourdough warmer to help boost my starter into action during the winter months, do you have anything like that to try? You can certainly feed it whole wheat flour (fresh milled, too!) to help give it a boost.