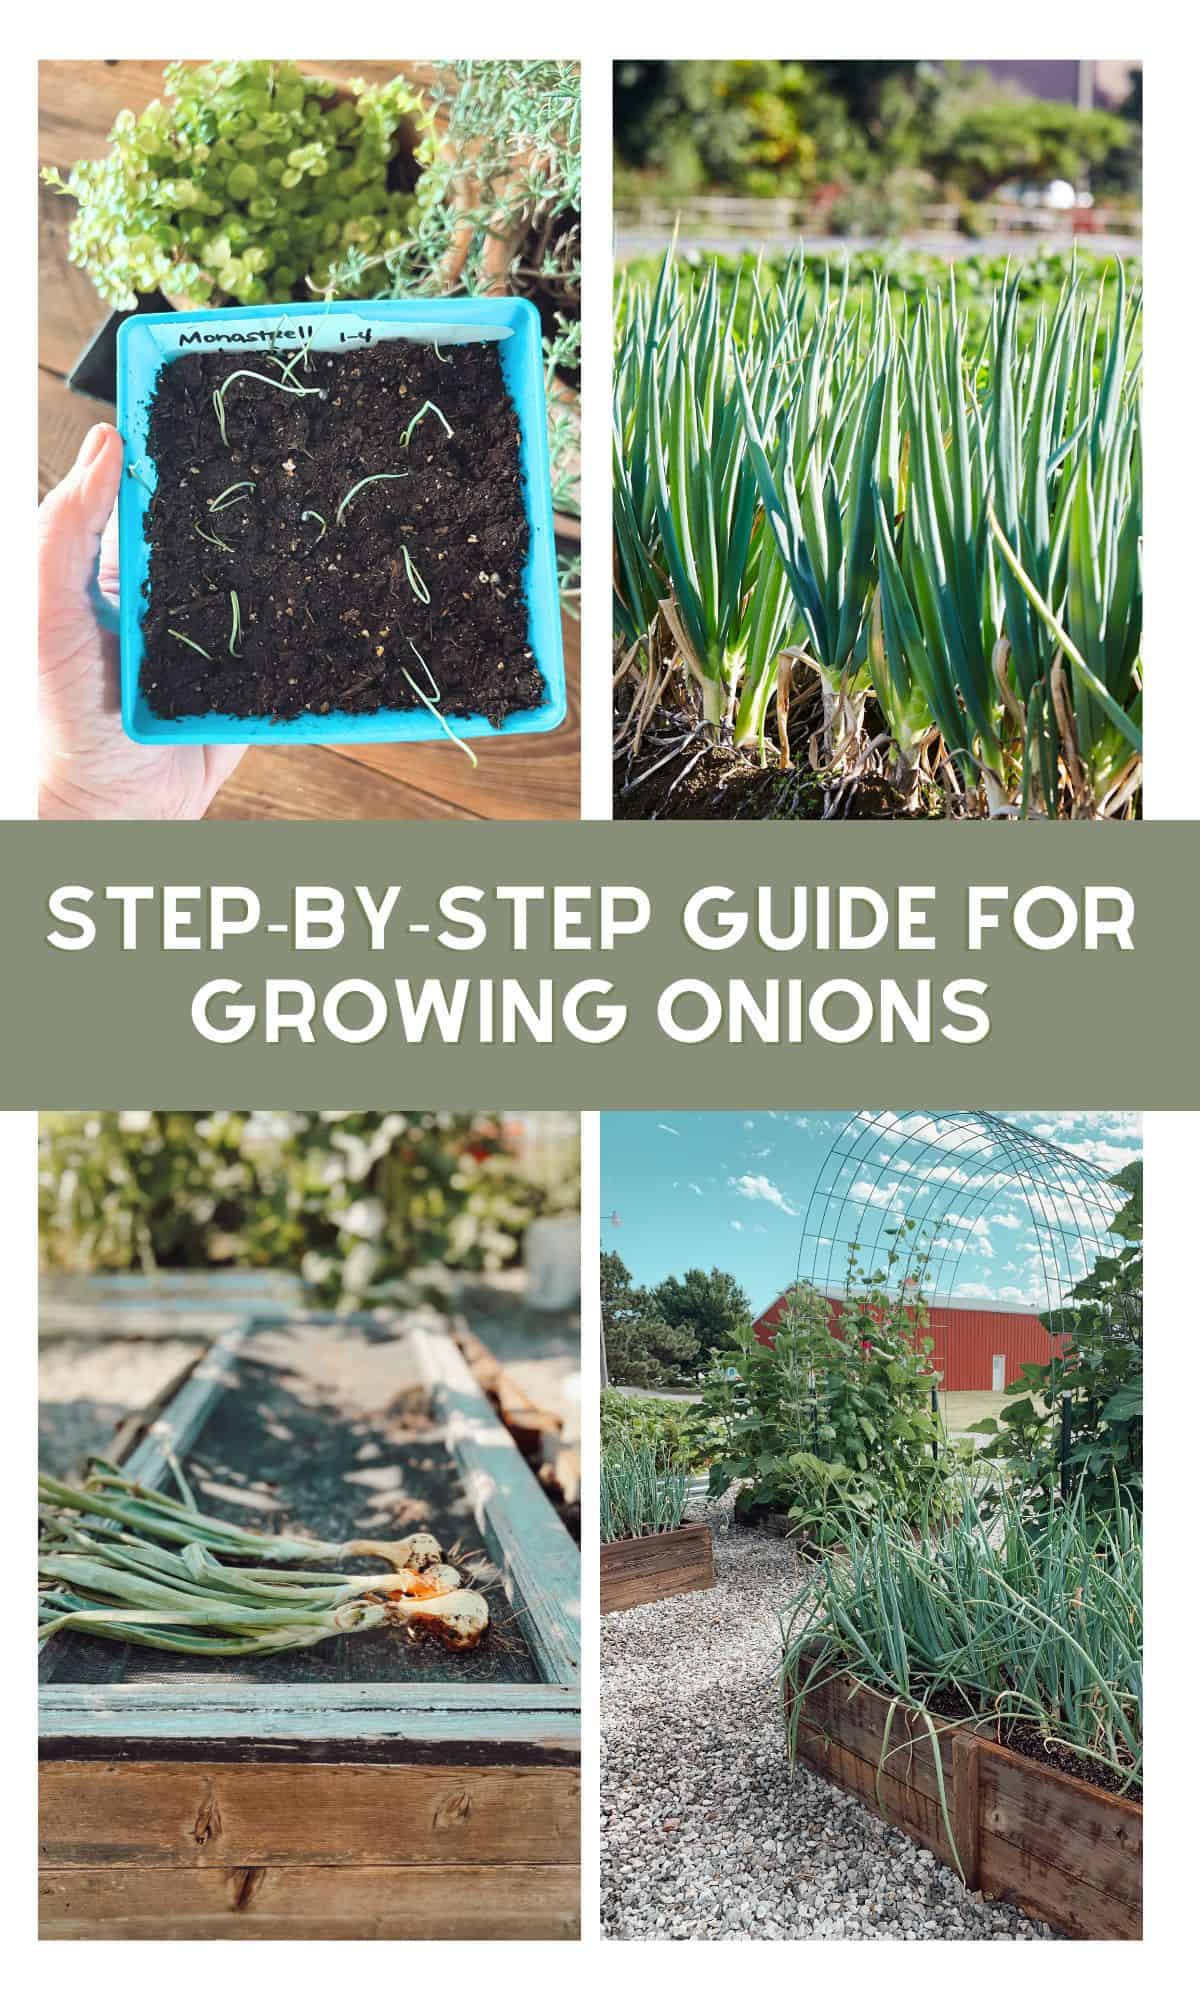
Growing Onions from Seeds
Growing onions from seeds is one of the easiest ways to save money and increase yields! Keep reading to learn how to grow onion plants from seed to large bulbs, plus plenty of helpful tips to maximize your growing season.
To make this how to grow onions guide easier to use, this article is split up into the following sections: Basic Onion Growing Tips, When to plant Onions Zone 6, How to Plant Onions, Caring for Onions, Best Garden Companions for Onions, Common Diseases and Pest Control, and finally Harvesting & Preserving Onions.
Feel free to skip ahead to the section you need most! Look for the bolded headings or use the jump-to button below.
Jump to:
- Choosing the Right Onion Seeds
- Understanding Onion Seed Germination
- Preparing the Soil
- When to Plant Onions in Zone 6
- Direct Sowing Outdoors
- How to Plant Onion Seeds Indoors
- Transplanting to the Garden
- Watering Onions
- Best Garden Companions for Onions
- Preventing Damage with Crop Rotation
- Harvesting Onions
- Curing & Storing Onions
- Gardening Resources
- Gardening guides, tips & tutorials
- New on the Homestead
- Comments
As an amazon associate, this post contains affiliate links, which means I make a small commission at no extra cost to you. See my full disclosure here.
Before you begin growing onions from seed, understanding the basics of onion plant care will help set you up for success out there!
Growing onions from seed can be slightly more labor-intensive than using onion sets or transplants, but it offers the advantage of choosing from a wider range of onion varieties and increasing your self-sustainability, plus it’s cheaper than purchasing sets.
I have learned over the years that onions grown from seed are tougher and tend to grow bigger. It's a garden win-win!
Choosing the Right Onion Seeds
If you’re looking for a broader selection of onion varieties, starting from seed is the best route. Onions come in different types—long-day onions, short-day onions, and day-neutral onions - each suited to particular growing conditions. A quick internet search will reveal the ideal onion type for your growing zone.
Long day onions need at least 14 to 16 hours of daylight and are best for northern regions. Long-day onions are best suited for zone 6 and are best for storage.
- One of my favorite varieties are Ailsa Craig heirloom onions. They are by far the largest onion you can grow in a short growing season, but the downside is that they don't store well and are best eaten fresh.
- Walla Walla onions are sweet and easy to grow, but they aren't suited for long term storage.
Day-neutral onions fall somewhere in the middle need 12-14 hours of daylight and are ideal for mild climates. These are typically sweet onion varieties and do so-so with storage. You'll definitely want to read the packet to make sure! Here are my recommendations:
- Calibra onions always do exceptionally well in our garden (and storage!)-- they are a hybrid variety that floats between intermediate and long day.
- My favorite red onions are Monastrell and they are a hybrid long- and intermediate-day variety that have good disease resistance.
Short-day onions thrive in southern zones where the daylight hours are shorter, requiring just 10-12 hours of daylight. These take 110 days on average to mature. Since I'm not in this zone, I don't have any recommendations for varieties.
Understanding Onion Seed Germination
Onions are typically started indoors from onion seeds (sometimes even called “little black seeds”) about 8 to 10 weeks before the last frost date in your area. The germination rate of onion seeds is generally high if they are stored properly and if the soil temperature remains between 65-75°F (18-24°C).
Most seed packets will have a sticker that says something like, "Germ: 97% Test Date: 07/24." This means that the company tested the seeds in July 2024 and had a 97% germination rate.
Storing seed packets properly can allow you to use seeds for multiple seasons, although germination rates will generally decrease with age. I keep my seeds in a photo storage container and store them in a dark basement closet.
Starting seeds indoors gives you the advantage of a longer growing season, allowing for better growth, larger bulbs come harvest time, and better chance of success when transplanting a mature and healthy plant.
Preparing the Soil
Onions thrive in fertile soil rich in organic matter like compost, well-rotted manure, or grass clippings. Properly prepared soil is key to healthy onion growth.
Aim for a well-drained soil surface that has a pH between 6.0 and 6.8. Amending your soil with organic matter before planting will encourage strong onion growth and increase your chances of obtaining good-sized bulbs.
Keeping the soil loose, using organic matter, is key to big, beautiful, round onions. Compact and rocky soil can restrict growth or make onions grow in a wonky shape.
If you are looking for ways to boost the nutrients in your garden soil, I suggest reading Cheap Ways to Add Nitrogen to Soil for my best tips!
When to Plant Onions in Zone 6
Zone 6 has a temperate climate, so knowing the best time to plant onions is key to a successful harvest. Onions need both warmth and sunlight to thrive, and timing your planting according to the last frost date is critical.
Planting too early and you risk damaging your plants, but planting too late and you may not give your onions enough time to fully mature.
In Zone 6, onion seeds should be sown indoors around late winter, specifically 8 to 10 weeks before the last frost date. The last frost in Zone 6 typically occurs in late April or early May, so plan to start your seeds indoors in late February or early March.
BUT, that being said, I prefer to plant my onion seeds indoors the last week of December or early January. They germinate in my basement on seed starting mats and then live under grow lights until they can be moved out to my unheated greenhouse in March. I have much better luck when my onions are bigger at transplant time!
This gives your onions a head start, resulting in stronger, healthier plants that will transition well to outdoor growing when the temperatures warm up. For other zones, count backwards from your projected last frost date and start seeds accordingly.
Direct Sowing Outdoors
If you prefer direct sowing, wait until early spring or after the last frost date when the soil temperature reaches at least 50°F (10°C). Another way for growing onions from seed is to sow the seeds directly into the garden. This still gives your onions the full growing season, but it also means that they’ll require more care and optimal soil to ensure proper development.
You will likely end up with smaller onion bulbs when it comes time to harvest, compared to starting seeds indoors. Better late than never!
How to Plant Onion Seeds Indoors
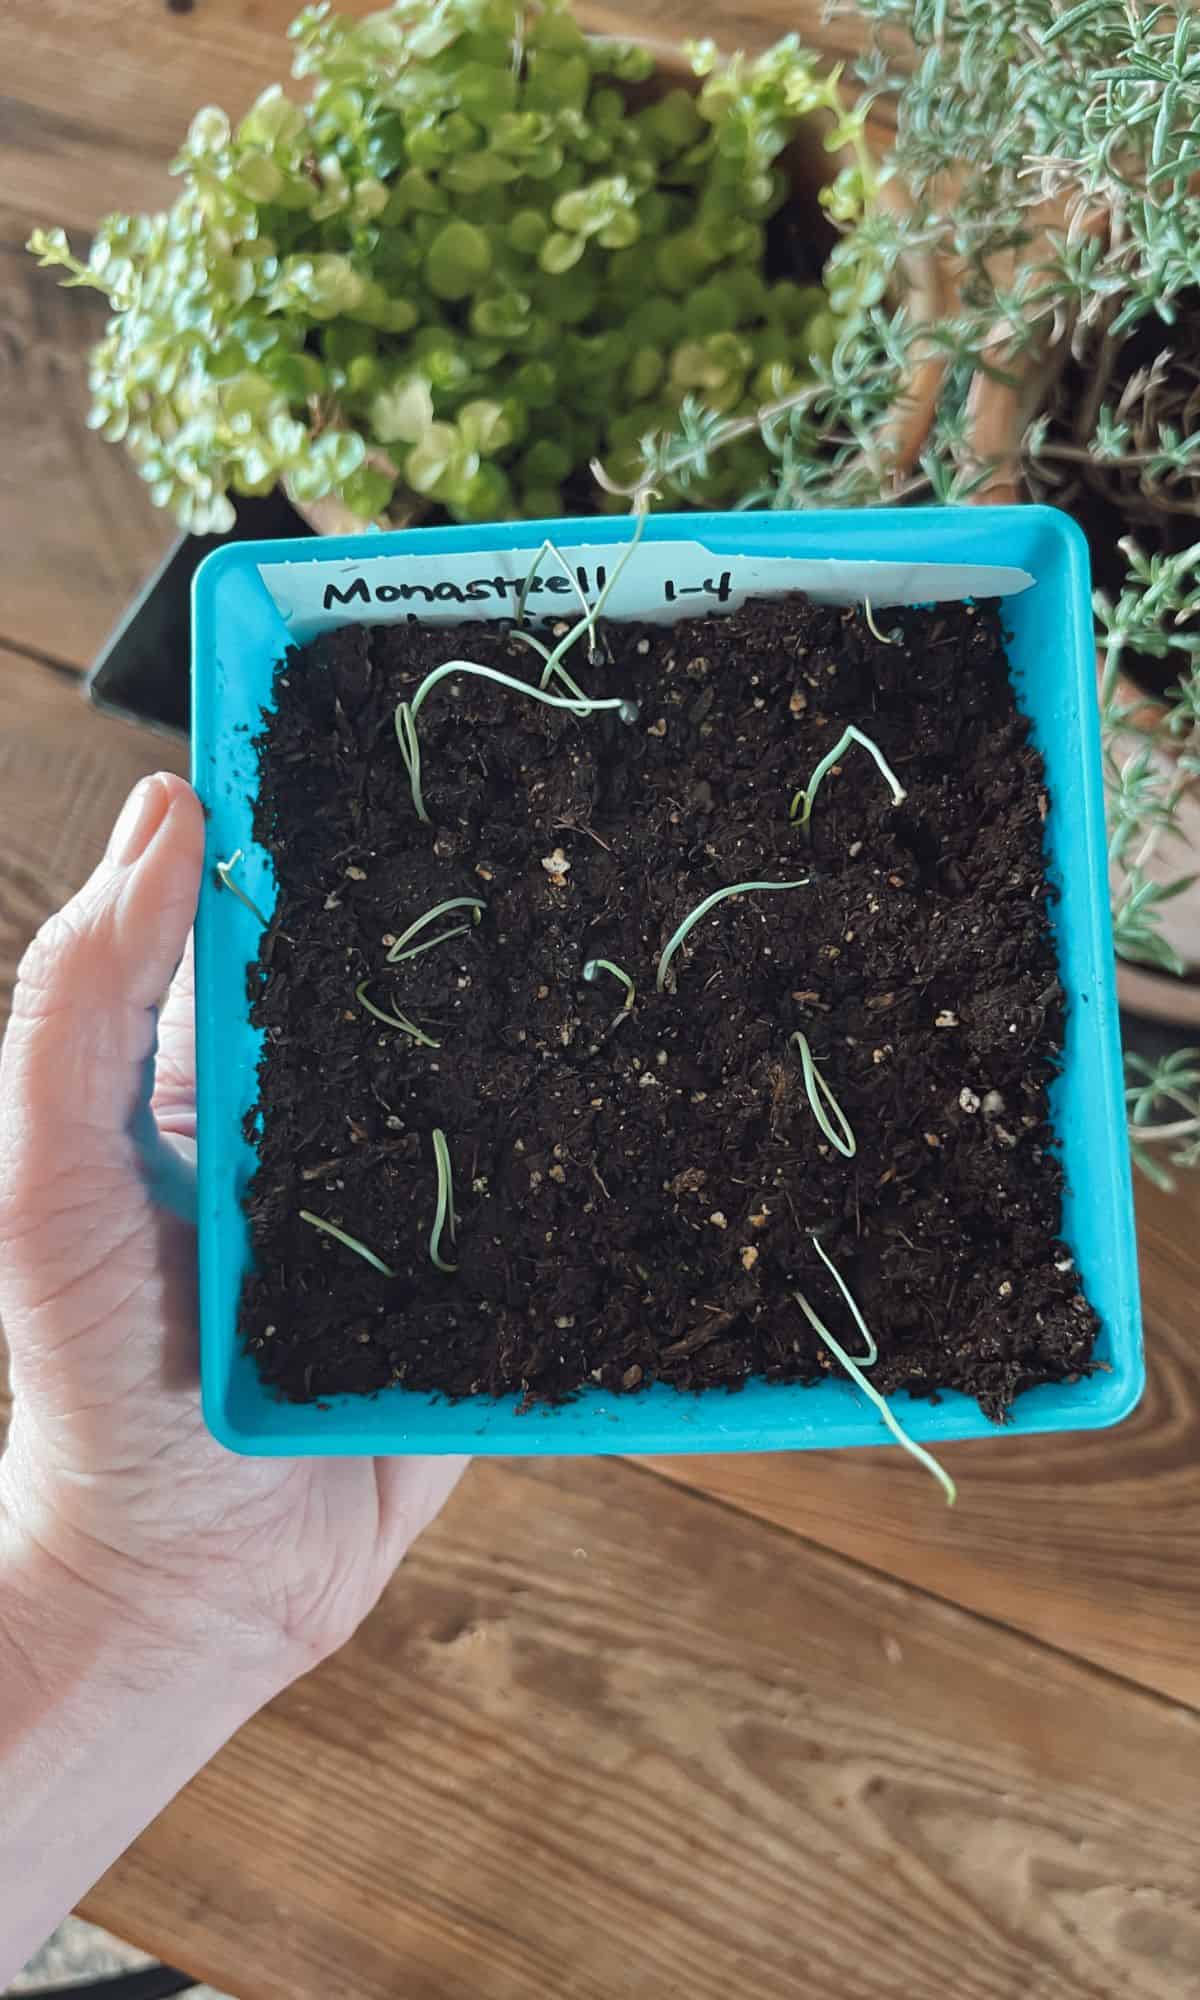
Fill seed trays with your favorite seed-starting mix and sow onion seeds about ¼ inch deep. The seeds are super tiny, so I like to pour them onto a shallow bowl and use a damp tooth pick to gently pick up each seed and place it in the soil. It's much more accurate and precise than depending on my fingers to delicately drop each seed in the proper place.
The germination rate will be higher if you keep the seeds in a warm place, such as on a grow mat. Once sprouted, I immediately move them under a grow light, bright window, or out to the greenhouse. The onions in the image below sprouted one week ago and are currently under grow lights in my basement!
Once your onion seedlings have grown 3-4 inches tall and the weather is warmer, they are ready to be hardened off. Start by placing them outdoors for a few hours each day, gradually increasing the time over the course of a couple of weeks before planting them in your garden.
Transplanting to the Garden
When the outdoor temperatures have warmed to around 50°F (10°C), it's time to transplant your onion seedlings into your garden. Space them about six to eight inches apart, and 1 to 2 inches deep.
Watering Onions
Onion plants require consistent moisture but should never be overwatered. Water deeply once a week to keep the soil moist.
Best time to water is in the morning, with a soft steam of water directly on the soil around the base of the plant. This will allow the plants to dry throughout the day, preventing any fungal disease.
Most ideal would be to use a drip irrigation system to ensure consistent, deep watering at the base of the plant.
Caring for Onions
Caring for your onion plants throughout their growing season will help them reach their full layered potential. Here are some tips for maintaining healthy plants and ensuring optimal growth.
Fertilization
Onions are heavy feeders. Applying organic matter, such as compost, to the soil in early spring will provide them with the nutrients they need to grow. You could also choose to add a balanced organic fertilizer throughout the growing season to ensure that your onions have the proper nutrients for onion growth.
Mulching
Mulching with grass clippings or organic mulch helps retain moisture, keep weeds under control, and improve soil fertility.
However, be careful not to mulch too thickly or bury the onion tops, as this can cause rot. Aim for a thin layer that allows the soil to breathe while preventing weed growth.
Avoid commercial mulches that are dyed and sprayed with chemicals. My favorite mulch for onions is organic straw and prairie hay. It's light and loose and breaks down well.
Some gardeners like to mulch their garden with cedar, but I usually reserve this for landscaping or walkways due to it's slower break down time. You can read more about Pros and Cons of Cedar Mulch in this blog post.
Thinning
If you’re growing onions from seed, you will likely have multiple plants growing at the same time. You will need to thin out onion seedlings once they’ve grown to about 4 inches tall.
This will allows the remaining plants to grow bigger and stronger. Thin them to about 4 to 6 inches apart. If you leave too many plants crowded together, the onions will grow smaller and will not reach their full bulb size.
Use the thinned onions you’ve pulled on salads or sandwiches as your very own microgreens!

Best Garden Companions for Onions
Onions don’t just benefit from care and attention—they also thrive when paired with the right garden companions. Here are some great ways to maximize your onion harvest by planting them alongside their buddies:
Carrots and Beets
Carrots and onions grow well together because their root systems don’t compete, and onions help deter pests like carrot flies. Beets also make excellent companions, as their compact growth doesn’t interfere with onions and their greens double as shade to retain soil moisture.
Tomatoes
Planting onions near tomatoes helps keep aphids and other pests away. This is especially important if you’re growing sweet onions or Walla Walla varieties, which can be more susceptible to pest damage.
Lettuce and Herbs
Lettuce can be grown alongside onions to take advantage of the shade onions provide during the hotter months. Bunching onions or green onions are particularly good companions for salad greens and other herbs like chamomile.
TIP: Do NOT plant onions with asparagus, turnips, peas, beans, sage or garlic.
Common Diseases and Pest Control
Onions can be susceptible to diseases like downy mildew and pests like onion maggots. Early detection is essential for managing these issues before they damage your crop.
Onion Rot and Downy Mildew
Onions that are overwatered or planted in poorly draining soil are susceptible to rot and mildew. Make sure your soil has good drainage and avoid overwatering. Remove any infected plants promptly to prevent the spread of disease.
Insect Pests
Besides onion maggots, onion plants can also fall victim to onion thrips and aphids. Onion maggots thrive in damp conditions, which leans on the importance of well-draining soil.
If row covers aren’t an option, be sure your onion plants are mature and healthy at the time of planting to reduce the damage they may endure by any pests.
You could also consider opting for organic pesticides, such as neem oil or diatomaceous earth. Read more in my Guide to Organic Pest Control in the Garden in this blog post!
Preventing Damage with Crop Rotation
If you see that you’re having an issue with pests and disease, consider rotating your onion crop to a different section of your garden next season. Rotating crops regularly, especially when disease and pests are detected is a great way to confuse pests and prevent disease from compounding.
Eliminating all pests from your garden would be next to impossible (especially when gardening organically), but tailoring your garden to make a cozy spot for ladybugs, praying mantis, and spiders can help give you an edge over the competition. Introducing or welcoming the good guys to your garden can also prove to be very helpful at preventing pest takeover.
Harvesting Onions
Harvesting your onions at the right time and properly storing them will help you enjoy their bounty long into the cool months.
Onions are ready to harvest when their tops turn yellow and start to fall over. This signals the end of their growing season. One downside of living in zone 6 is that our summers can be HOT! Once the heat turns up, the onions will fall over and stop growing-- even if the bulbs aren't fully matured.
The best time to harvest is generally around late summer to early fall, depending on the variety of onions you’ve grown. If your bulbs haven’t broken the surface of the soil, you can brush some of the soil back around the base of the plant to get an idea of how large your onions are.
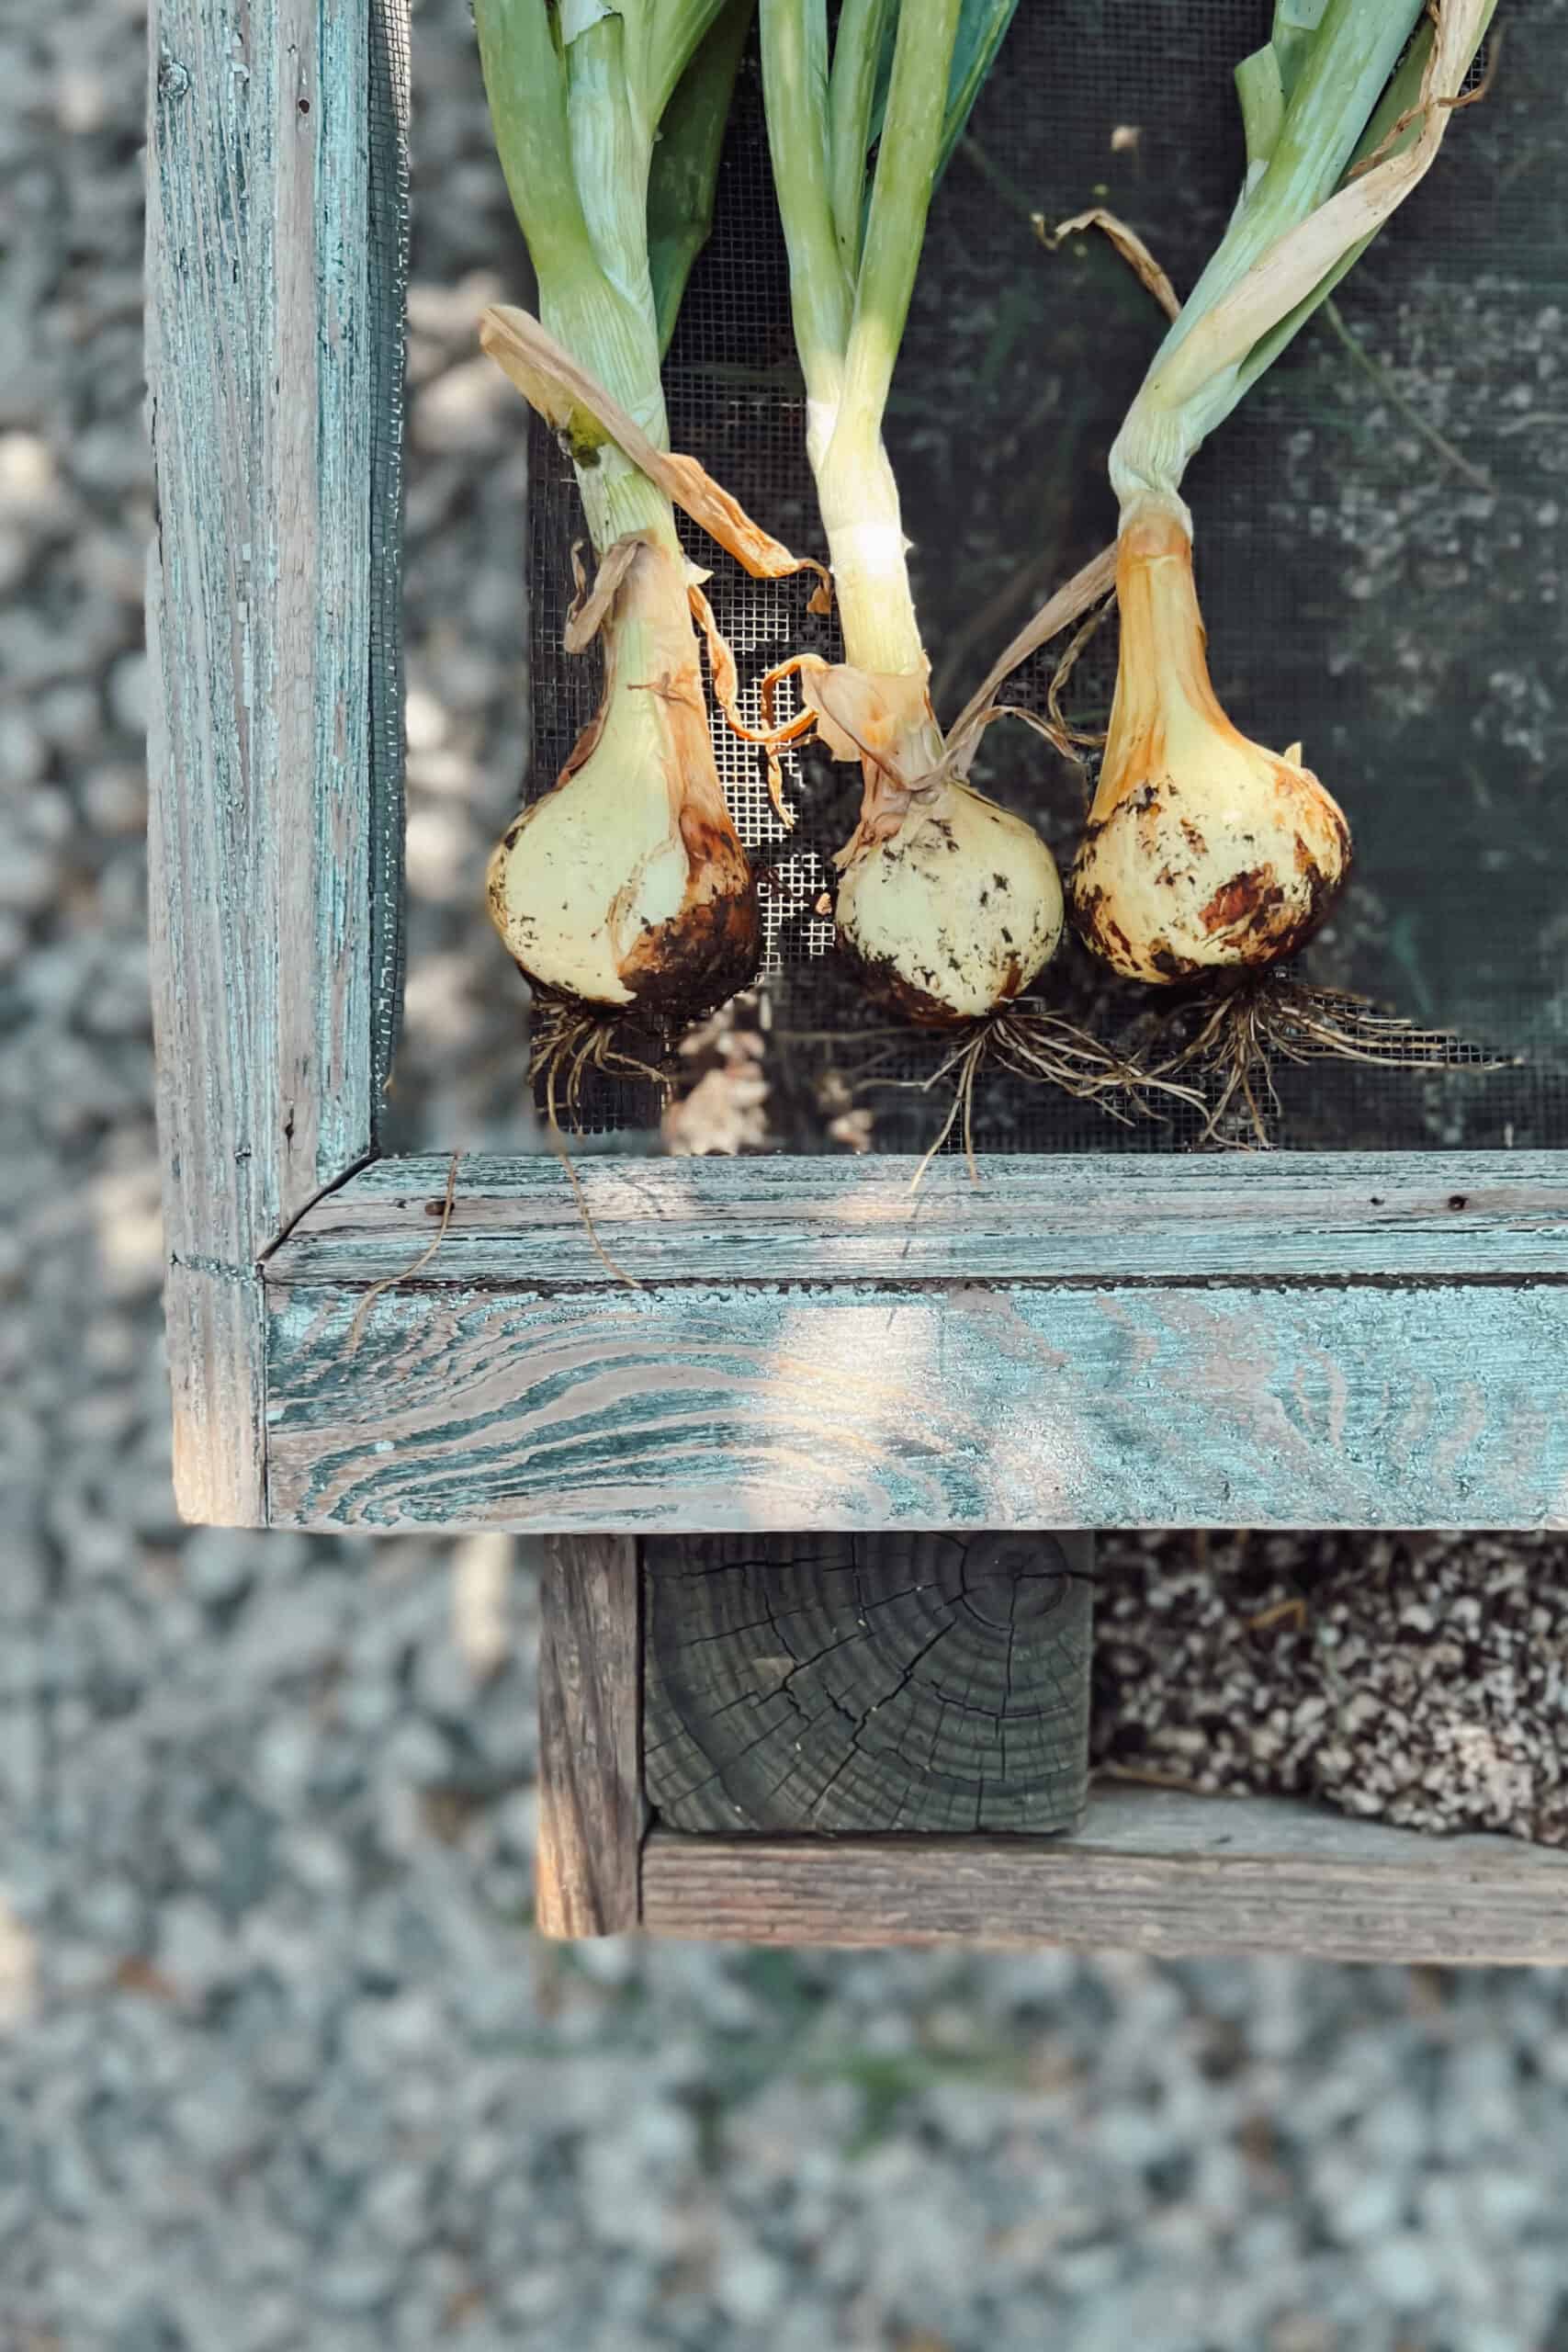
To harvest, simply get a firm grip on the onion tops at the base, give them a little wiggle, and pull straight up. If you’re worried about your soil being too compact, use a broad fork to carefully poke in and loosen the soil around your onions.
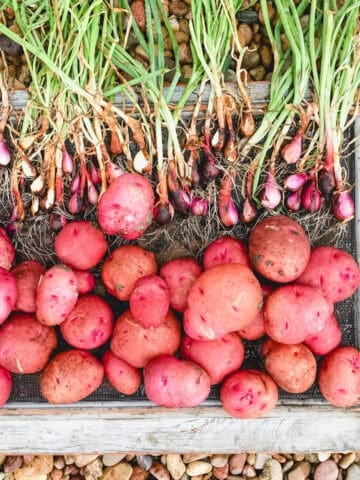
I use an old screen (pictured below) for curing the onions.

Curing & Storing Onions
After harvesting, onions need to be cured in a dry, cool place for 2-3 weeks to allow the skins to dry and the onion tops to fully wither. Any damaged onions should be used right away.
Once cured, store your onions in a dry place in mesh bags or old pantyhose. Plenty of ventilation is key here! Proper storage will help ensure they last well into the winter months.
Gardening Resources
Every year we plant a large garden bursting with fresh fruits and vegetables that grow well in garden zone 6B. Here are guides to my favorite (and most successful!) garden crops. From Tomatoes to Potatoes and Garlic Scapes to Pumpkins, browse around to learn from my experience in the garden!


Comments
No Comments