How to Start Seeds Indoors: A Complete Beginner Guide
Starting seeds indoors is one of the easiest ways to get a head start on the gardening season. With the right timing, lighting, and soil, you can grow strong, healthy seedlings weeks before the outdoor garden is ready.
Whether you're growing vegetables, herbs, or flowers, learning how to start seeds indoors is one of the most valuable skills a home gardener can have.
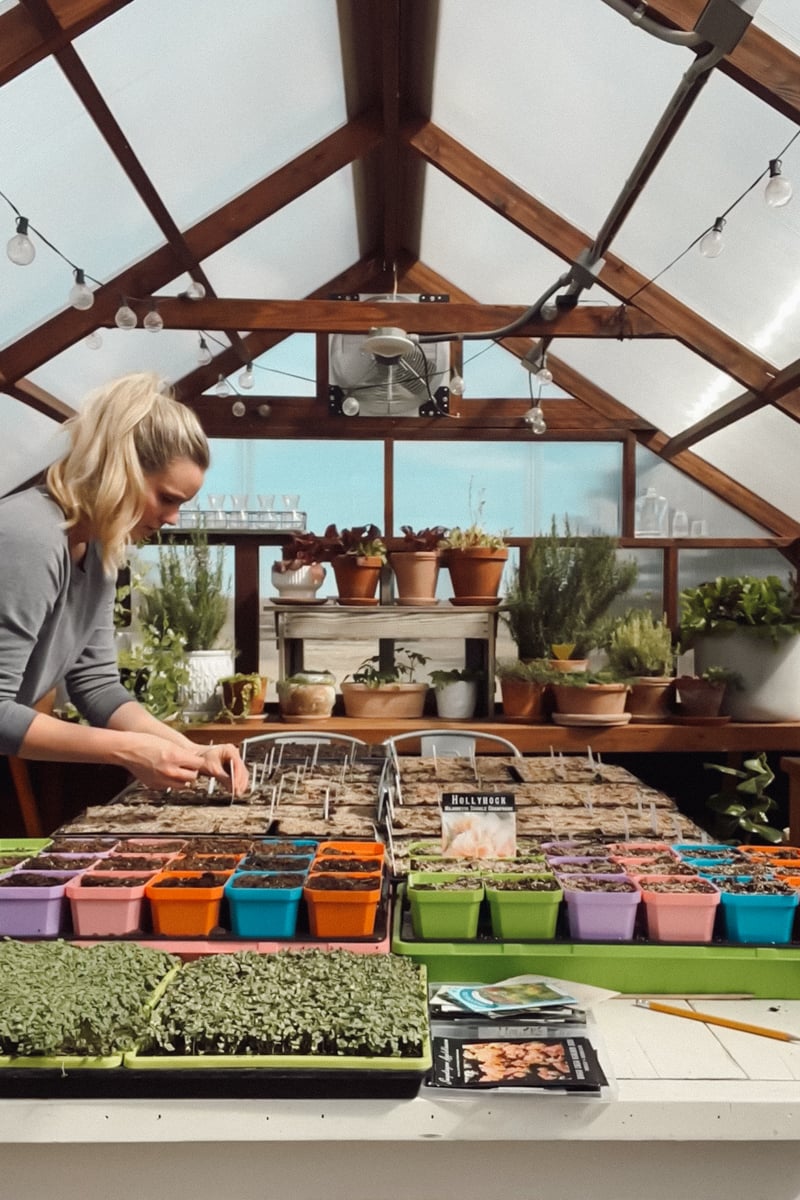
Every winter, while the garden outside is frozen and quiet, our basement turns into a little greenhouse. Seed trays line the shelves, grow lights hum overhead, and tiny green sprouts begin popping up where there was bare soil just days before.
It's one of my favorite rhythms of the gardening year. Instead of waiting for the garden center to stock plants, starting seeds indoors allows you to grow exactly what you want, and often for a fraction of the cost.
This guide will walk you through everything you need to know to start seeds indoors successfully.
Seed Starting Basics
If you're brand new to seed starting, these quick rules will help you get started.
- Most seeds germinate in 5-14 days
- Seedlings need 12-16 hours of light per day (unless otherwise indicated on the seed packet)
- Plant seeds 2-3 times as deep as their size
- Start most seeds 4-10 weeks before your last frost date (the seed packet will tell you the exact timing)
- Keep soil moist but never soggy
Why Start Seeds Indoors?
Many gardeners start seeds indoors to give plants a head start on the growing season.
Warm-season crops like tomatoes and peppers need a long growing season to produce well. Starting them indoors allows the plants to develop strong roots and stems before being transplanted outside.
There are a few big advantages to growing plants this way.
First, it saves money. One packet of seeds can produce dozens of plants for the price of a single transplant at the garden center.
Second, it gives you access to far more plant varieties. Seed catalogs offer hundreds of unique tomatoes, peppers, herbs, and flowers that you will never see in stores.
And finally, it gives you full control over the early stages of your plants' growth, which often leads to stronger and healthier seedlings.
When to Start Seeds Indoors
Timing is one of the most important parts of seed starting. I wrote a full guide on when to start seeds in zone 6 here if you want a more detailed breakdown.
Most vegetables should be started indoors 4-10 weeks before your last expected frost date, depending on the crop. If you start them too soon, they'll be too leggy to transplant, and if you start too late they will be too small to move out to the garden.
Here's a general guideline:
| Crop | Weeks Before Last Frost |
|---|---|
| Tomatoes | 6–8 weeks |
| Peppers | 8–10 weeks |
| Broccoli | 6–8 weeks |
| Cabbage | 6–8 weeks |
| Herbs | 6–8 weeks |
Seed starting season usually means trays on every surface and just a few more plants than we planned… every single year.
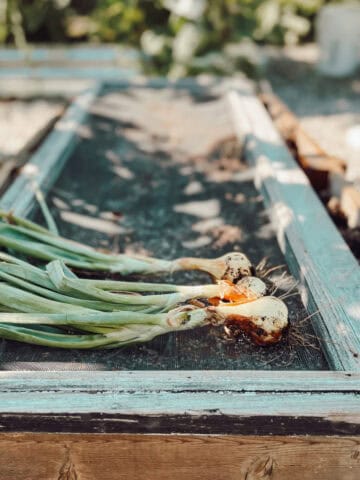
Here on our Kansas homestead, I usually start onions first, followed by peppers and tomatoes a month later so they don't outgrow their trays before planting time.
Your seed packets will also include recommendations, which are always helpful to follow.
Seeds to Start Indoors vs. Direct Sow
Not every plant benefits from being started indoors.
Some crops transplant beautifully, while others grow best when planted directly into the garden.
Seeds that Grow Well Indoors
- tomatoes
- peppers
- eggplant
- broccoli
- cabbage
- cauliflower
- many herbs and flowers
Seeds Best Direct-Sown (Planted Directly in the Garden)
- carrots
- radishes
- beans
- corn
- peas
- turnips
Helpful Tip
Root crops especially prefer direct sowing because disturbing their roots during transplanting can affect their growth.
Seed Starting Supplies
One of the best things about starting seeds indoors is that you don't need much equipment. Here are the basic supplies I recommend:
- Seed trays - Seed trays with small cells allow you to grow more plants in a compact space while keeping roots separated.
- Seed starting mix - Seed starting mix is lighter than garden soil and drains well while still holding enough moisture for germination. Using regular garden soil in trays can cause poor drainage and increase disease problems.
- Grow lights - Seedlings require bright light to grow strong stems. Grow lights provide consistent light even during cloudy winter days (pictured below). Most seedlings nseed 12-16 hours of light per day.
- Heat mats - Some seeds germinate faster in warm soil. Heat mats can help maintain consistent temperatures during germination.
- Humidity domes - Plastic humidity domes help maintain moisture while seedlings are germinating. It's important to remove the domes once the seedlings sprout. If you don't want to invest in humidity domes, press-and-seal wrap or plastic wrap can work in a pinch!

How Seeds Germinate
Seeds need 3 key ingredients to sprout: moisture, warmth, oxygen. When moisture penetrates the seed coat, the embryo inside begins to grow. Warm temperatures help speed up this process, while oxygen allows the seedlings to develop properly.
Once the seed sprouts, the plant immediately begins searching for light.
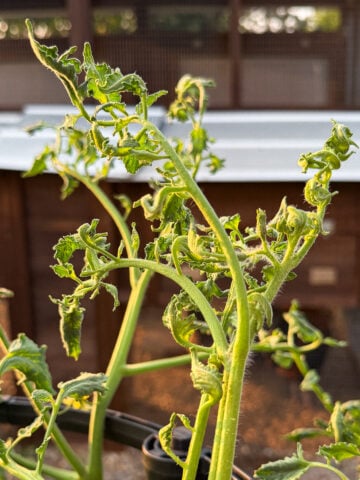
One of the most common mistakes I see beginners make when starting seeds indoors is not positioning the light close enough to the tops of the plants. Seedlings need the grow lights positioned 1-2 inches above them to prevent them from getting 'leggy.'
A leggy seedling will have a very long and usually curved stem. While some plants, like tomatoes, can just be planted deeper to help stabilize the long stem, for most plants it's a death sentence. If a stem is too long it will be weaker and unable to support the flowers or vegetables once they begin to grow.
Ideal Germination Temperatures
While many seeds will germinate at room temperature, most vegetables sprout faster and more reliably when the soil is warm.
Here are a few general guidelines:
| Crop | Ideal Soil Temperature |
|---|---|
| Tomatoes | 70–80°F |
| Peppers | 75–85°F |
| Lettuce | 60–70°F |
| Cucumbers | 70–90°F |
How Deep to Plant Seeds
Planting depth is a common question for beginner gardeners, and also makes the top three on my list of most common mistakes.
A good rule of thumb is to plant seeds about 2-3X as deep as the seed's size. Very small seeds, like lettuce, poppies, or snapdragons should be planted directly on the soil surface and gently pressed in. Here are a few examples.
| Crop | Planting Depth |
|---|---|
| Tomatoes | ¼ inch |
| Peppers | ¼ inch |
| Lettuce | Surface |
| Beans | 1 inch |
| Squash | 1 inch |
How Long Seeds Take to Germinate
Germination times vary depending on the plant. The seed packet will tell you how long to expect. If seeds take longer than expected to sprout, don’t panic. Temperature, soil moisture, and seed age can all affect germination time.
Most seed packets will also give you a percentage called the germination rate. The germination rate tells you how many seeds you can expect to sprout under ideal conditions.
One of the most common mistakes beginner gardeners make is assuming their seeds failed if they don't sprout within a few days. Some seeds germinate quickly, while others can take two weeks or more.
| Crop | Germination Time |
|---|---|
| Tomatoes | 5–10 days |
| Peppers | 7–14 days |
| Broccoli | 5–10 days |
| Lettuce | 2–7 days |
| Cucumbers | 3–7 days |
Step-by-Step: How to Start Seeds Indoors
- Fill clean seed trays with moistened seed starting mix.
- Label each tray or row carefully. Include the seed name and the date it was planted.
- Plant seeds at the recommended depth.
- Water gently to settle the soil.
- Cover with a humidity dome.
- Place trays on a heat mat if needed to maintain warm soil temperatures. Most seeds germinate best in darkness, so they can be covered with soil. Once they sprout, they need to be placed under grow lights immediately.
Caring for Seedlings
Light
Seedlings usually germinate best in the dark, but need bright light immediately after sprouting. Without enough light, plants become tall and weak, a problem gardeners call leggy seedlings.
Place the grow lights 1-2 inches above the tops of the plants. I hang my grow lights on chains with 'S' hooks so that I can easily raise them as the plants grow.
Water
Young seedlings prefer evenly moist soil but should never sit in waterlogged conditions.
I use a method called bottom watering which is where my pots or trays with drainage holes are placed in a larger tray filled with water. The holes in the pots allow the soil to soak up the water, then after twenty minutes the extra water is drained off. Bottom watering trays is one of the easiest ways to maintain proper moisture levels.
Airflow
Good airflow helps prevent fungal diseases such as damping off. A small fan near your seed trays can help keep air moving.
Fertilizing
Once seedlings develop their first true leaves, a diluted fertilizer can be used to help support healthy growth.

Common Seed Starting Mistakes
Even experienced gardeners occasionally make mistakes when starting seeds, myself included. Here are a few worth mentioning:
- Starting seeds too early - Plants may outgrow their containers before outdoor conditions are ready.
- Not enough light - Seedlings will stretch towards the light source and their stems will become weak. Unfortunately, plants that start out leggy rarely grow into a healthy mature plant. If you are starting seeds indoors without grow lights, choose a south facing window and rotate the trays often to prevent the stems from growing towards the window instead of straight up.
- Overwatering - Too much water can cause fungal disease or root problems.
- Planting seeds too deep - Small seeds may fail to germinate if buried too deeply.
- Forgetting airflow - Poor airflow increases the risk of damping off disease or mold growth.
Potting Up Seedlings
As seedlings grow, they may eventually outgrow their tray cells.
If roots begin filling the containers or plants develop several sets of true leaves, transplanting them into larger containers can allow the plants to continue developing strong root systems.
Hardening Off Seedlings
Before transplanting seedlings outdoors, they need time to adjust to outdoor conditions.
This process is called hardening off (see picture below).
Start by placing seedlings outside for an hour or two in a sheltered location. Gradually increase their exposure to sun and wind over the course of a week. This process helps prevent problems like leaf sunburns and transplant shock.

Transplanting Seedlings Into Garden
Once frost danger has passed and seedlings are hardened off, they are ready for the garden.
Choose a cloudy day or plant in the evening if possible, and water plants well after transplanting.
Healthy seedlings will quickly establish themselves in the garden.
Seed Viability Chart
Seeds can remain viable for several years if stored properly. I keep my seed packets in a plastic photo organizer (pictured below). Always store your seeds somewhere cool, dry, and dark to maximize their shelf life.
| Seed | Viability |
|---|---|
| Tomatoes | 4–6 years |
| Peppers | 2–4 years |
| Lettuce | 1–2 years |
| Onions | 1 year |
My Seed Starting Setup on Our Kansas Homestead
Over the years our seed starting setup has grown right along with our garden.
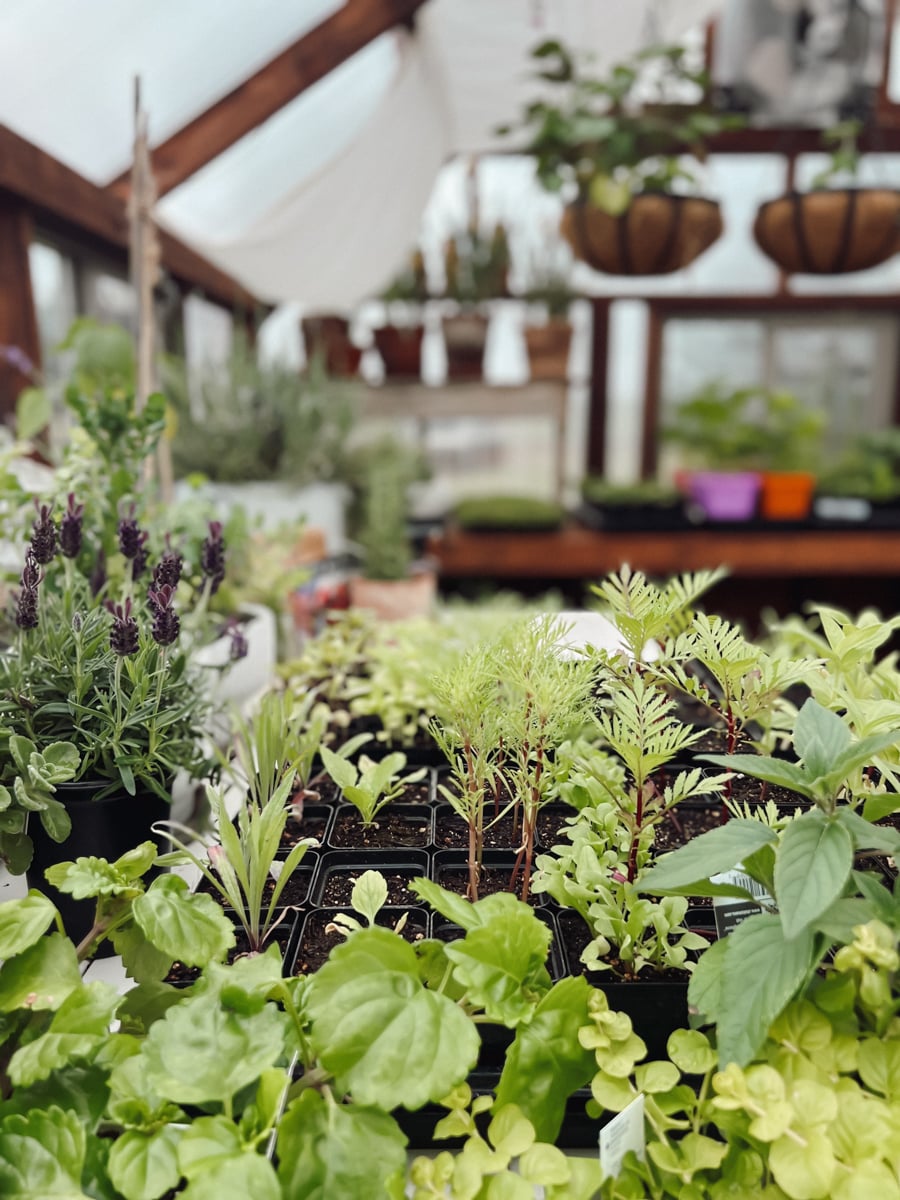
Most of our seeds begin life either in the greenhouse or under grow lights in the basement, where the trays stay warm and protected while they germinate. Once seedlings grow a bit stronger, they often move to the greenhouse shelves for additional natural light.
As spring approaches, trays gradually move outdoors to harden off before finally being transplanted into the garden beds.
Starting seeds indoors has become one of my favorite seasonal traditions on the homestead, and every year those first tiny sprouts remind me that spring is just around the corner!
Frequently Asked Questions
Most seeds germinate best in darkness but need light immediately after sprouting.
Planting two seeds per cell is common. If both sprout, the weaker seedling can be trimmed.
Some large seeds benefit from soaking for several hours before planting, but most seeds germinate perfectly well without soaking. Some examples of seeds that need soaked before planting include peas, nasturtiums, and beans.
Printable Seed Starting Cheat Sheet
Want a simple cheat sheet you can actually use while you're planting?
I made a free printable Seed Starting Guide that you can keep right by your seed trays.
It includes what to plant indoors vs direct sow, ideal temps, planting depth, and common mistakes to avoid.
👉 Grab your free printable Seed Starting Cheat Sheet here.
That's a Wrap
Starting seeds indoors doesn’t have to be complicated. With the right timing, a simple setup, and a little consistency, you can grow strong, healthy seedlings right at home.
Start with a few trays, learn as you go, and don’t be afraid to make mistakes. Every season gets easier—and more rewarding—than the last.
-Meg


Comments
No Comments