Raising Meat Chickens for Beginners: A Complete Guide to Cornish Cross
Raising meat chickens is one of the fastest ways to fill your freezer with homegrown meat. Cornish Cross chicks grow from tiny yellow fluff balls into full-size chickens in about six to eight weeks, which still feels a little unbelievable even after you’ve watched it happen.
They are very different from raising laying hens. Meat chickens eat more, drink more, grow faster, and need closer attention as they get bigger. The whole process moves quickly, so it helps to have your housing, feed, processing plans, and freezer space figured out before the chicks arrive.
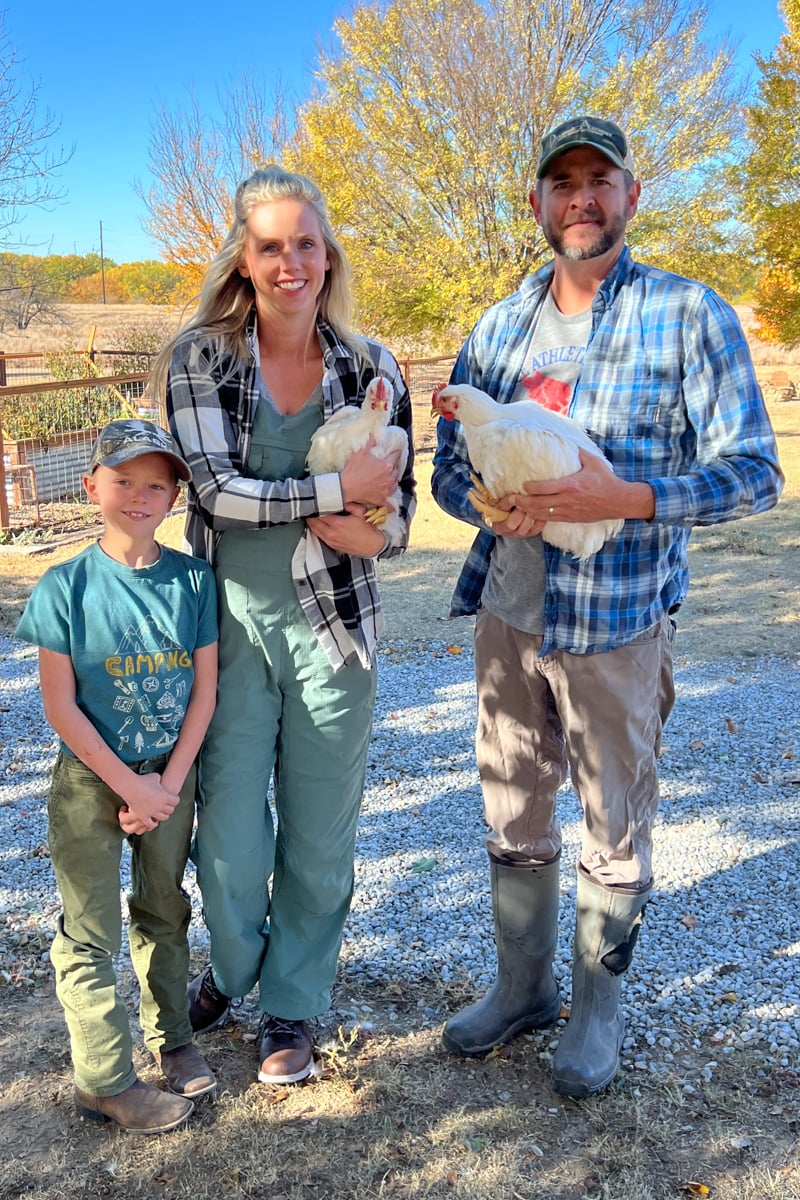
We started raising Cornish Cross because we wanted to produce more of our own meat at home. There were definitely a few things that caught us off guard during our first batch, but we learned quickly and have continued adjusting our setup each time we raise them.
This guide walks you through the full process of raising meat chickens, including what supplies you need, what to feed them, when to move them outside, how long they take to grow, and how to know when they are ready to butcher.
What Are Meat Chickens?
Meat chickens are breeds that are raised specifically for meat instead of egg production. They are also called meat birds, broilers, or broiler chickens.
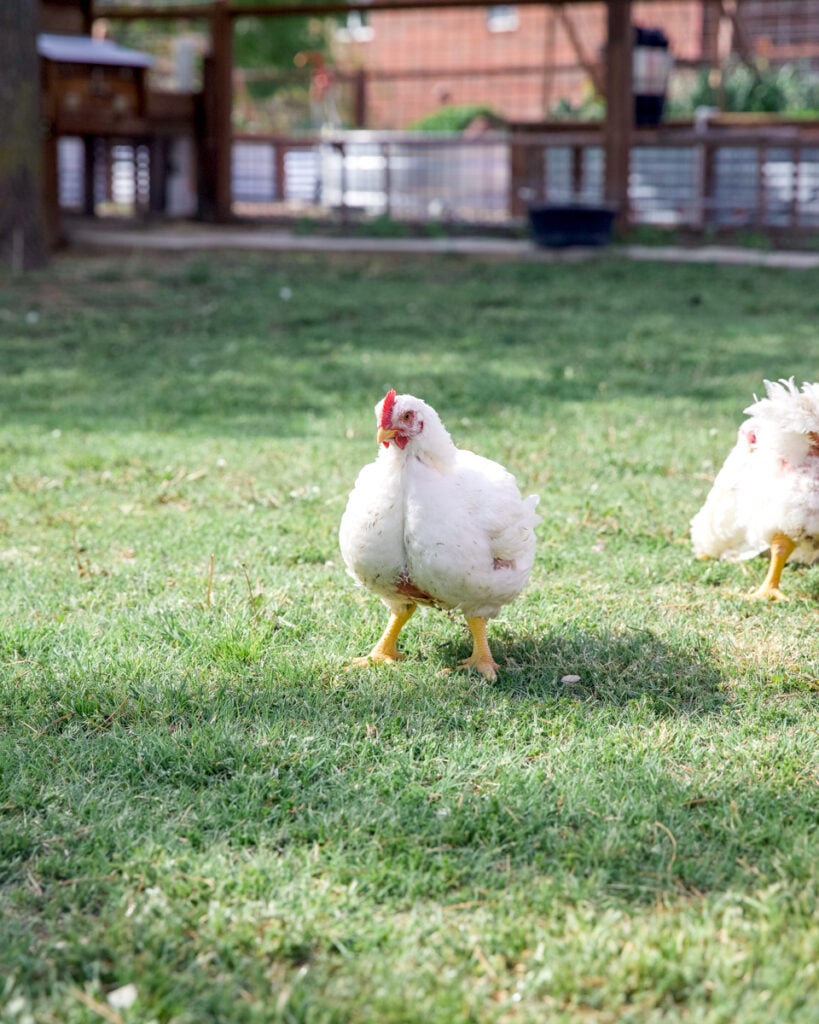
The most common meat chicken in the United States is the Cornish Cross. These are the large white chickens commonly raised by both commercial poultry farms and families filling their own freezers.
Cornish Cross chickens grow extremely fast and put most of that growth into their breast and leg meat. Most are ready to process between six and eight weeks old, compared to laying breeds that take several months to reach full size.
They are not simply young laying hens. Cornish Cross have different nutritional needs, different activity levels, and a much faster growth rate. They also require more attention to feed, water, temperature, and mobility as they approach processing age.
Cornish Cross vs. Laying Hens
Raising Cornish Cross is a completely different experience from raising laying hens.
Laying breeds grow slowly and spend their days scratching, exploring, hunting bugs, and getting into anything they can reach. Cornish Cross are less active and spend much more time resting near their feeder and waterer. Even when they are raised on grass, they usually need encouragement to move around as they get heavier.
Their feed and water consumption also increases quickly. A feeder that seems enormous during the first week will look laughably small by the time the birds are five or six weeks old.
This fast growth is what makes Cornish Cross efficient meat birds, but it also means you need to watch them closely. They are more sensitive to extreme temperatures, wet conditions, respiratory problems, and mobility issues than our laying hens have ever been.
Why Choose Cornish Cross Meat Chickens?
If you've only raised backyard laying hens, you'll probably be surprised by just how different Cornish Cross are. They were developed specifically to produce meat efficiently, which means they grow incredibly fast and convert feed into meat better than almost any other chicken breed.
Most Cornish Cross are ready to butcher in just 6 to 8 weeks, making them one of the quickest ways to fill your freezer with homegrown chicken.
Advantages of Cornish Cross
- Ready to butcher in about 6 to 8 weeks.
- Produce large breasts and meaty legs.
- Excellent feed conversion compared to heritage breeds.
- Easy to find from most hatcheries.
- Perfect for families wanting to raise a year's worth of chicken in one or two batches.
Disadvantages of Cornish Cross
- Eat and drink much more than laying hens.
- More sensitive to heat and sudden weather changes.
- Less active than traditional chicken breeds.
- Need close monitoring as they near processing age because their rapid growth can put stress on their legs and bodies.
How Many Meat Chickens Should You Raise?
The right number depends on two things: how much chicken your family eats and how many birds you're comfortable processing in one day.
For our family of five, we usually raise 25 Cornish Cross at a time. That gives us plenty of homegrown chicken without overwhelming us on processing day or taking up too much freezer space. Occasionally, we'll order 50 chicks if another family wants to split the order and process together.
If this is your first time raising meat chickens, I actually recommend starting smaller than you think you need. Raising 20 to 25 birds gives you plenty of experience without making chores or processing day feel overwhelming.
Keep in mind that not every chick will make it to butcher day. Cornish Cross grow incredibly fast, and it's normal to lose an occasional bird along the way. We always plan for a small amount of loss rather than assuming every chick will end up in the freezer.
Before placing your order, ask yourself these questions:
- How much freezer space do I have?
- How much chicken does my family eat in a year?
- Will I process the birds myself or hire a processor?
- Can I comfortably feed, water, and care for this many birds every day?
It's much better to successfully raise 25 birds than to order 75 and feel overwhelmed halfway through the project. Once you've been through a season, you'll have a much better idea whether you want to raise more next time.
How Many Meat Chickens Should You Raise?
| Family Size | Recommended Number of Meat Chickens |
|---|---|
| 1–2 people | 10–15 chickens |
| 3–4 people | 20–25 chickens |
| 5–6 people | 25–40 chickens |
| Large family or splitting with another family | 50+ chickens |
What Do You Need to Raise Meat Chickens?
One of the nice things about raising meat chickens is that you don't need a lot of specialized equipment. As long as they have a warm brooder to start in, a safe place to live, fresh feed, and clean water, you're well on your way.
Here's everything we use to raise Cornish Cross from day-old chicks until processing day.
Brooder
Your chicks will need a warm, draft-free brooder for the first few weeks of life. We use hemp for bedding, a heat source to keep them warm, and make sure they always have access to fresh feed and water.
Once they're fully feathered and nighttime temperatures are warm enough, they're ready to move outside.
Chicken Tractor or Coop
We raise our meat chickens in a mobile chicken tractor that we move to fresh grass every day. It protects the birds from predators while giving them access to sunshine, grass, and bugs throughout the day.
A chicken tractor isn't required, though. Many people successfully raise Cornish Cross in a secure coop with an outdoor run. The most important thing is providing plenty of ventilation, shade, clean bedding, and protection from predators.

Feed
Plan on having all of your feed purchased before your chicks arrive. They grow so quickly that running out of feed isn't something you want to deal with halfway through the project.
We'll cover exactly what to feed meat chickens, when to switch feeds, and how much they'll eat later in this guide.
How to Set Up a Brooder for Meat Chickens
Before your chicks come home, you'll need a warm, draft-free brooder where they can safely live for the first few weeks. Don't overthink it. A brooder doesn't have to be fancy, it just needs to keep your chicks warm, dry, and protected.
Over the years we've used several different brooders, including a giant cardboard box, a galvanized stock tank with a wire screen over the top, and even a large plywood shipping crate that our chicken coop arrived in years ago. That's the one we still use today, and it's worked so well that I can't imagine changing it.
Our brooder measures roughly 5 feet by 3 feet, which gives chicks plenty of room to spread out while still staying close to their heat source.
Choose a Safe Heat Source
Years ago, heat lamps were the standard recommendation for raising chicks. While many people still use them successfully, we've switched to brooder heating plates and don't plan on going back.
Heating plates use much less electricity, allow chicks to warm themselves naturally by walking underneath them, and eliminate the fire risk that comes with heat lamps. Since the chicks can move in and out from under the plate whenever they want, they do a great job regulating their own temperature.
Bedding
We also made the switch from pine shavings to hemp bedding, and I couldn't be happier with it.
Hemp bedding absorbs moisture extremely well, helps control odor, and stays fluffy much longer than pine shavings. It also creates far less dust, which helps keep both the chicks and the brooder cleaner. We simply add fresh bedding as needed and keep the brooder dry throughout the time the chicks are inside.
Feed and Water
Before your chicks arrive, have their feeder and waterer already set up and filled. The first thing baby chicks need after their trip from the hatchery is warmth, clean water, and access to chick starter feed.
Place both the feeder and waterer where they're easy for the chicks to find, but far enough away from the heating plate that they won't spend all day sleeping beside their food instead of moving around.
Buy the biggest feeder and waterer you can reasonably manage. Cornish Cross eat and drink far more than laying hens, and what feels oversized the first week will seem surprisingly small by the time they're ready to butcher.
Tip: Keep Meat Chicks Separate from Laying Breeds
Don't brood Cornish Cross chicks with laying breeds, even if they're the same age.
Cornish Cross grow so quickly that within a few weeks they'll be much larger than your laying chicks. As they crowd around the heating plate, feeder, or waterer, it's easy for the smaller birds to get pushed aside or accidentally smothered. This is especially true with smaller laying breeds.
It's much safer to raise meat chicks in their own brooder until they're moved outside.
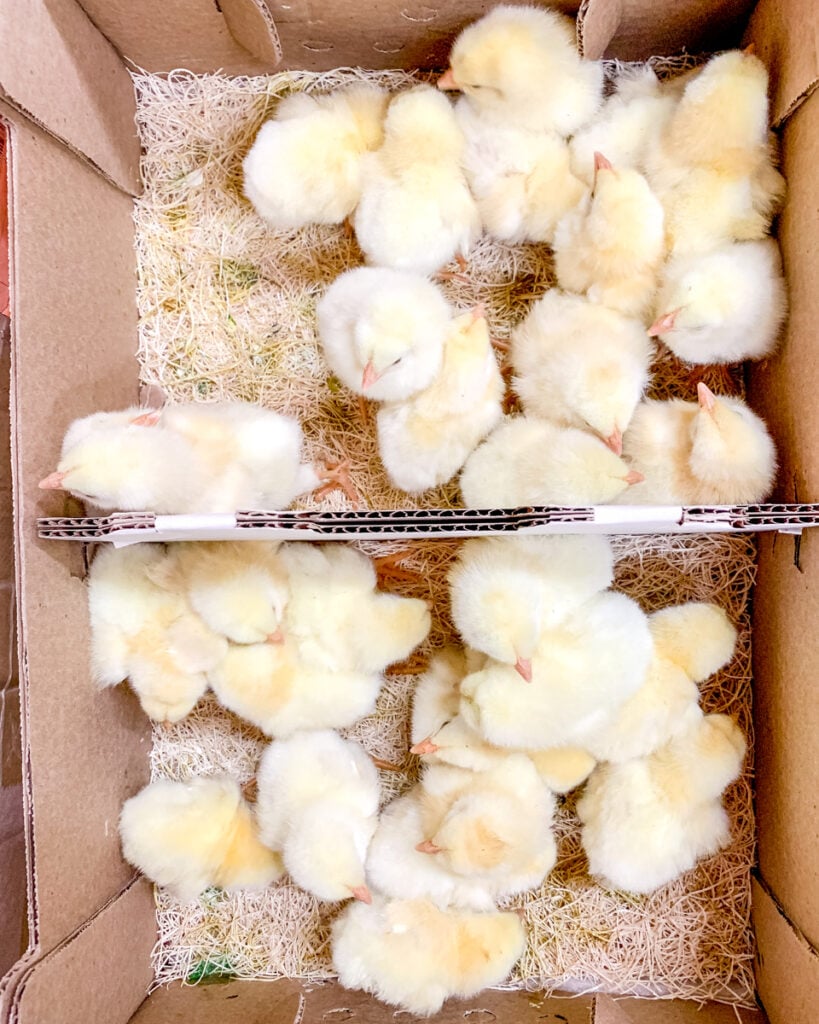
Bringing Your Chicks Home
Before your chicks arrive, make sure your brooder is completely set up and warmed to the proper temperature. Once the shipping box arrives, transfer the chicks to the brooder as soon as possible so they can rest, drink, and warm up after their trip.
I like to gently dip each chick's beak into the water as I place it in the brooder. This helps them find the water source right away and encourages them to start drinking after shipping.
Scatter a little chick starter feed on a paper towel for the first day or so. The bright color makes it easy for the chicks to find, and pecking at the feed on a flat surface helps them learn where their food is before switching to the feeder.
Over the next 24 to 48 hours, check on them often. Healthy chicks should be active, peeping softly, eating, drinking, and moving in and out from under the heating plate on their own.
Watch their behavior to tell if they're comfortable:
- Huddled tightly under the heating plate: They're too cold.
- Spread out as far away from the heating plate as possible: They're too warm.
- Evenly spread throughout the brooder, with some resting under the plate and others exploring: Just right.
The first couple of days are the most important. Once the chicks are eating, drinking, and acting normally, the rest of the brooding period is usually pretty straightforward.
Raising Meat Chickens: Week-by-Week Timeline
| Age | Housing | Feed | Daily Tasks |
|---|---|---|---|
| Week 1–2 | Brooder | Chick Starter | Keep warm, refill water |
| Week 3–4 | Brooder or Tractor | Transition to Grower | Watch weather |
| Week 5–7 | Chicken Tractor | Grower | Move tractor daily |
| Week 7–8 | Chicken Tractor | Grower | Prepare for processing |
Week 1-2: Brooder Life
Your chicks will spend their first couple of weeks in the brooder with constant access to feed, water, and a heating plate. This is when they do most of their sleeping, eating, and growing.
Keep the brooder clean and dry, refill feed and water often, and check on them several times a day. You'll be amazed how quickly they grow.
Week 3-4: Ready for the Chicken Tractor
Once the chicks are mostly feathered and the weather is warm, they're ready to move outside. We usually keep ours in the brooder for the first several weeks, but Mother Nature gets the final say. If it's beautiful outside, they may move into the chicken tractor a little sooner. If it's cold, wet, or windy, we'll leave them inside another week.
Our meat chickens live in mobile chicken tractors, which we pull to fresh grass every day. This gives them a constant supply of clean ground, fresh forage, and bugs while helping keep the tractor cleaner.
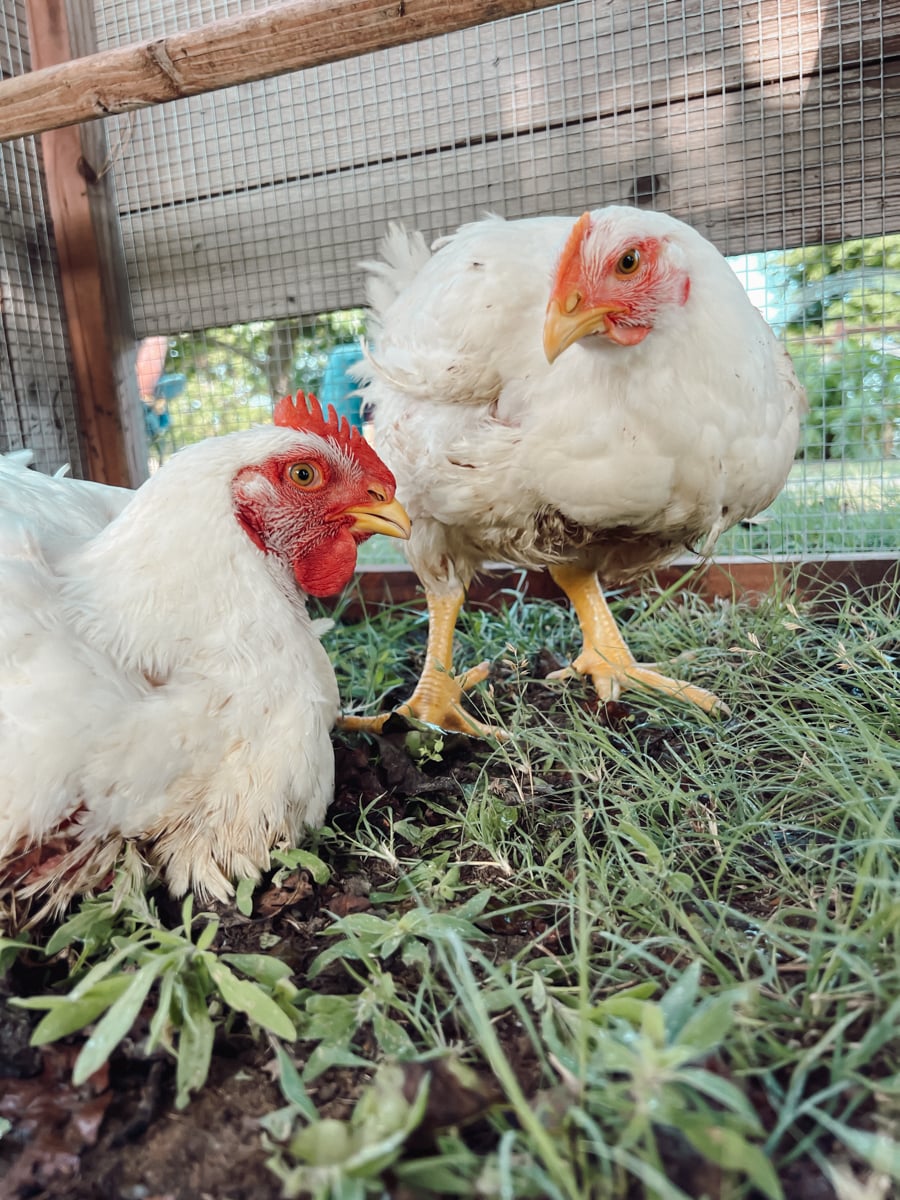
Week 5-7: Rapid Growth
This is when Cornish Cross really start packing on weight. Their feed and water consumption increases dramatically, and they quickly outgrow small feeders and waterers.
As the birds get larger, we often move the chicken tractor twice a day to keep them on fresh grass. If the weather turns cold or rainy, we throw a tarp over the tractor like a tent to provide extra shelter while still allowing plenty of airflow.
Because Cornish Cross grow so quickly, avoid overcrowding. Giving them enough room to spread out, reach feed and water easily, and stay on clean ground helps keep the flock healthier.
Week 7-8: Processing Time
Most of our Cornish Cross are processed between 7 and 8 weeks old. The exact timing depends on how quickly they're growing, what the weather is doing, and when we have a free weekend to dedicate to processing.
By this point, the birds have reached an excellent size for the freezer, and waiting much longer usually doesn't offer many advantages.
What Do Meat Chickens Eat?
Cornish Cross are bred to grow quickly, and they need constant access to quality feed to reach their full potential.
We start our chicks on a non-medicated chick starter, then transition them to a 16-18% grower feed once they're fully feathered. Because we're raising them for meat rather than egg production, they never need a layer feed with added calcium.
We use a full-feeding program, which simply means the feeders stay full 24 hours a day from the time the chicks arrive until processing day. We want them to eat as much as they want, whenever they want.
Once the birds move outside, they also have access to fresh grass and plenty of bugs as we pull the chicken tractor to new pasture every day.
No matter what feeding program you choose, always make sure your birds have access to plenty of clean, fresh water. Cornish Cross drink an incredible amount, especially during the last few weeks before processing.
Common Problems When Raising Meat Chickens
Cornish Cross are incredibly efficient at turning feed into meat, but they aren't nearly as hardy as our laying hens. They grow so quickly that little problems can become big problems in a hurry.
Here are the issues we've run into most often.
Shipping Stress
If you're ordering chicks through the mail, remember they've already had quite an adventure before they ever reach your farm.
In Kansas, spring weather can be unpredictable. Chicks are shipped without a heat source, and if their package is delayed or gets stuck in transit during a cold spell, losses are much more likely. Whenever possible, we try to have the brooder completely warmed up and ready so the chicks can settle in immediately after arriving.
Cold, Rainy Weather
If I had to pick one thing Cornish Cross dislike the most, it's cold, wet weather.
Unlike our laying hens, meat birds don't seem to bounce back nearly as well when conditions turn miserable. Several days of chilly rain can quickly lead to stressed birds, respiratory problems, or losses if they aren't kept dry and protected from the wind.
Our mobile chicken tractors have a solid roof over half of the pen, and if the forecast calls for cold rain, we'll throw a tarp over the tractor like a tent to give them extra protection while still allowing plenty of ventilation.
Heat Stress
Spring isn't the only challenge. If you're raising a batch during the summer or early fall, heat can become just as dangerous.
Make sure your birds always have shade and plenty of cool, clean water. On especially hot days, we move the tractor more often so they have fresh grass and avoid standing in heavily soiled areas.
They Grow Faster Than You Expect
Every year I'm reminded how quickly these birds grow.
One day they're tiny chicks, and before long you're wondering how the feeder is already empty again. Plan on refilling feeders and waterers much more often during the last few weeks, and don't be surprised if your "big" feeder suddenly feels too small.
Respiratory Problems
We've had birds develop coughing and sneezing after long stretches of wet weather. Good ventilation, clean bedding, and dry living conditions go a long way toward preventing problems.
Predators
Cornish Cross aren't known for their speed.
A secure brooder and a predator-proof chicken tractor are essential, especially if you have raccoons, foxes, coyotes, or neighborhood dogs.
Processing Day Comes Fast
The biggest surprise for most beginners isn't raising the birds, it's realizing how quickly processing day arrives.
Have your supplies, freezer space, and processing plan ready well before your birds reach seven weeks old. It's much less stressful than trying to pull everything together at the last minute.
Processing Meat Chickens
Once your birds reach processing size, you'll need to decide whether to process them yourself or take them to a poultry processor.
We process our own chickens at home, but many homesteaders choose to have their birds professionally processed. Depending on where you live, you may even have a mobile processor who will come to your property.
If you're processing your own birds, the basic workflow looks like this:
- Dispatch the bird using a kill cone.
- Scald the bird in hot water to loosen the feathers.
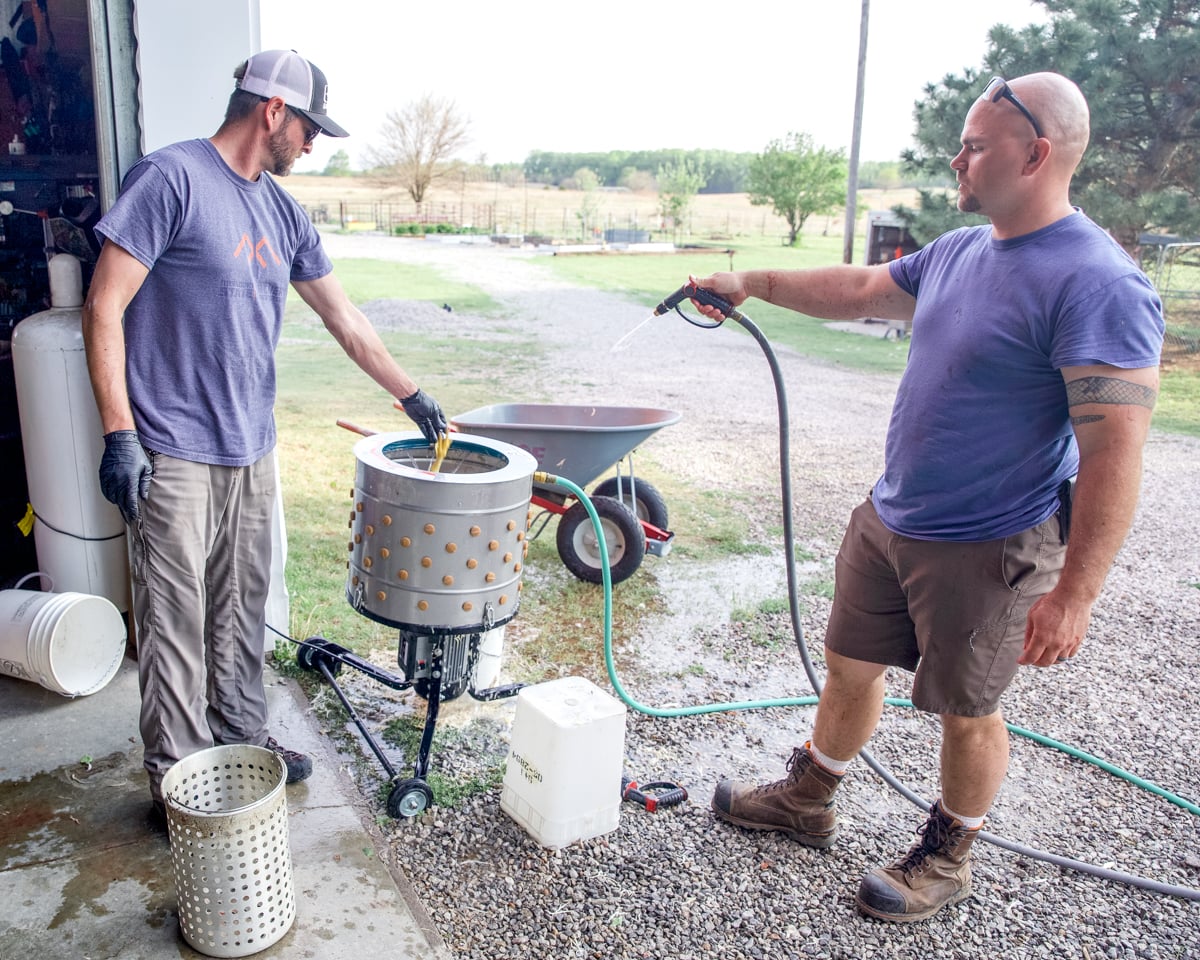
- Pluck the feathers by hand or with a mechanical plucker.
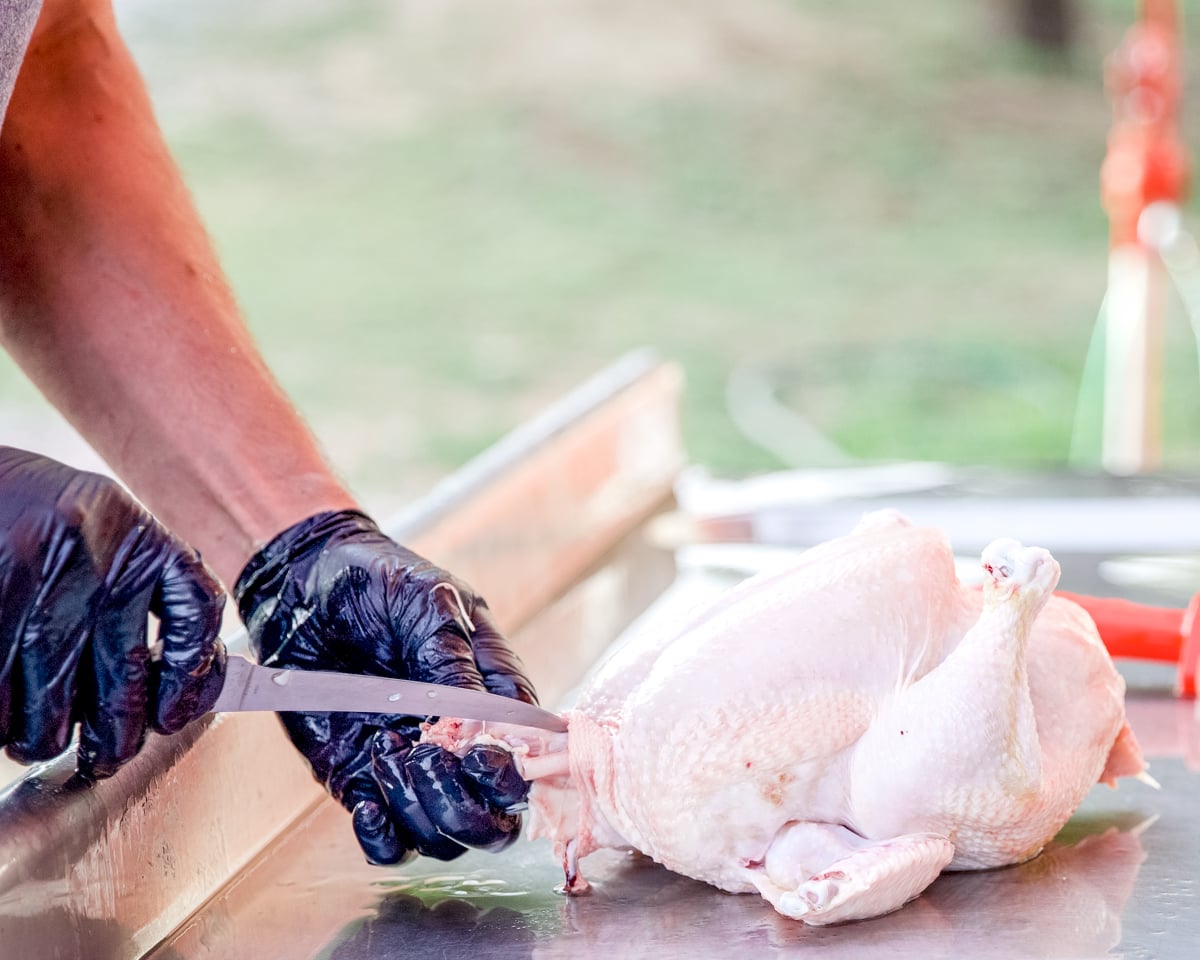
- Eviscerate by removing the internal organs.
- Chill the carcass in an ice bath.
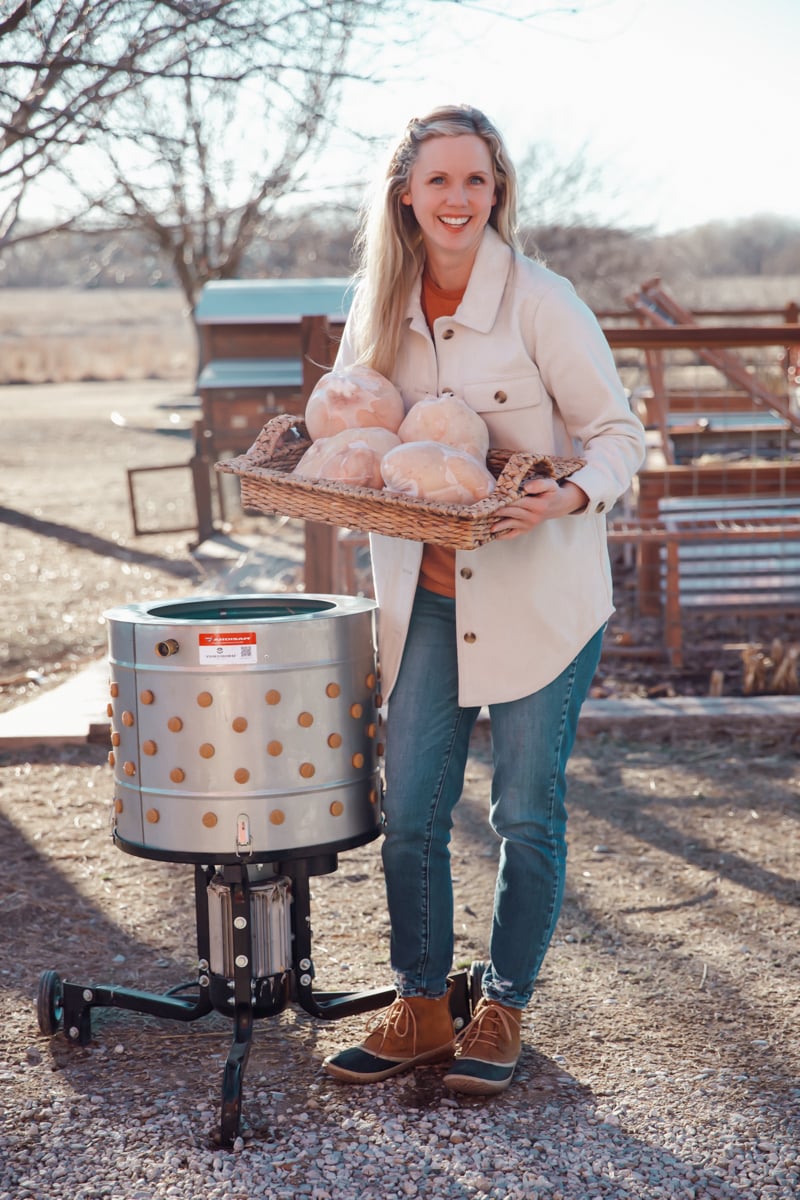
- Package and freeze the finished chicken.
Our chicken plucker has been one of the best investments we've made. It removes feathers in seconds and saves an incredible amount of time when processing a larger batch of birds.
Processing day is a lot of work, but it's also one of the most rewarding parts of raising your own meat. Seeing a freezer full of homegrown chicken makes every day of caring for the flock worthwhile.
Frequently Asked Questions
Cornish Cross eat much more feed than laying hens because they're bred to grow so quickly. Exactly how much they'll eat depends on the breed, weather, the age they're processed, and your feeding program.
Rather than worrying about the exact number of pounds, plan on buying more feed than you think you'll need. Their appetite increases every week, and the last few weeks are when they consume feed the fastest.
Most Cornish Cross meat chickens are ready to butcher between 7 and 8 weeks of age. We usually process ours whenever they're the size we want and we have a free weekend. Waiting much longer generally isn't necessary because they've already reached an excellent freezer size.
We start our chicks on a non-medicated chick starter, then transition them to a 16-18% grower feed once they're fully feathered. We keep feed available 24 hours a day so they can eat whenever they want. Once they're living in the chicken tractor, they also spend their days eating fresh grass and bugs.
I don't recommend it. Cornish Cross grow much faster than laying breeds and can easily push smaller chicks away from the feeder, waterer, or heating plate. In the brooder, their rapid growth can even lead to smaller chicks being accidentally smothered. It's much safer to raise meat birds separately.
Not really. They're actually fairly simple to raise because their needs are straightforward: quality feed, clean water, dry housing, and protection from predators and extreme weather. The biggest challenge is that they aren't as hardy as laying hens, so you'll need to pay close attention during periods of cold, rain, or extreme heat.
Final Thoughts
Raising meat chickens isn't difficult, but it does require planning and daily attention. If you can keep them warm as chicks, dry during bad weather, well-fed, and protected from predators, you'll be amazed at how quickly they fill your freezer.
If this is your first batch, don't overthink it. Start with 20 to 25 birds, learn as you go, and you'll be surprised how much confidence you gain in just seven or eight weeks.
Free E-book!
Get my Free Guide for Raising Chicks E-Book and learn everything you need to know to get started on your backyard chicken journey!


Thanks so much for writing this! Very informative!
Thank you for all this information!
My question is will you be ordering the same meat chicken this year or go with a different one?
The same Cornish Cross. I like how fast they grow from start to finish and the texture is fantastic. I've thought about trying the freedom reds, but they take so much longer.
Where do you purchase your meat chickens from?