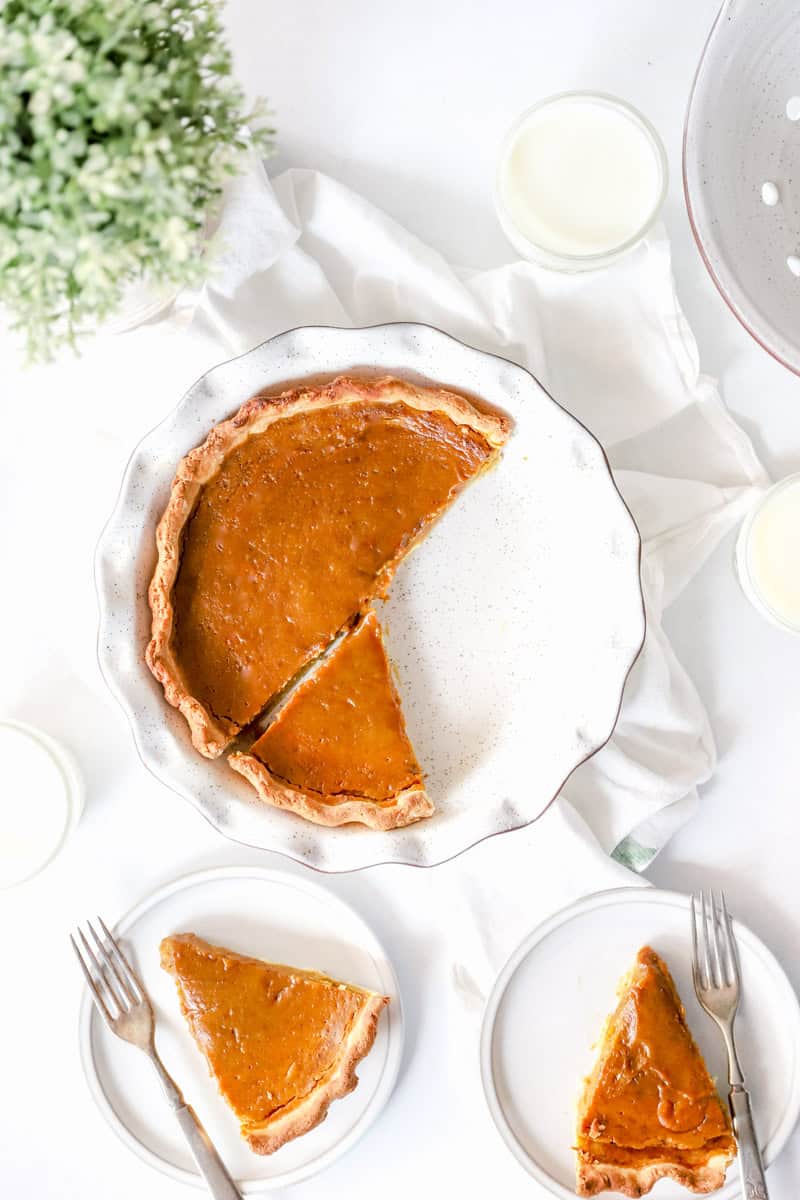
Classic Homemade Pumpkin Pie Recipe
Baking a classic homemade pumpkin pie is something that every baker can easily do, regardless of skill level! I'm going to walk you through this classic pumpkin pie recipe, step by step. From the perfect flaky pie crust to the creamy and smooth pumpkin pie filling, this guide is all you need to make this classic homemade pumpkin pie recipe like a pro!
I've broken this guide into 3 parts, starting with a shopping list and instructions, followed by answering frequently asked questions from how long does a pumpkin pie need to cool to how cut a pumpkin pie. Use the helpful jump to tool below to go right to the parts you need!
Jump to:
- Why You'll Love This Recipe
- Shopping List
- Alternative Pie Crust Options
- How to Make Homemade Pumpkin Pie
- How to Make Pumpkin Pie Spice
- How to Tell if Pumpkin Pie is Done
- How long does a pumpkin pie need to cool?
- How to Cut a Pumpkin Pie
- How to Store Pumpkin Pie
- How to Reheat Pumpkin Pie in the Oven
- How to reheat pumpkin pie in the microwave
- How to Make Fresh Pumpkin Puree
- FAQ
- Recipe
- Related
- Freshest posts on this site!
- Comments
Why You'll Love This Recipe
What makes this best pumpkin pie recipe a winner? It's all about simplicity meeting perfection. The key lies in the careful balance of warm spices, a flaky crust that cradles the velvety pumpkin filling, and a touch of homemade charm. This recipe keeps it basic, with just 5 unprocessed, natural ingredients – just the way food should be.
I'm also a big fan of recipes that are of the 'pick your adventure' variety. When it comes to the crust for our pumpkin pie, you've got choices. If you're into homemade, go for the classic buttery layers. Feeling adventurous? Try a sourdough crust for a tangy kick. On busy days, a store-bought crust works like a charm – easy and fuss-free. Whether you enjoy the hands-on approach or prefer a shortcut, your pumpkin pie is in good hands. Just pick your crust, and let's get baking!
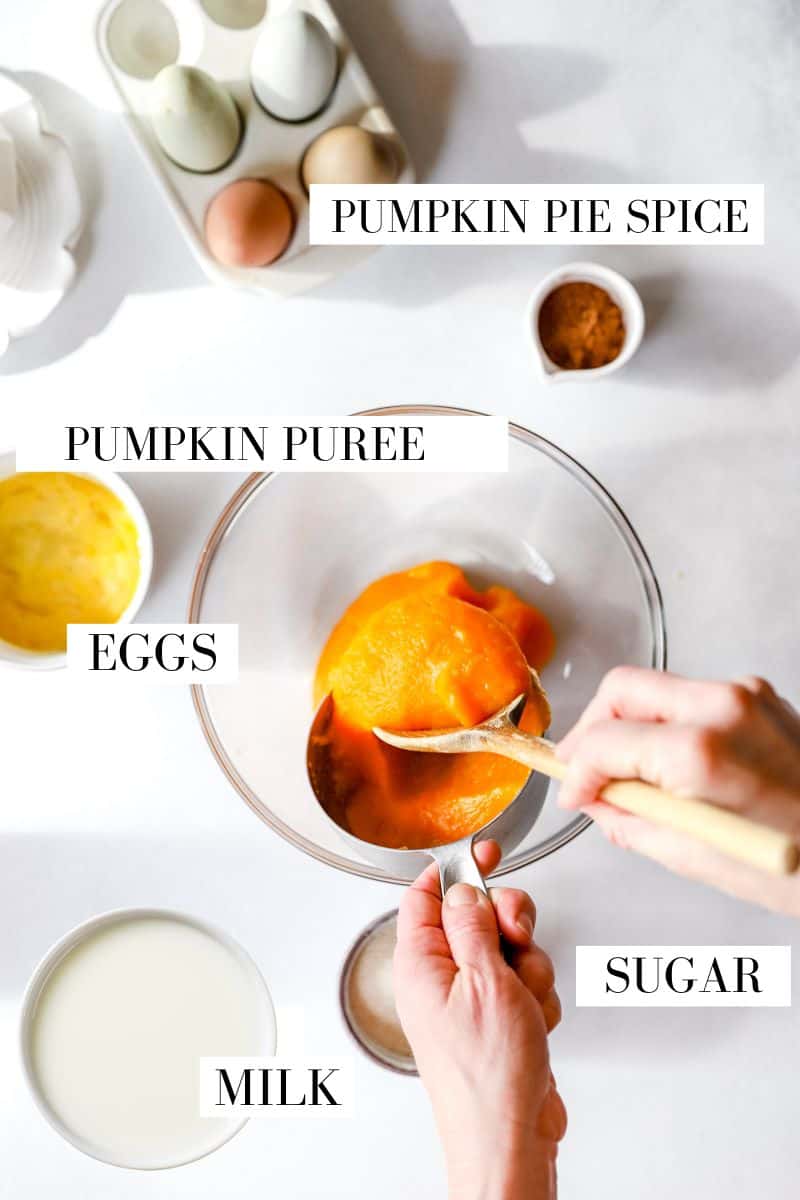
Shopping List
- Storebought or homemade single pie crust. I love to make it with a sourdough pie crust. See note below for ideas!
- Pumpkin puree: This recipe can be made with canned pumpkin puree or you can make homemade pumpkin puree. See the helpful tip below for how to make your own pumpkin purée! Just read the label carefully so you don't accidentally buy store-bought pumpkin pie filling. This is NOT what you want!
- Sugar: Brown sugar can be substituted for a rich molasses flavor.
- Pumpkin pie spice: See note below for a substitution if you don't have this!
- Eggs: Choose nice big eggs and let them sit at room temperature for 15 minutes before using.
- Milk: I like using whole milk, but cream, half-and-half or even evaporated milk work great in this recipe.
See recipe card for quantities.
Alternative Pie Crust Options
My favorite crust for this recipe is a Sourdough Pie Crust made with active starter or discard. It is really easy, and can even be made in a food processor.
Try using the butter pie crust in my lemon meringue recipe, and remember there is no need to blind-bake pie crust for pumpkin pies.
If you are making a gluten-free pumpkin pie, use the crust recipe from my Chicken Pot Pie recipe. It is made with cream cheese and is sooo good!
Store-bought pie crusts are always an option! Some of the best pies are made using this time-saving hack! Just because it's not homemade doesn't mean it will look that way. Use the tines of a fork to press the crimped edge, or use leaf cookie cutters with the extra crust to create more detail. Have fun with it!
How to Make Homemade Pumpkin Pie
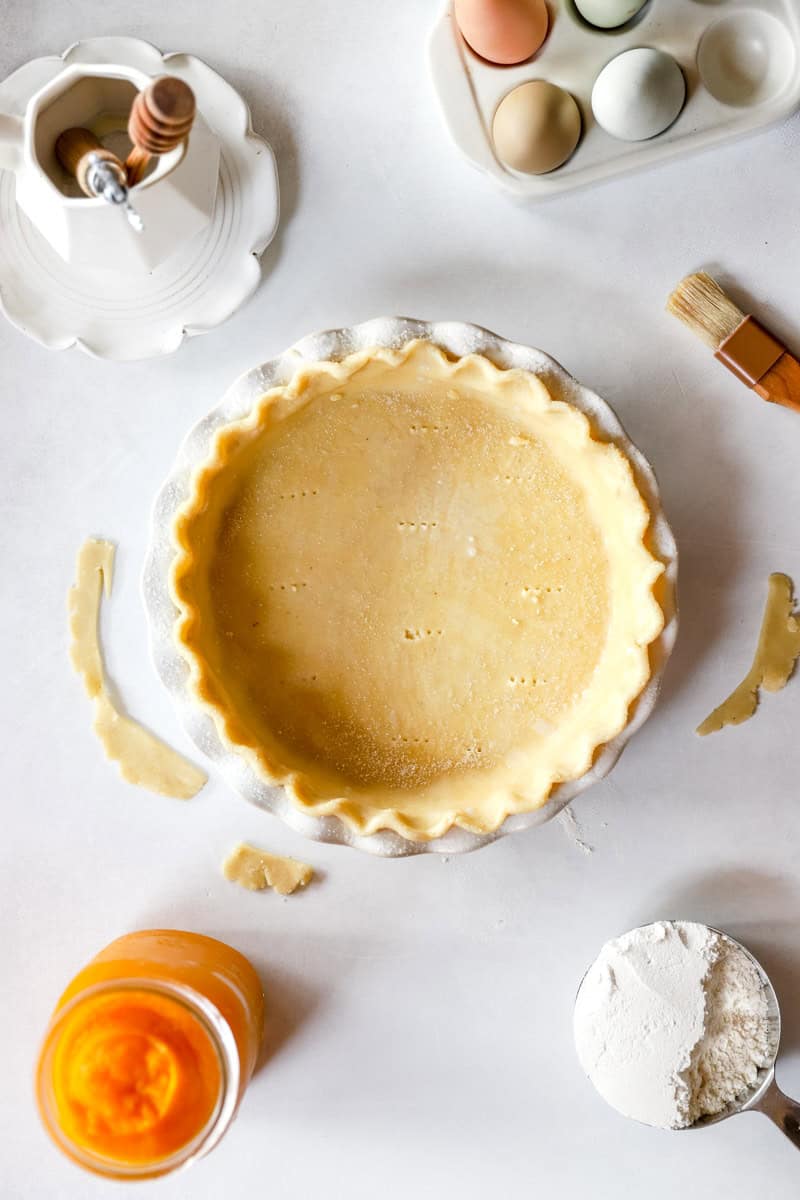
1. Preheat oven to 375°F and position the oven rack in the lower third of the oven. Prepare and roll out a single pie crust. Line a 9" pie plate with the pie dough and crimp the edges. Prick the bottom of the crust with a fork. I like to put my pie pan on a cookie sheet to help make it easier to transfer to and from the oven.
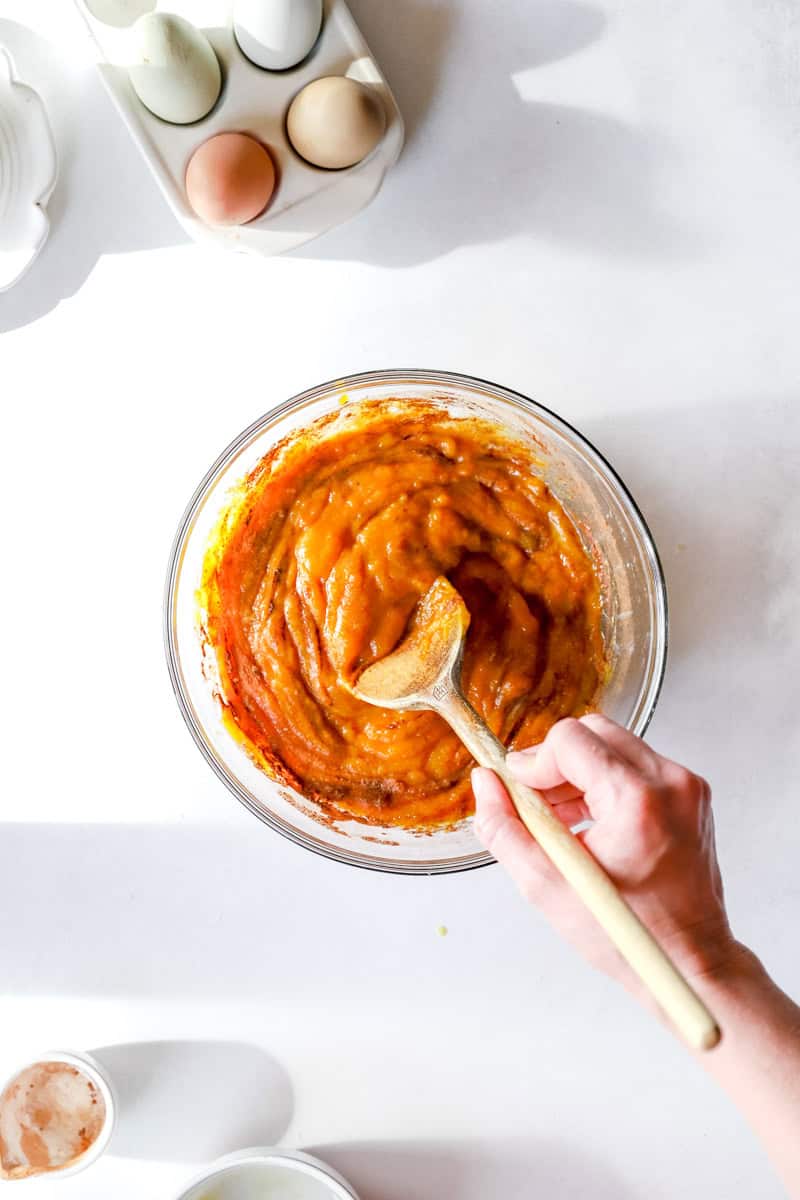
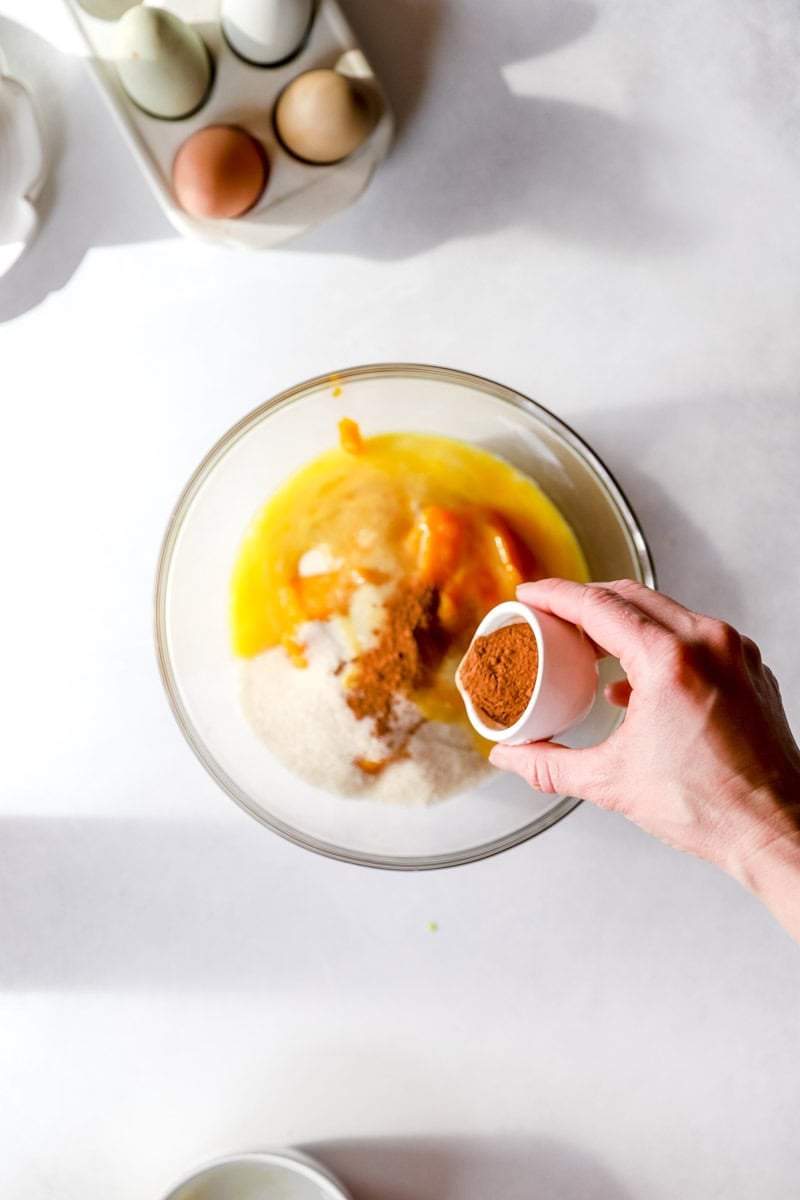
2. Prepare the filling by combining the pumpkin, sugar, pumpkin pie spice in a large mixing bowl. Stir in the eggs and then gradually the milk. Stir until just combined.
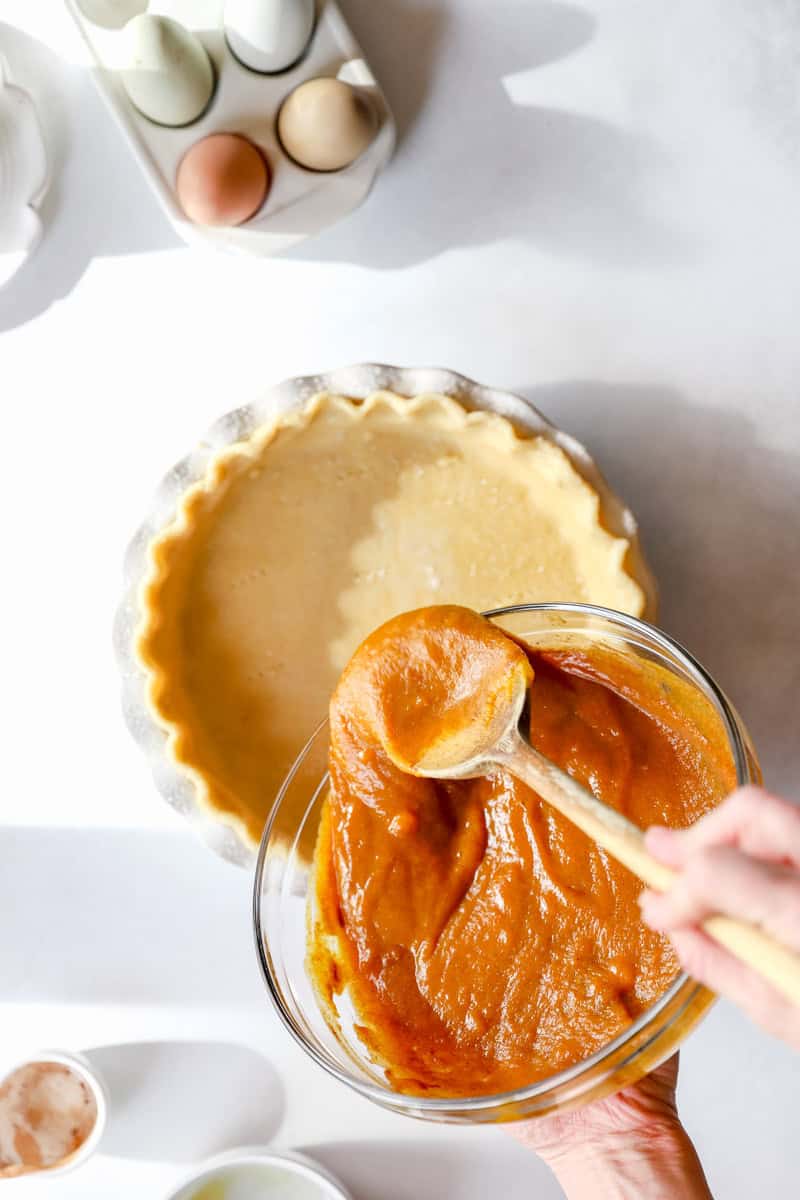
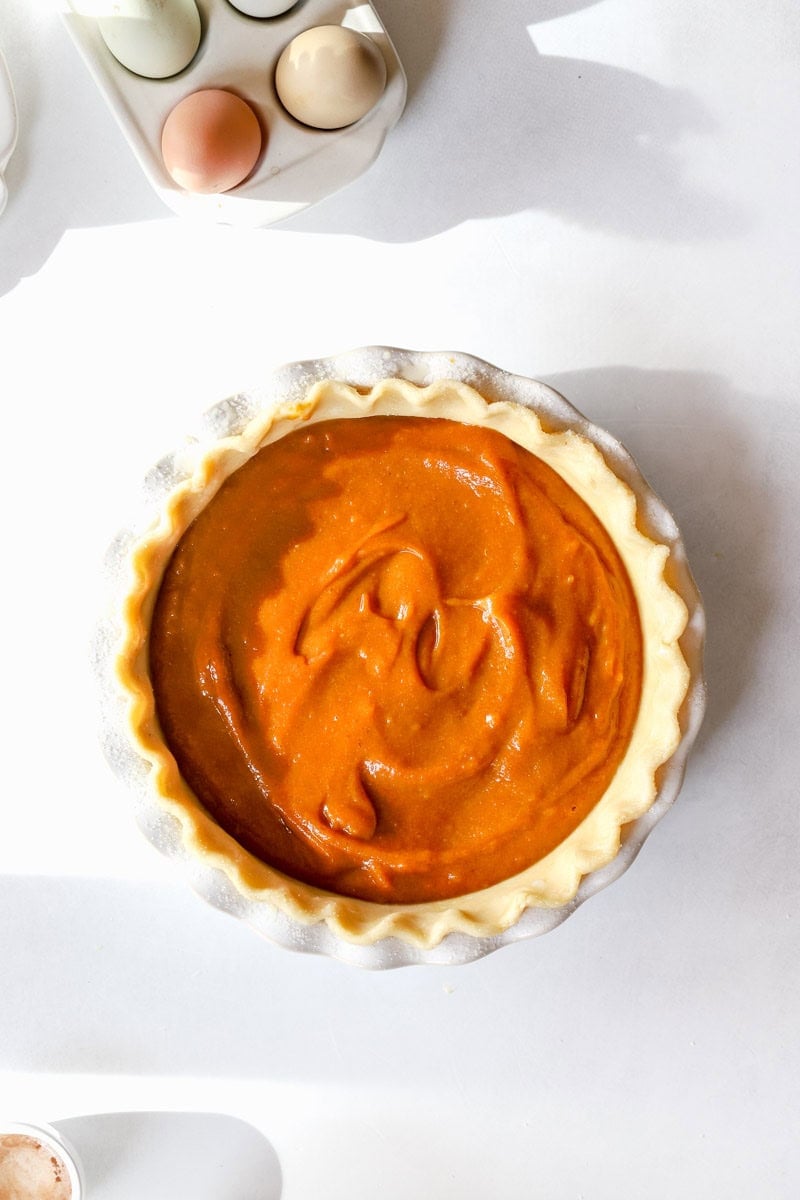
3. Pour the filling into the pie crust and cover the edges with a silicon pastry shield or tin foil. This will keep the flaky crust from over browning.
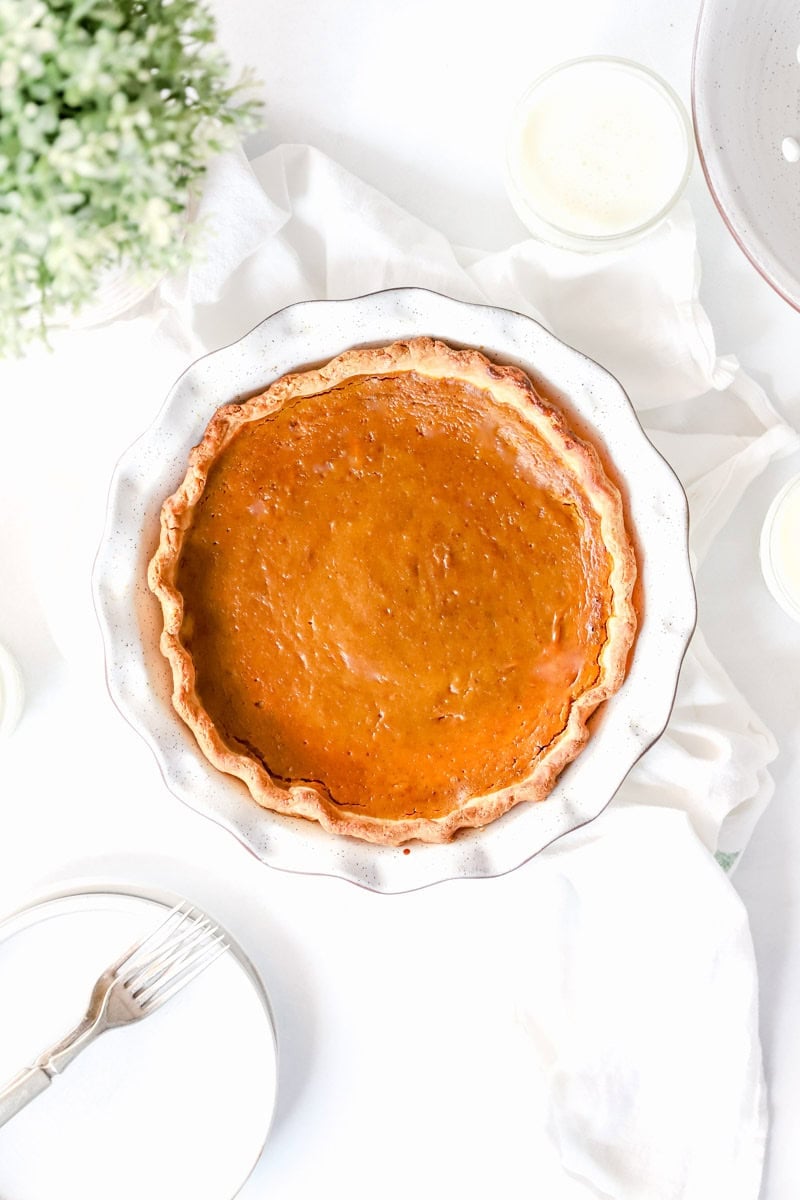
4. Bake for 25 minutes, then remove foil. Bake for an additional 25 minutes. The pie is done when a knife inserted near the center comes out clean and the pie just slightly wobbles when nudged.
5. Cool on a wire rack for an hour. Chill for two hours before serving.
How to Make Pumpkin Pie Spice
For a homemade touch to elevate your pumpkin pie, whip up a simple pumpkin pie spice blend. Just mix these ingredients, and you've got your own aromatic spice magic ready to infuse that pumpkin filling. No need for fancy store-bought blends – just a trio of pantry staples to bring warmth and flavor to your pie.
- 1 teaspoon of ground cinnamon
- ½ teaspoon of ground ginger
- ¼ teaspoon of nutmeg
How to Tell if Pumpkin Pie is Done
It's all about the wiggle. Give that pie a gentle nudge – the center of the pie should do a little jiggle, not a sloppy dance. Alternatively, stick a knife in the center of the pie. If it comes out clean, you've hit the sweet spot. Remember, a touch of wobble means you're on track for a creamy, dreamy pie.
How long does a pumpkin pie need to cool?
Knowing how long to let pumpkin pie cool isn't tricky! Give your pumpkin pie about 2 hours to cool at room temperature before chilling in the refrigerator. This cooling period ensures the filling sets properly, prevents condensation on the surface, and promotes safe refrigeration without affecting other stored items. Taking this time ensures your pumpkin pie maintains its ideal texture and flavor.
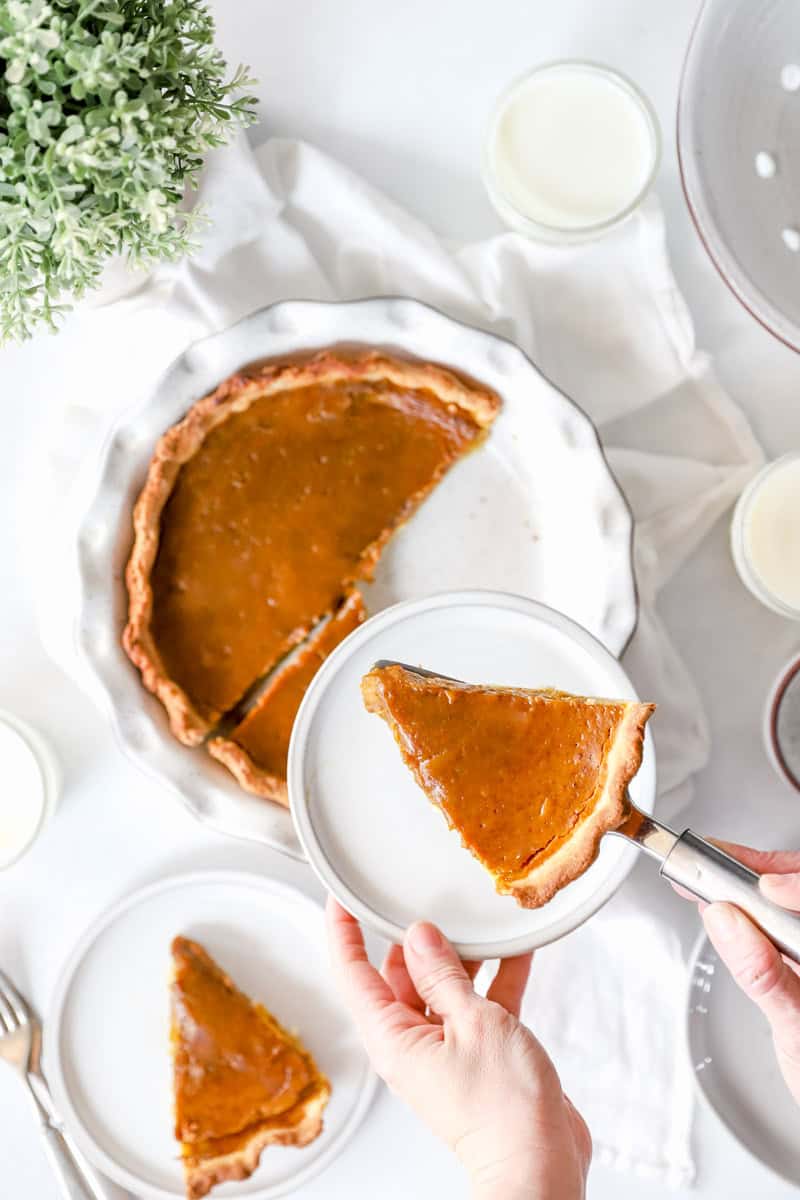
How to Cut a Pumpkin Pie
Here's a quick guide on how to perfectly cut a pumpkin pie:
- Allow the pumpkin pie to cool completely before cutting.
- Ensure your knife is sharp for clean slices. A serrated knife works well.
- Dip the knife in hot water before each cut. This helps glide through the pie without sticking.
- Start by cutting a slice from the center, creating a wedge.
- After each cut, wipe the knife to remove any pie residue for neater slices.
- Continue cutting wedges radiating from the center until you've sliced the entire pie.
- Use a pie server or spatula to lift each slice onto plates without breaking it apart.
How to Store Pumpkin Pie
Storing pumpkin pie is simple. Once it's cooled to room temperature, cover it securely with plastic wrap or foil. Place it in the refrigerator, and it'll stay fresh for around 3 to 4 days. For longer storage, consider freezing. Slice the pie, wrap each piece in plastic wrap, and store in a freezer bag. When the pie craving hits, thaw in the fridge overnight. Remember, keeping it well-covered helps preserve its flavor and texture.
How to Reheat Pumpkin Pie in the Oven
Reheating pumpkin pie is a breeze. Here's a simple guide:
- Preheat your oven to around 325°F (163°C).
- If your pie crust has edges that might burn, cover them with foil to protect them during reheating.
- Put the whole pumpkin pie in the preheated oven. No need to slice it yet.
- Let the pie warm up for about 15 minutes. This is usually sufficient to bring it to a delightful serving temperature.
- If you prefer a warm center, use a toothpick to check. It should come out warm but not scalding.
- Take it out, slice, and serve. Add a dollop of whipped cream if you're feeling fancy!
How to reheat pumpkin pie in the microwave
If you're in a hurry, here's a quick guide for reheating pumpkin pie in the microwave:
- Cut the desired number of slices from the pumpkin pie.
- Place the slices on a microwave-safe plate. Avoid crowding to ensure even heating.
- Cover the slices with a damp paper towel. This helps retain moisture and prevents the pie from drying out.
- Microwave the slices in 20 to 30-second intervals. Check after each interval to avoid overheating.
- Ensure the slices are heated to your liking. Use caution as the pie can become hot quickly.
- Once heated, take it out, and savor your warm pumpkin pie slices.
How to Make Fresh Pumpkin Puree
Growing or buying a pie pumpkin or a small gourd and turning it into fresh pumpkin puree is a breeze! Start by preheating your oven to 375°F (190°C). Cut the washed pumpkin or gourd in half, scoop out the seeds, and place the halves face down on a baking sheet. Roast for about 45-60 minutes until the flesh is tender. Once cooled, scoop out the soft pumpkin, discard the skin, and blend the flesh until smooth. Voila, you've got homemade pumpkin puree!
FAQ
Blind baking is a method that involves pre-baking a pie crust prior to adding the filling. The pie is shaped into the pie dish, then parchment paper and pie weights are added to keep the pre-baked crust from puffing up in the oven. BUT, there is No need to blind bake for a pumpkin pie. Just fill your raw pie crust with the pumpkin pie filling, and pop it in the oven. The crust will bake along with the filling, resulting in a perfect, flaky crust to complement your pumpkin goodness. Don't worry, no soggy crust for this pie!
Pumpkin pie typically lasts for 3 to 4 days when stored in the refrigerator. To maximize freshness, cover it with plastic wrap or foil to prevent it from drying out. Enjoy those delicious slices within the suggested timeframe, and if you have any leftovers, consider freezing them for longer storage.
Libby's Pumpkin Pie recipe is a classic and widely popular recipe that uses Libby's canned pumpkin puree as a base, aka ANY pumpkin pie can be a Libby's! The recipe typically includes ingredients like canned pumpkin, eggs, sugar, salt, pumpkin spice blend, and a pie crust. It involves mixing these ingredients together to create a smooth pumpkin filling, pouring it into a pie crust, and then baking until the filling is set. Libby's Pumpkin Pie is known for its rich, spiced flavor and creamy texture. It's just how a classic pumpkin pie tastes, especially during the fall and holiday season.
If you make this recipe, please leave a comment below! This provides helpful feedback to both me and other readers. For more delicious recipes from scratch and homesteading tips, follow me on instagram @NinnescahHomestead
Recipe

Classic Homemade Pumpkin Pie
Equipment
- 9" pie dish
- large mixing bowl
- pie crust shield or tin foil
Ingredients
- 1 single pie crust
- 1 15 ounce pumpkin puree
- ½ cup sugar
- 1½ teaspoon pumpkin pie spice
- 2 eggs lightly beaten
- ¾ cup milk or half and half, or cream, or evaporated milk
Instructions
- Preheat oven to 375℉ and position the oven rack in the lower third of the oven. Prepare and roll out a single pie crust. Line a 9" pie plate with the pie dough and crimp the edges. Prick the bottom of the crust with a fork. I like to put my pie pan on a cookie sheet to help make it easier to transfer to and from the oven.1 single pie crust
- Prepare the filling by combining the pumpkin, sugar, pumpkin pie spice in a large mixing bowl. Stir in the eggs and then gradually the milk. Stir until just combined.1 15 ounce pumpkin puree, ½ cup sugar, 1½ teaspoon pumpkin pie spice, 2 eggs, ¾ cup milk
- Pour the filling into the pie crust and cover the edges with a silicon pastry shield or tin foil. This will keep the flaky crust from over browning. Optional: brush the crust lightly with milk and sprinkle with sugar. I highly recommend it!
- Bake for 25 minutes, then remove foil. Bake for an additional 25 minutes. The pie is done when a knife inserted near the center comes out clean and the pie just slightly wobbles when nudged. See tip below!
Notes
- 1 teaspoon of ground cinnamon
- ½ teaspoon of ground ginger
- ¼ teaspoon of nutmeg
Nutrition
Related
Looking for other recipes like this pumpkin pie? Try these:

Freshest posts on this site!
Here are the latest happenings here on Ninnescah Made! Enjoy!


This pumpkin pie was so good! I am a huge pumpkin lover---all year long!
My middle son requested pumpkin pie this weekend, so he and I made this together! Easy to follow, delicious. I've made it many times now, and it just gets better! Thanks!