
How to Grow Microgreens at Home: A Beginner's Guide
Growing microgreens indoors is one of the easiest ways to enjoy fresh, homegrown food all year long! You don't need a greenhouse or a large garden to get started. All you need is a shallow growing tray, seeds, potting mix, and a sunny window or grow light.
I love growing microgreens during the winter when my outdoor garden is frozen. They're quick to grow, easy to harvest, and a delicious addition to salads, sandwiches, and homemade meals.
In this guide, I'll show you exactly how to grow microgreens at home, from planting your first tray to harvesting your greens in as little as 7–14 days. Some varieties, like pea shoots, may take a little longer.
I also think microgreen seeds deserve a spot in your emergency food storage. When stored properly, they can remain viable for years, especially when sealed in Mylar bags and kept somewhere cool and dry. If you ever need to rely on your food storage, they're a simple way to grow fresh greens in as little as a week or two, without needing a garden.
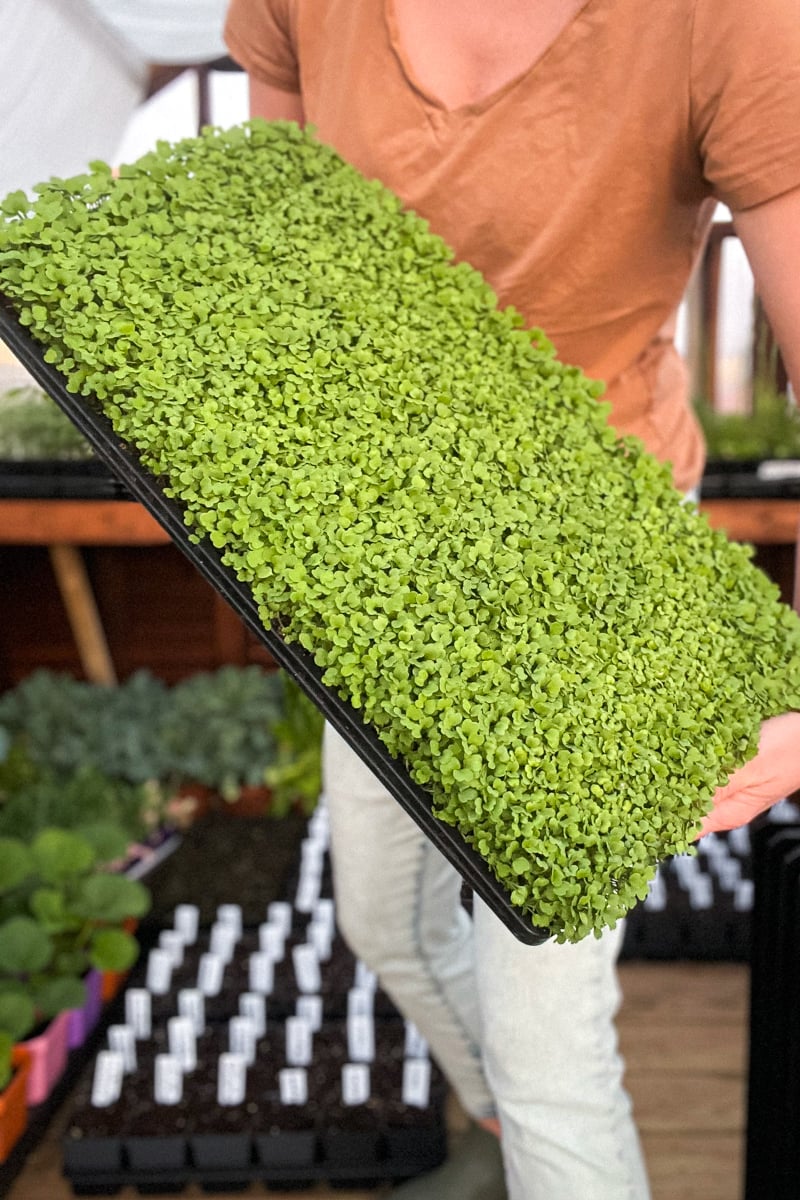
What Are Microgreens?
Microgreens are young vegetable and herb seedlings harvested shortly after their first true leaves begin to develop. Unlike sprouts, which are typically eaten whole, microgreens are grown in a growing medium and harvested just above the soil.
Microgreens may be small, but many varieties contain concentrated amounts of certain vitamins and minerals. They're an easy way to add fresh flavor, color, and nutrients to everyday meals.
Some of my favorite microgreens to grow are broccoli, arugula, and pea shoots. They're delicious, beginner-friendly, and easy to incorporate into everyday meals.
As an Amazon Associate, I earn from qualifying purchases. This post contains affiliate links, which means I may earn a small commission at no additional cost to you.
Supplies Needed to Grow Microgreens Indoors
One of the things I love about growing microgreens is that you don't need a bunch of expensive gardening equipment to get started.
I prefer investing in quality growing trays that I can reuse year after year, but there are plenty of inexpensive ways to get started if you're working with a smaller budget.
- Microgreen seeds: Choose untreated seeds intended for growing microgreens. Broccoli, arugula, and pea shoots are great beginner varieties. Buying seeds in larger quantities can save money if you plan to grow microgreens regularly. I always buy the big one-pound bags and store them in airtight containers in a cool, dark spot in my basement.
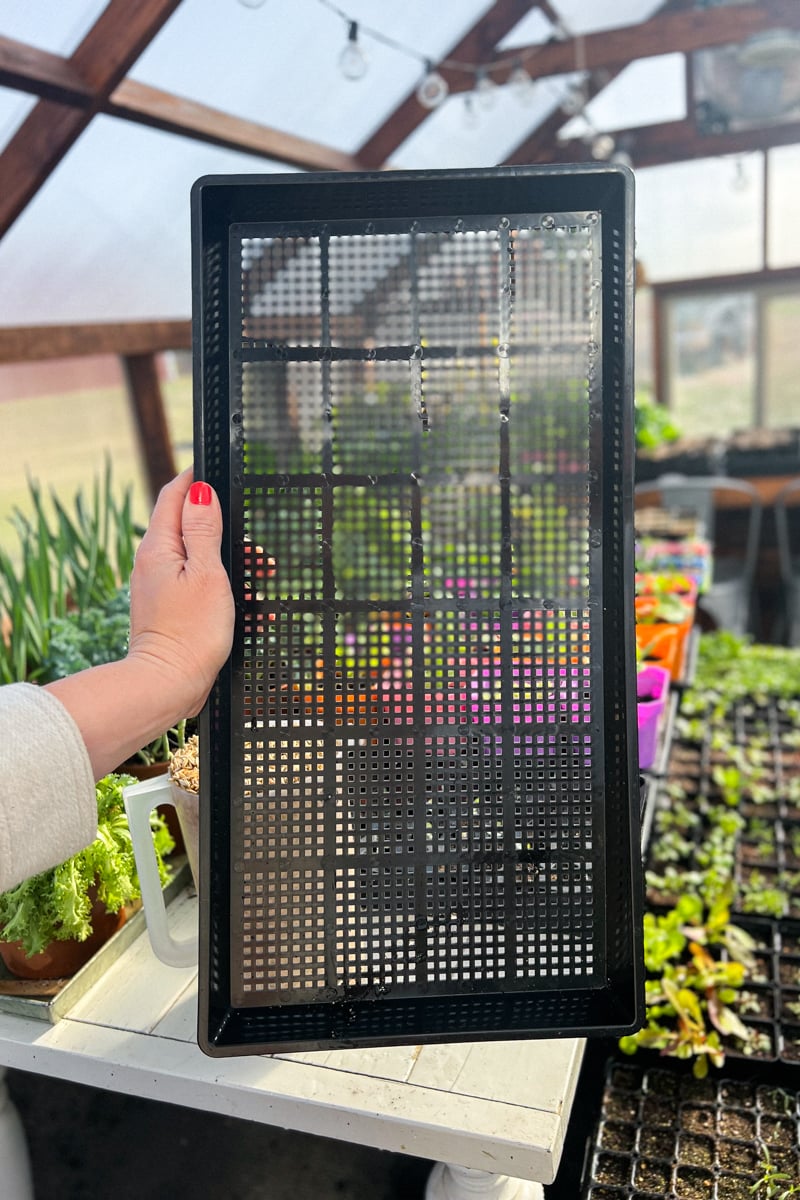
- Growing trays: I use Bootstrap Farmer 1020 growing trays with 1020 microgreen growing trays with holes. They're sturdy, reusable, and easy to clean. The solid tray catches water underneath, and I use their humidity domes when needed. For a budget-friendly option, repurpose shallow, food-safe plastic containers, like those used for salad greens or berries. Just make sure they're thoroughly cleaned and have drainage holes in the bottom. You'll also need a second container without holes to catch water.
- Growing medium: A fine-textured seed-starting mix or coconut coir works well. You don't need anything fancy! Avoid using soil straight from your garden, which can introduce pests and pathogens.
- Grow lights: I recommend full-spectrum LED grow lights for consistent results, especially during the winter. However, you can also grow microgreens in a bright, sunny window. If you already have a shelving unit, inexpensive LED shop lights can work, provided they supply enough light for healthy growth.
- Spray bottle: Use a clean spray bottle to gently moisten your seeds during germination. A small watering can also works for established seedlings.
- Kitchen scissors or serrated knife: No special harvesting tools needed! A clean pair of sharp kitchen scissors works perfectly.
New to indoor gardening? Learn how to choose and use grow lights in my Guide to Using Grow Lights for Indoor Plants
Best Microgreens to Grow for Beginners
| Variety | Flavor | Approx. harvest time |
|---|---|---|
| Broccoli | Mild, slightly cabbage-like | 8–12 days |
| Arugula | Peppery | 6–10 days |
| Radish | Spicy and crisp | 7–10 days |
| Pea shoots | Sweet, fresh pea flavor | 10–21 days |
| Sunflower | Nutty, crunchy | 8–14 days |
Can You Grow Microgreens Without Buying Special Equipment?
Absolutely! If you're not ready to invest in a complete indoor growing setup, start with a clean, shallow food container, a little seed-starting mix, and a packet of microgreen seeds.
Place your container in a sunny window and see how it goes. Make sure it has drainage holes and something underneath to catch the water.
Once you've grown a few successful trays, you can decide whether investing in larger growing trays and a dedicated grow light setup makes sense for you.
I started my indoor gardening journey with a few pots in a sunny bay window, and eventually expanded to shelves with grow lights. There's no reason you can't do the same!
The goal is to start growing your own food, not to spend a fortune getting started.
How to Grow Microgreens Step by Step
Step 1: Prepare Your Growing Tray
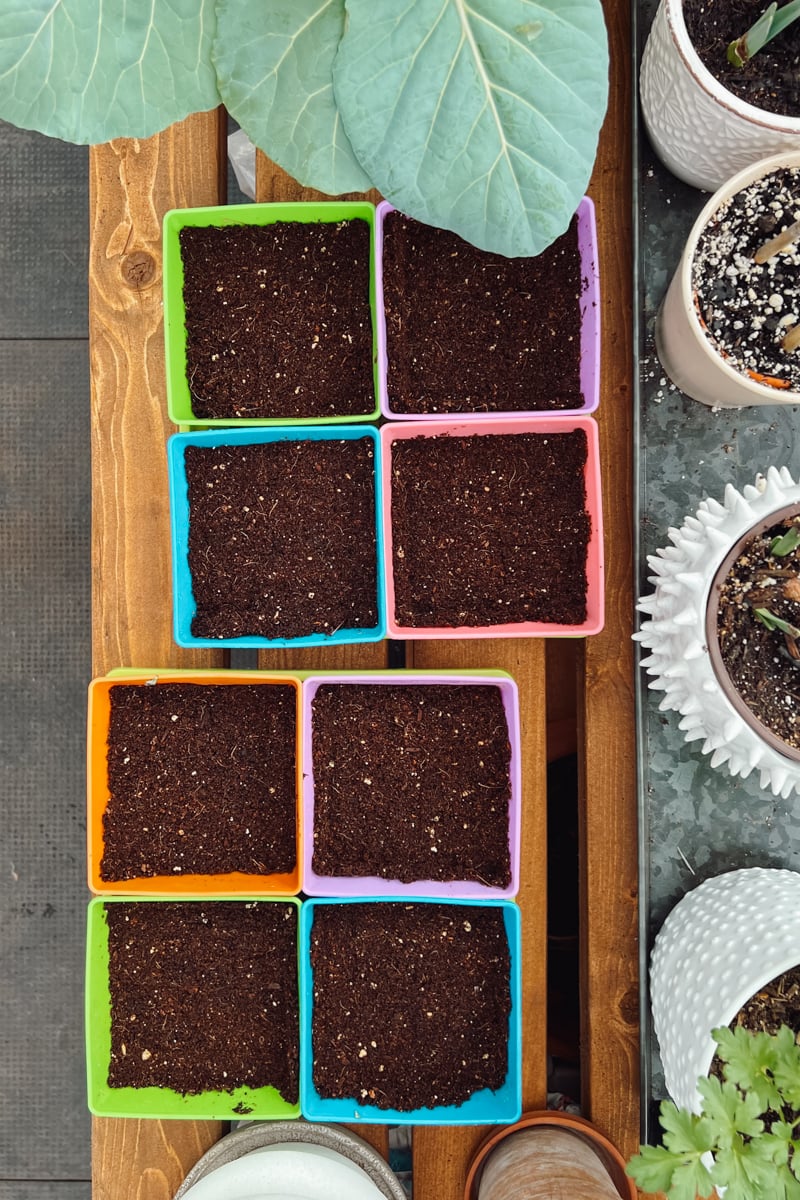
Fill a shallow growing tray with about 1–1½ inches of moist seed-starting mix. Gently level the surface without packing the soil too tightly.
Place the tray with drainage holes inside a second tray without holes to catch excess water.
Step 2: Measure and Plant Your Seeds
Measure your seeds according to the variety you're growing. Microgreens are planted more densely than traditional garden vegetables, but overcrowding can lead to poor airflow and mold.
Here are some starting seeding rates for a standard 10×20-inch growing tray. For smaller containers, reduce the amount of seed proportionally. You want even coverage without piling the seeds on top of each other:
| Microgreen | Seed Amount |
|---|---|
| Broccoli | 20–30 grams |
| Arugula | 15–25 grams |
| Pea shoots | 200–280 grams |
Spread the seeds evenly across the growing medium and gently press them into the surface.
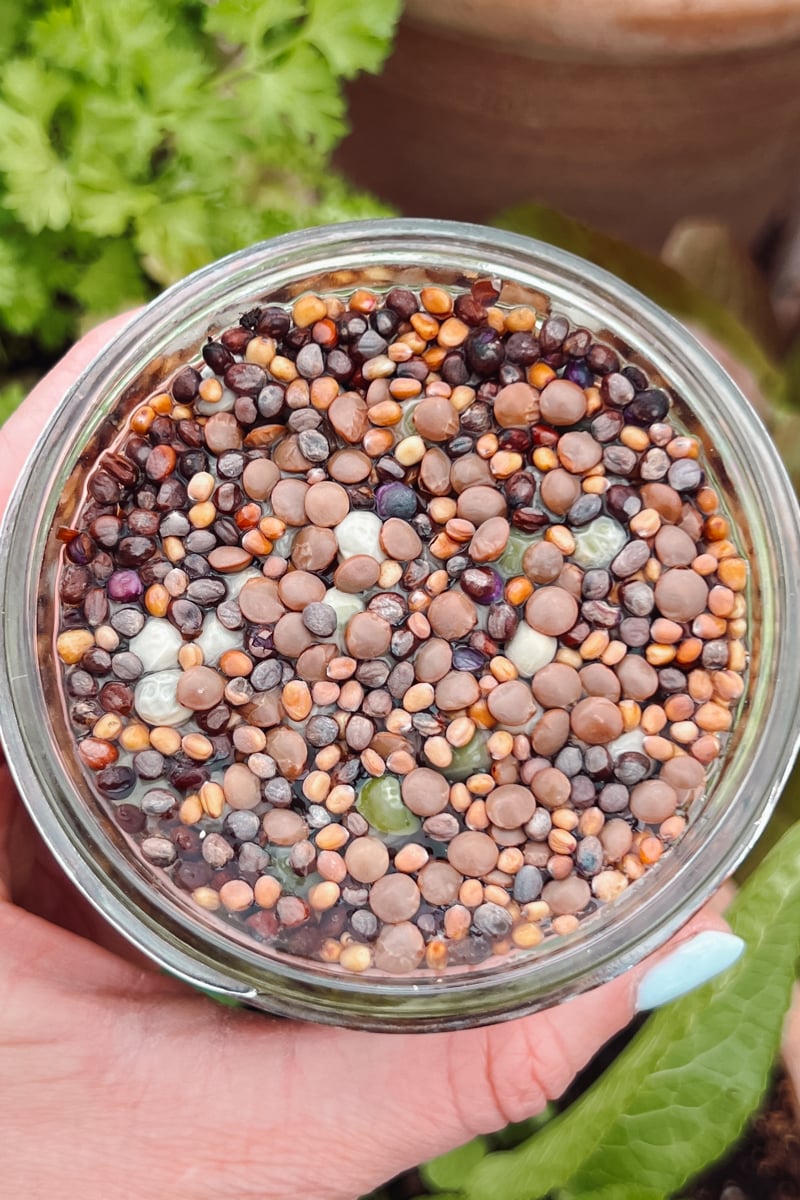
Broccoli and arugula seeds generally don't need soaking. Soak pea seeds in clean water for approximately 8–12 hours before planting, then drain thoroughly.
Step 3: Cover the Seeds for Germination
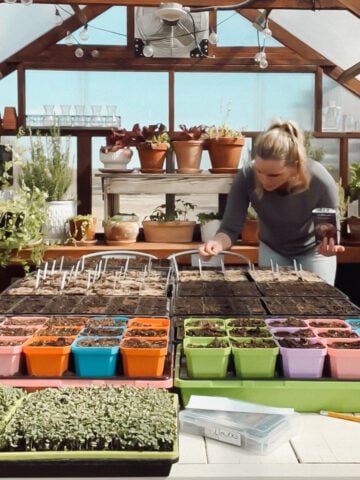
I stack my freshly planted microgreen trays on top of each other, then place an empty tray on top to block out the light. For larger seeds, like peas, I add something heavy, like a brick or paver, to apply even pressure and keep the seeds in contact with the growing medium as they germinate. Smaller seeds, like arugula, don't need the extra weight.
Microgreens grow well at normal indoor temperatures, generally around 65–75°F. A warm room will encourage germination, but you don't need a special heated growing setup for most varieties. Avoid placing your trays near cold drafts or heating vents.
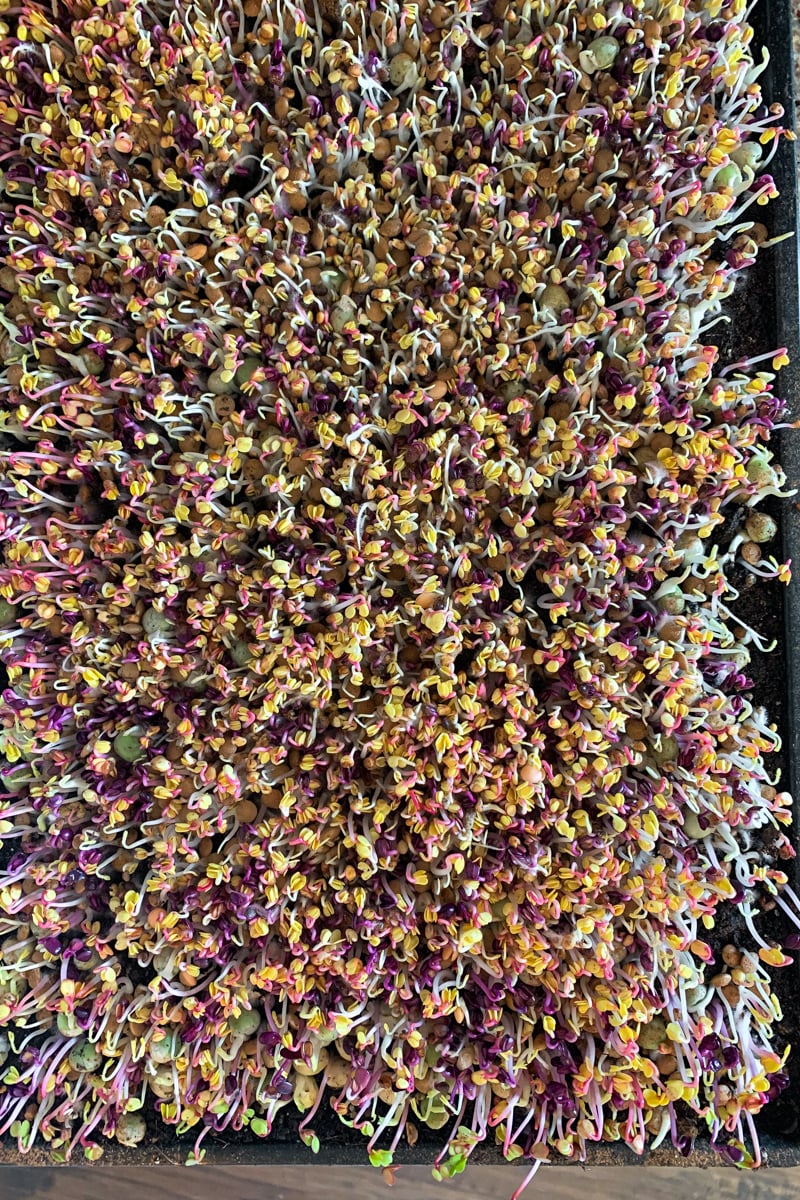
Check your trays daily to make sure the growing medium stays moist, but not soggy. Most microgreens germinate within 2–5 days, depending on the variety and growing conditions. Remove the weight (if using) and unstack the trays as the seedlings begin pushing upward.
Don't panic if your microgreens look pale or yellow when you first uncover them. That's completely normal! They've been growing in the dark and haven't developed much chlorophyll yet. Once they're exposed to light, they'll begin turning green.
Keep an eye on your seedlings rather than relying only on the calendar. Different varieties germinate and grow at different speeds.
Step 4: Move Your Microgreens Under Grow Lights
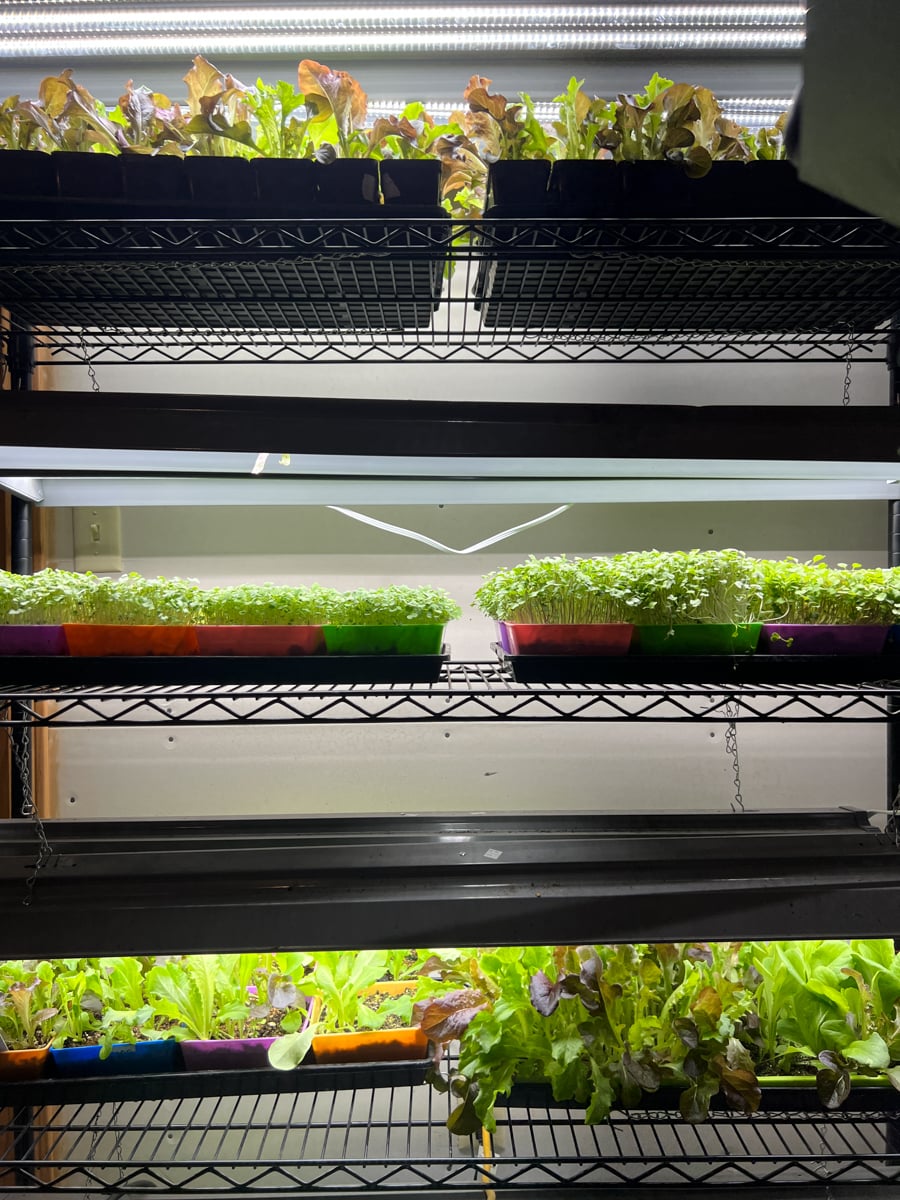
Once the seeds have germinated and the seedlings begin pushing upward, remove the cover and place your tray beneath a grow light. Follow the manufacturer's recommended hanging height and adjust as needed to keep your seedlings growing strong without overheating.
Provide approximately 12–16 hours of light each day.
A sunny window may work for some varieties, but grow lights generally produce stronger, more consistent growth during the winter months.
If you're interested in growing more than microgreens, my beginner's guide to starting seeds indoors walks you through growing vegetables, herbs, and flowers from seed.
Step 5: Water Your Microgreens
Once the seedlings are established, switch to bottom watering. I start with about 1–2 cups of water in the solid bottom tray, depending on how dry the growing medium is.
Let the water soak upward through the drainage holes until the growing medium feels evenly moist, then pour off any standing water. Check your trays daily, since they'll dry out faster as the microgreens grow.
Check your microgreens daily and water as needed. Good airflow and proper watering help prevent mold and other growing problems. I use a fan to keep the air moving.
Step 6: Harvest Your Microgreens
Most microgreens are ready to harvest within 7–14 days, although pea shoots may take 10–21 days.
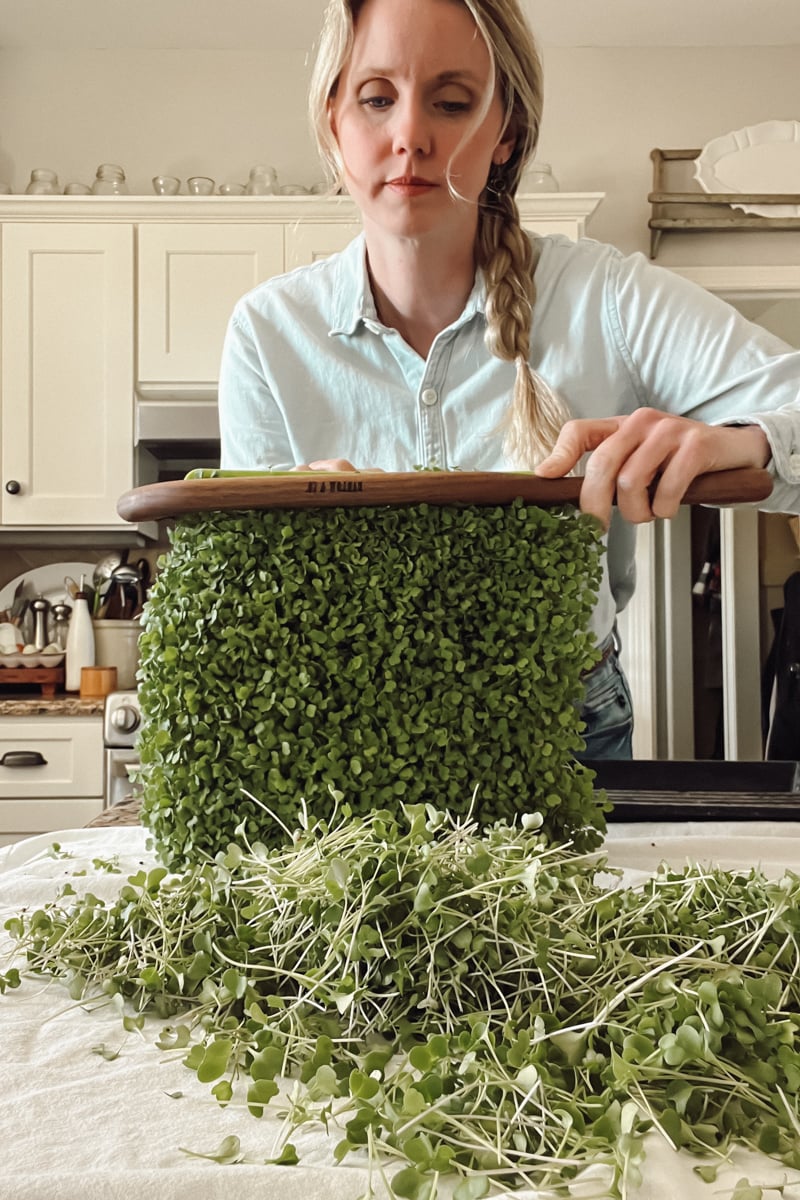
When your greens have developed their first true leaves and reached a usable height, cut the stems just above the growing medium.
Always harvest with clean scissors, rinse your microgreens under cool running water, and refrigerate them promptly. Discard any trays showing signs of mold or decay.
Storage
After harvesting, I rinse my microgreens under cool running water and dry them thoroughly. Then I tuck them into a Ziploc bag with a slightly damp paper towel and store them in the crisper drawer of my refrigerator.
The paper towel helps maintain moisture without leaving the greens sitting in water. For the best flavor and texture, I try to use them within 5–7 days. Discard any greens that become slimy, develop mold, or smell off.
How do I prevent mold when growing microgreens?
Start with clean trays, avoid planting your seeds too densely, and make sure the growing medium stays moist without becoming waterlogged. Good airflow is important, too. I keep a small fan running near my growing trays to help circulate the air.
If you notice fuzzy white growth, check whether it's harmless root hairs or actual mold. Root hairs appear close to the roots and often become less noticeable when watered. Mold may spread across the growing medium or seedlings and can have an unpleasant smell. Discard trays with suspected mold rather than trying to salvage the greens.
Tips for Growing Healthy Microgreens
- Start with easy varieties like broccoli, arugula, radishes, or peas.
- Use clean trays and seeds intended for microgreen production.
- Avoid overcrowding your seeds.
- Provide consistent light and good airflow.
- Keep the growing medium moist without overwatering.
- Start a new tray every 5–7 days for a steady supply of fresh greens.
Frequently Asked Questions
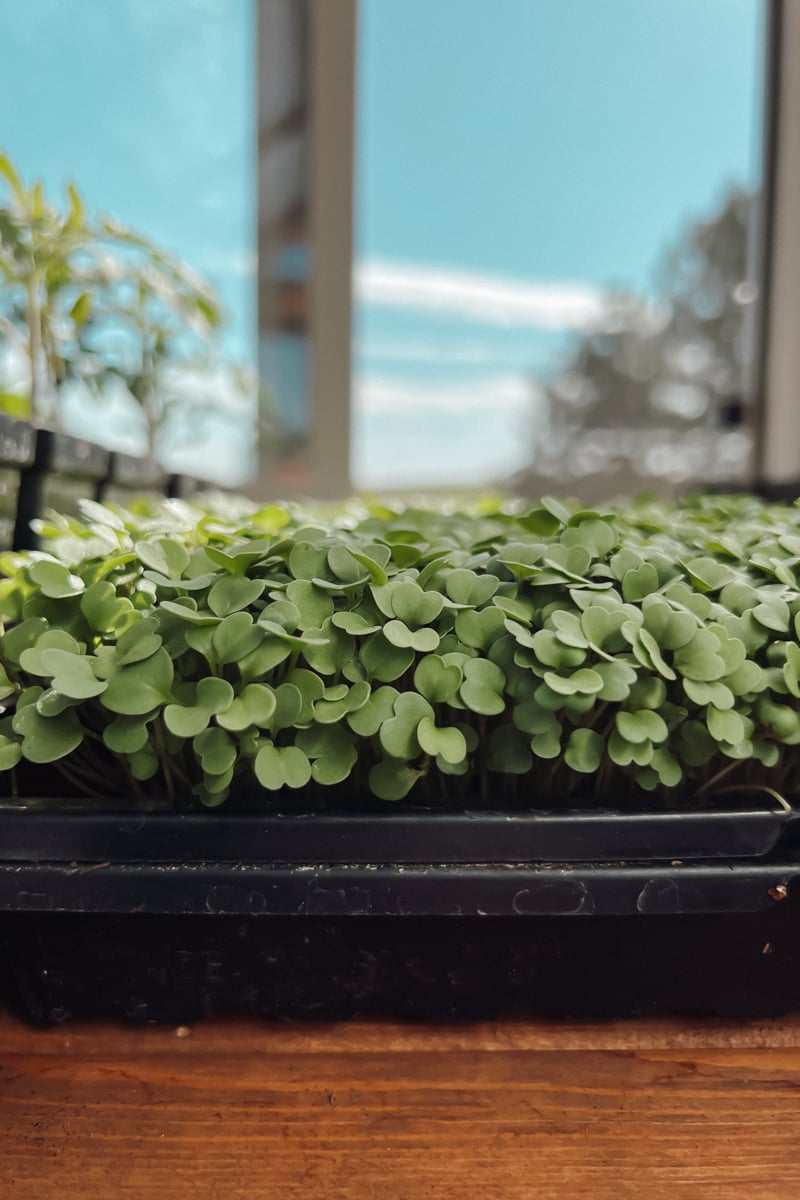
Yes! A bright, sunny window can work, especially during seasons with longer daylight hours. However, grow lights provide more consistent results and help prevent weak, leggy seedlings.
Most microgreens are harvested once. Some varieties, including pea shoots, may produce additional growth after cutting, but subsequent harvests are often smaller.
Most varieties are ready to harvest within 7–14 days. Larger varieties, like pea shoots, may need a little more time.
Absolutely! With a simple indoor growing setup and adequate lighting, you can grow fresh microgreens throughout the year, even when it's freezing outside.
Microgreens can become tall, thin, and weak when they aren't getting enough light. Make sure your grow lights are positioned correctly and provide consistent light each day. Overwatering and poor airflow can also cause problems, so keep the growing medium moist without letting it become soggy.
Start Growing Your Own Microgreens!
You don't need acres of land or an expensive greenhouse to start growing your own food. A single tray of microgreens on your kitchen counter is a great place to begin.
Start with one or two varieties, learn what works for your growing space, and add more trays as you get comfortable. Before long, you'll be harvesting fresh greens for your family's meals, even in the middle of winter.
And once you've experienced how easy it is to grow food indoors, you might find yourself making room for a few more trays. Ask me how I know!
Need some ideas for using your freshly harvested microgreens? They're delicious on sandwiches, burgers, and salads! I even created a sweet and savory balsamic microgreens salad for Bootstrap Farmer that's a great way to put your homegrown greens to use.
More Gardening Tips & Tutorials
If you're ready to start planning your outdoor garden, check out my Zone 6 seed planting guide to learn when to start planting your favorite vegetables.
Want to grow more fresh greens? Swiss chard is another easy vegetable to grow from seed, and you can harvest the leaves throughout the growing season.


Comments
No Comments