
How to Cook Farro (Perfect Every Time)
If you've never cooked farro before, don't let this ancient grain intimidate you. It's one of the easiest whole grains to make and cooks much like pasta. Simply boil it until it's tender, drain the excess water, and it's ready to use in soups, salads, grain bowls, and hearty side dishes.
I started cooking farro after my husband introduced me to the traditional Lebanese dishes he grew up eating, and it quickly became one of my favorite grains. It has a mild, nutty flavor and a pleasantly chewy texture that adds so much more interest than plain rice.
In this guide, I'll show you exactly how to cook farro, how long to cook it for the perfect texture, how to store and freeze leftovers, and my favorite ways to use it throughout the week.
As an amazon associate, this post contains affiliate links, which means I make a small commission at no extra cost to you. See my full disclosure here.
What Is Farro?
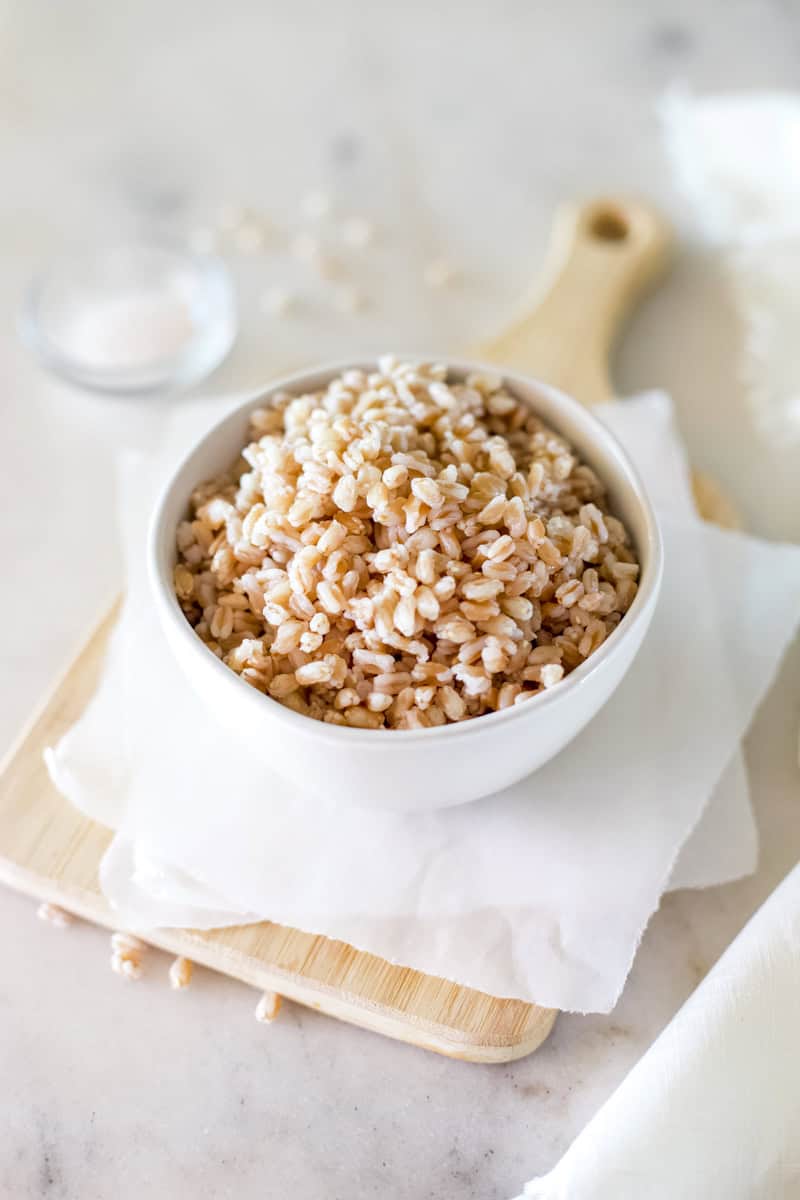
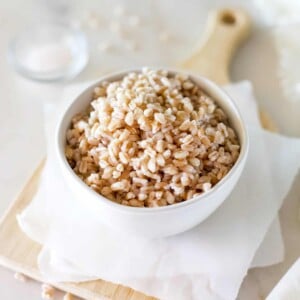
Farro is an ancient wheat grain with a mild, nutty flavor and a pleasantly chewy texture. If you've never tried it before, I think of it as somewhere between brown rice and barley. It's hearty enough to be satisfying but doesn't feel heavy.
I actually prefer farro to brown rice because it has so much more flavor and texture. It's delicious in soups, fresh salads, grain bowls, or simply served as an easy side dish with grilled meat and roasted vegetables.
If you're looking for a simple way to add more variety to your meals, farro is a great grain to keep on hand.
Types of Farro
Not all farro cooks the same, so it's worth taking a quick look at the package before you begin. Farro is sold in pearled, semi-pearled, and whole varieties. The biggest difference is simply how long they take to cook. Since this recipe uses the pasta method, you don't have to worry about hitting an exact time—just start tasting the grains a few minutes before the package's recommended cook time and drain them when they reach the texture you like.
Pearled farro is the most common variety sold in grocery stores and the type I use for this recipe. Since part (or all) of the bran has been removed, it cooks much faster and becomes tender in about 20 minutes.
Semi-pearled farro still has some of the bran intact, so it takes a little longer to cook. Check the package directions, but expect it to need around 25 to 30 minutes.
Whole farro has all of the bran left on the grain. It takes the longest to cook and is often soaked overnight to shorten the cooking time. Depending on the brand, it can take 40 minutes or more to become tender.
If you're not sure which type you have, don't worry. The pasta method in this recipe makes it easy to check the texture as it cooks and simply drain the farro when it reaches the tenderness you like.
Why Farro Has Become a Staple in My Kitchen
I didn't grow up eating farro. We were a pretty traditional meat-and-potatoes family, and ancient grains just weren't something I ever thought to cook.
My husband, though, grew up eating traditional Lebanese and Syrian dishes made by his great-grandmother, who immigrated to the United States. Tabbouleh, kibbeh, kafta, stuffed grape leaves... her kitchen introduced me to a whole new world of grains, herbs, and fresh flavors. Before long, I was experimenting with farro right alongside the more traditional grains, and it quickly became one of my favorites.
I almost always keep a batch of cooked farro in the refrigerator. It's an easy way to add flavor, texture, and a little extra substance to salads, grain bowls, soups, and simple weeknight meals.
Why I Cook Farro Like Pasta
There are two common ways to cook farro. Some recipes use a specific ratio of water to grain, much like cooking rice. I prefer to cook farro like pasta by boiling it in a large pot of salted water and draining it when it's done.
I've found this method to be much more forgiving, especially if you're cooking farro for the first time. Instead of worrying about whether you've measured the perfect amount of water or ending up with mushy grains, you can simply taste the farro as it cooks and drain it when it reaches the texture you like.
This is also the method I use when meal prepping. I often cook a double batch at the beginning of the week, cool it on a baking sheet, and keep it in the refrigerator for quick lunches, grain bowls, soups, and salads. It's simple, reliable, and turns out perfectly every time.
Helpful Kitchen Tools
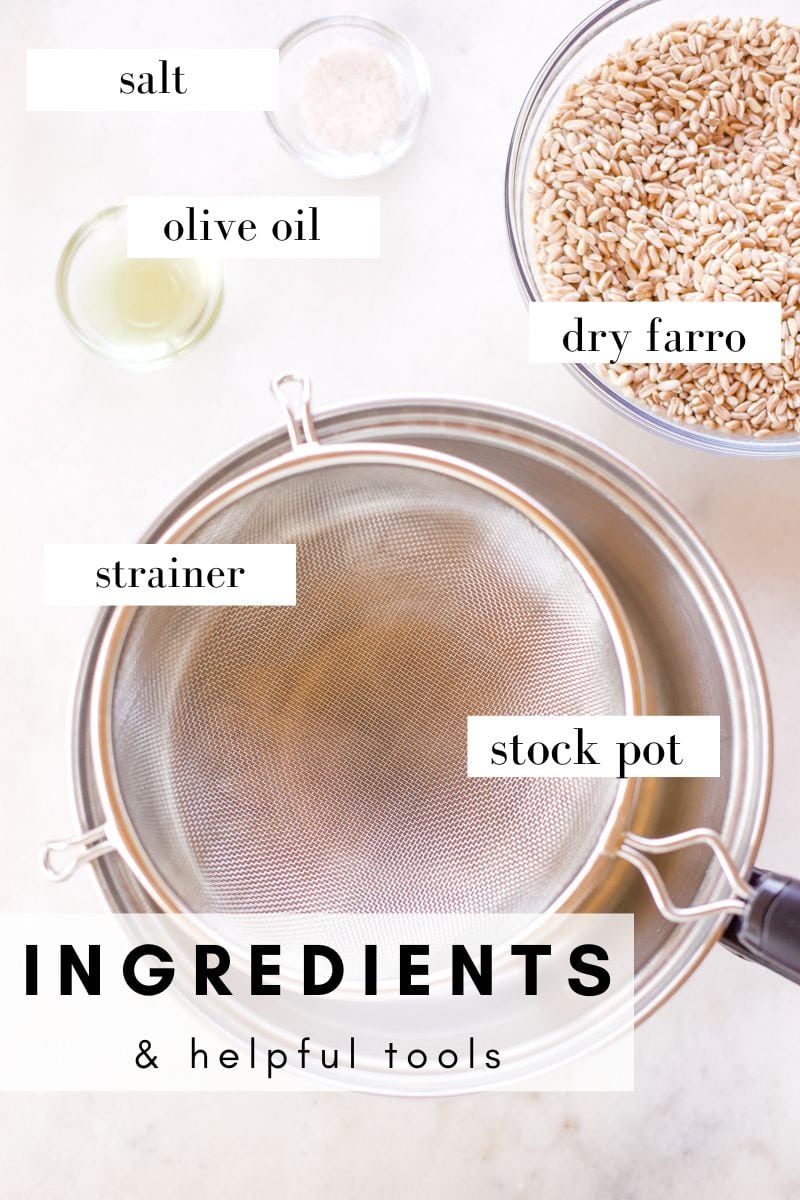
- A rimmed baking sheet cools the farro quickly so it doesn't continue cooking and become mushy.
- A fine-mesh sieve makes rinsing and draining farro much easier.
- A large pot gives the grains room to move around while they cook, just like pasta.
Ingredients for Cooking Farro
- dried farro
- olive oil
- salt
- water
See recipe card for quantities.
How to Cook Farro (The Easy Pasta Method)
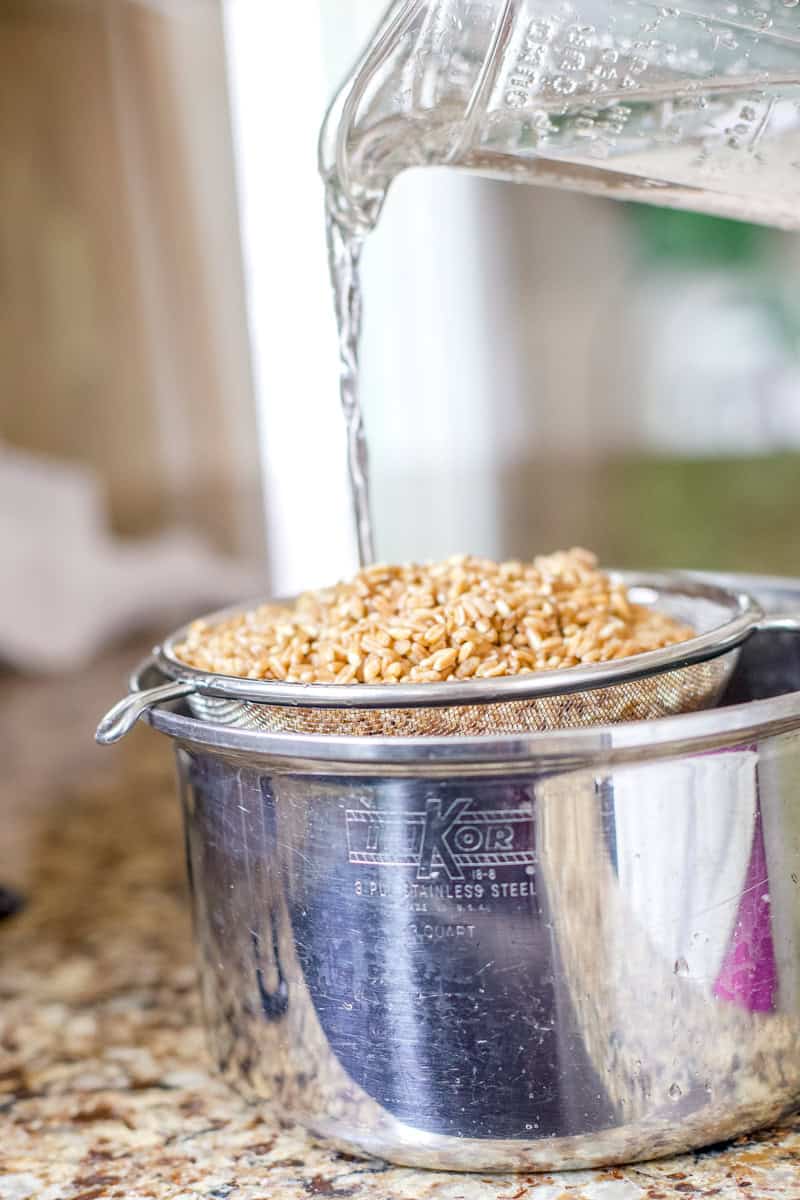
First, rinse the dry farro with cold water. Pour the grain into a bowl or jar and swirl it gently for a little bit to give it a good rinse. To drain the excess water, I've found that a fine mesh sieve or mason jar with a sprouting lid works best.
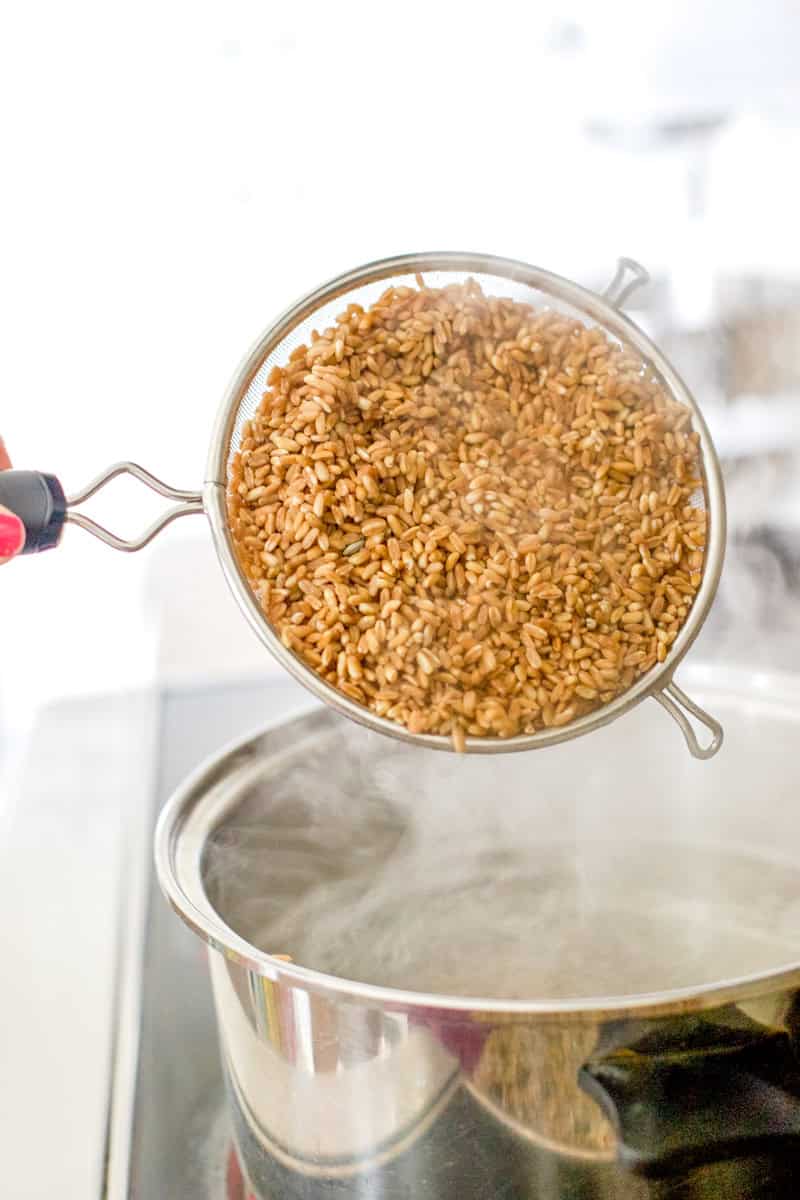
Next it's time to cook! Bring a large pot of water to a boil over medium heat and add the olive oil plus a little salt. Pour the rinsed grains into the boiling water. the variety most commonly found in U.S. grocery stores. If your package recommends a longer cooking time, simply keep tasting the farro as it cooks and drain it when it reaches the texture you like. Start tasting the farro a few minutes before the package's recommended cook time and drain it when it's as chewy or tender as you like.
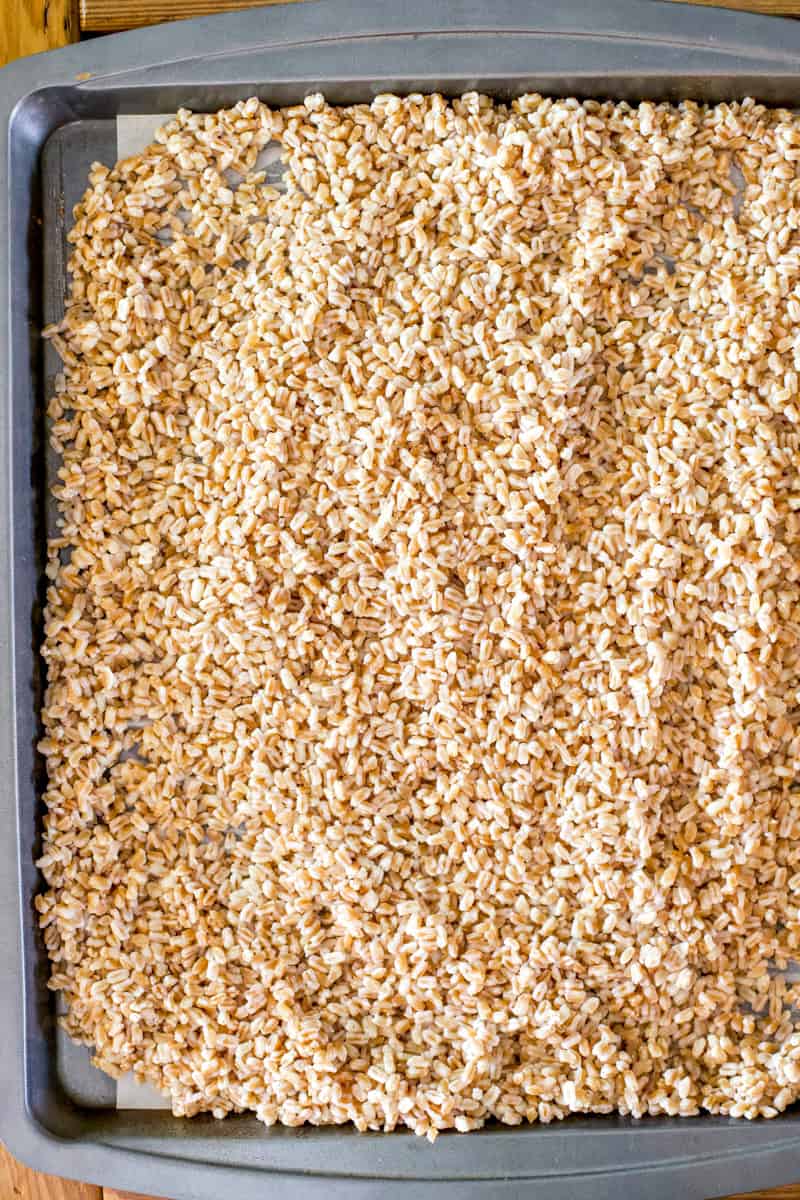
Drain the farro and spread it on a baking sheet. Spread them out in a single layer so they don't stick together while cooling. It usually takes twenty minutes or so to fully cool. If you skip this step, the steam and heat generated from the grains being close together will continue the cook time, making them mushy.
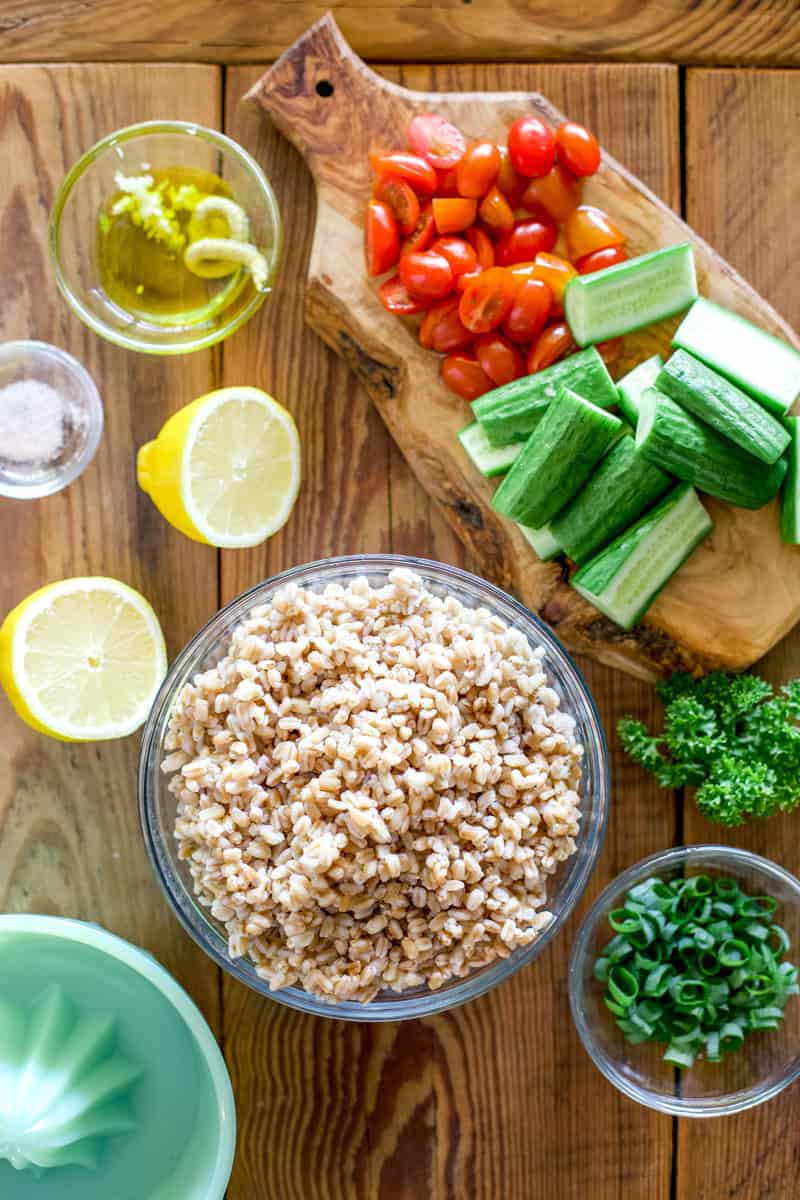
When your farro is cool, it can be served right away or stored for later. See the tips below for serving suggestions, how to freeze cooked, farro and store it in the refrigerator.
How Long Should You Cook Farro?
One of the questions I had when I first started cooking farro was, "How tender is it supposed to be?" Some recipes say to cook it for 20 minutes, while others recommend 30 minutes or more.
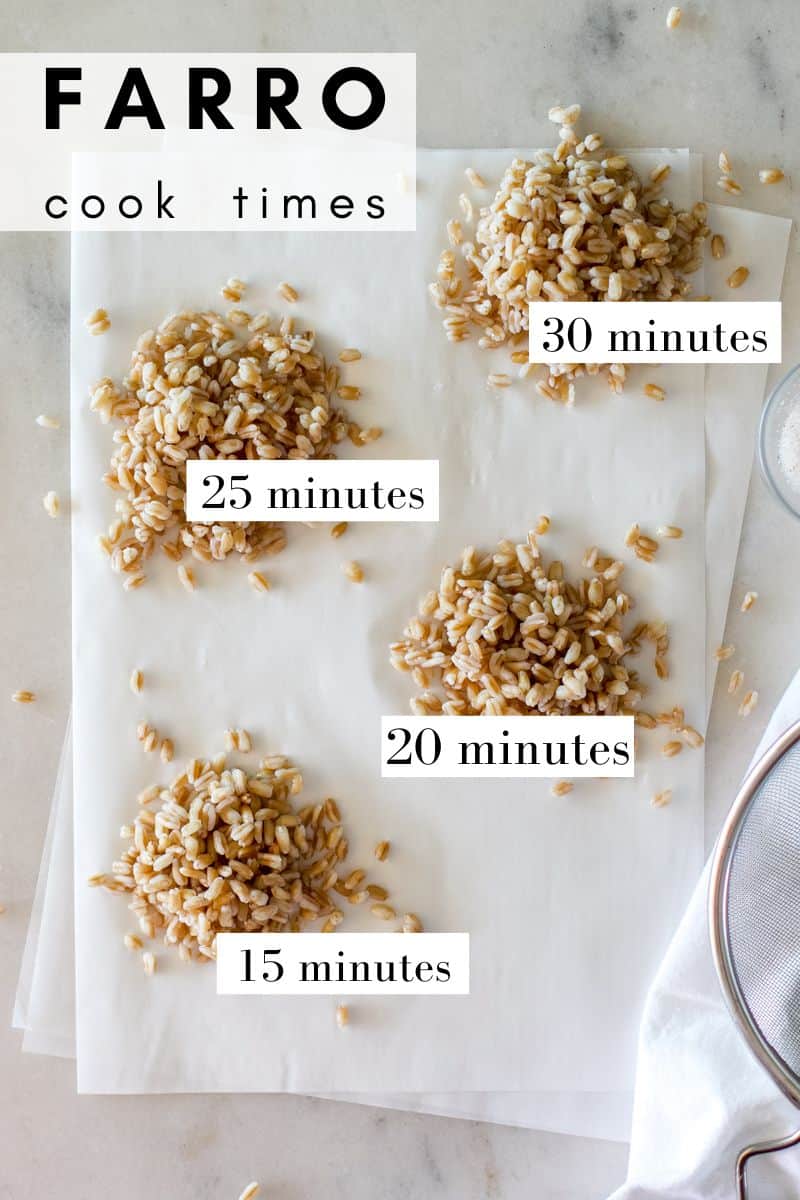
Rather than guessing, I cooked several batches for different lengths of time to see exactly how the texture changed. Here's what I found.
How Long to Cook Farro (Perfect Cook Time)
- 15 minutes: Tender but still quite chewy with a noticeable al dente bite. For my taste, it isn't quite done yet.
- 20 minutes: Tender with just a slight chew. This is my favorite texture for salads, grain bowls, and side dishes.
- 25 minutes: Very tender with only a little chew remaining. The grains still hold their shape but begin to feel softer.
- 30 minutes: Very soft and starting to lose their shape. I wouldn't choose this texture for most recipes, but it would work well for baby food or anywhere you want a very soft grain.
Remember, cooking farro like pasta means you don't have to rely on the clock. Start tasting it a few minutes before the recommended cook time and drain it when it's as chewy or tender as you like.
How to Store Cooked Farro
If you're wondering how to store cooked farro, the good news is that it keeps well in an airtight container in the refrigerator for up to 5 days, making it a great option for meal prep.
Before storing, let the farro cool completely. I like to spread it on a baking sheet first so it cools quickly and doesn't continue steaming in the container, which can make the grains softer than I'd like.
I usually choose my storage container based on how I plan to use the farro. If I'm making a large salad later in the week, I'll store it in a larger glass container. For individual lunches, I prefer filling pint-sized mason jars or small glass containers with single servings so they're ready to grab from the refrigerator.
Cooked farro is delicious cold straight from the refrigerator or can be reheated in the microwave or on the stovetop with a splash of water if you'd like to serve it warm.
How to Store Uncooked Farro
Store uncooked farro in an airtight container in a cool, dry pantry. A glass mason jar works well if you plan to use it within a few months.
If you're storing farro as part of a long-term pantry, I recommend sealing it in mylar bags with oxygen absorbers. This method keeps whole grains fresh for years and is how I store many of the dry staples in my own pantry.
No matter which storage method you choose, transferring the farro out of its original packaging and into an airtight container will help it stay fresh longer.
How to Freeze Cooked Farro
If you're wondering, "Does farro freeze well?" the answer is yes. Cooked farro freezes beautifully, making it a great option for meal prep.
Yes! Cooked farro freezes beautifully, making it a great option for meal prep.
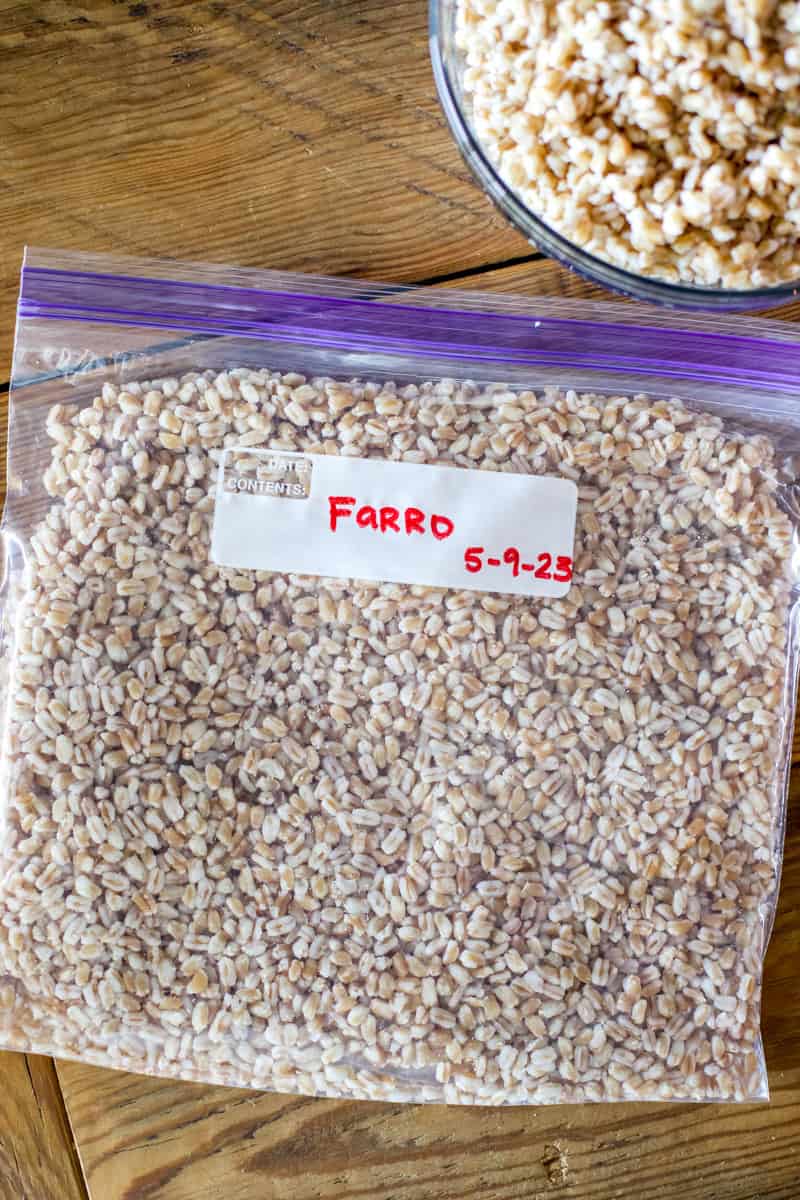
Start by spreading the cooked farro in a single layer on a baking sheet and letting it cool completely. Once cooled, place the baking sheet in the freezer for about 30 minutes. This quick pre-freeze keeps the grains from freezing together in one large clump.
Transfer the partially frozen farro to freezer-safe bags or airtight containers. I portion mine into 1½-cup servings because that's about what I need for a family-sized salad or a couple of grain bowls. Freezing it in recipe-sized portions means I can thaw exactly what I need instead of a whole bag.
Cooked farro can be frozen for up to 3 months. When you're ready to use it, thaw it overnight in the refrigerator or add it directly to soups and other hot dishes while it's still frozen.
What to Do With Cooked Farro
Once you've cooked a batch of farro, you'll find yourself reaching for it all week long. Its mild, nutty flavor pairs well with just about everything.
Here are some of my favorite ways to use cooked farro:
- Grain bowls with roasted vegetables, grilled or air fryer chicken breasts, fresh herbs, and a squeeze of lemon.
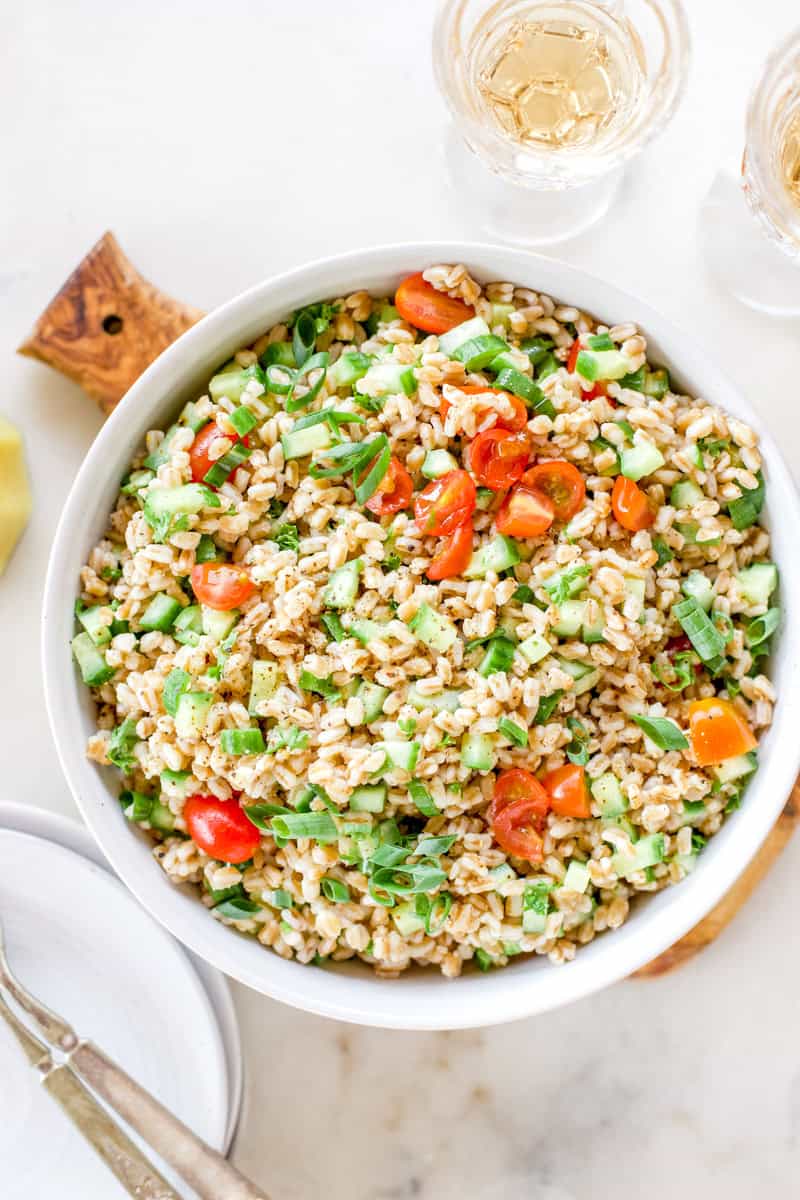
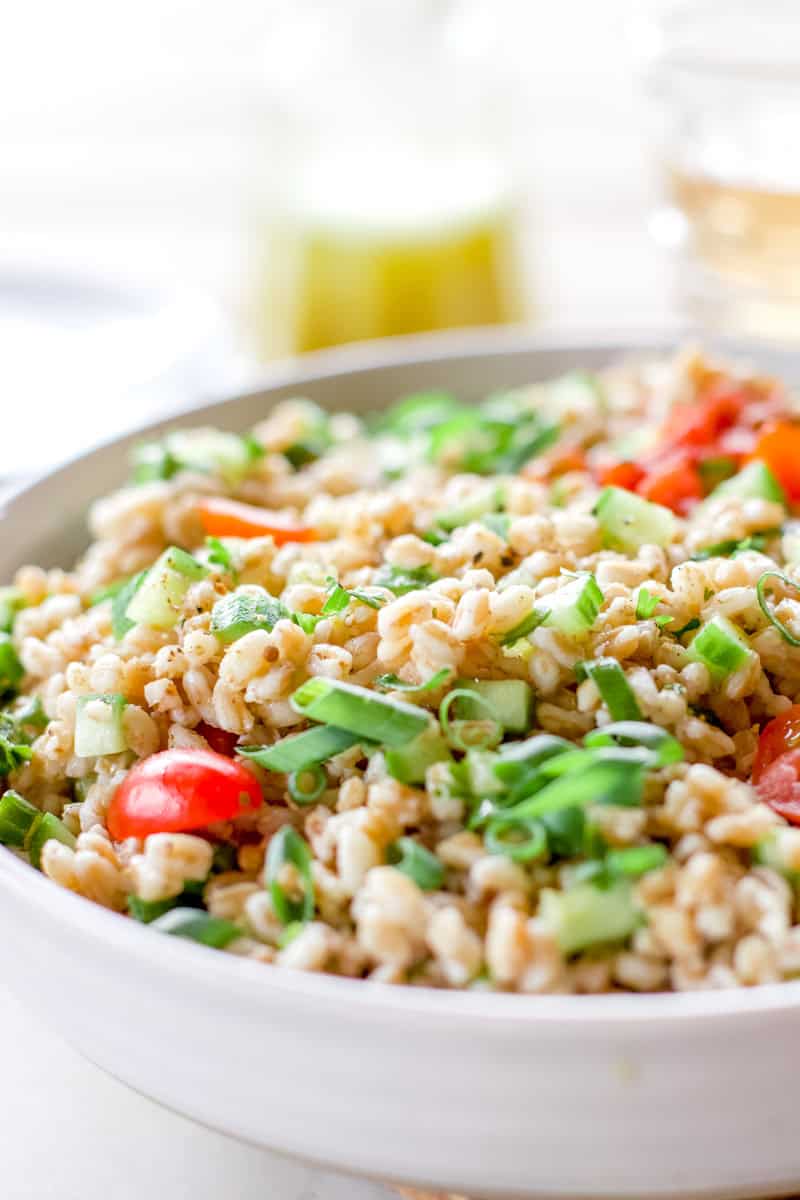
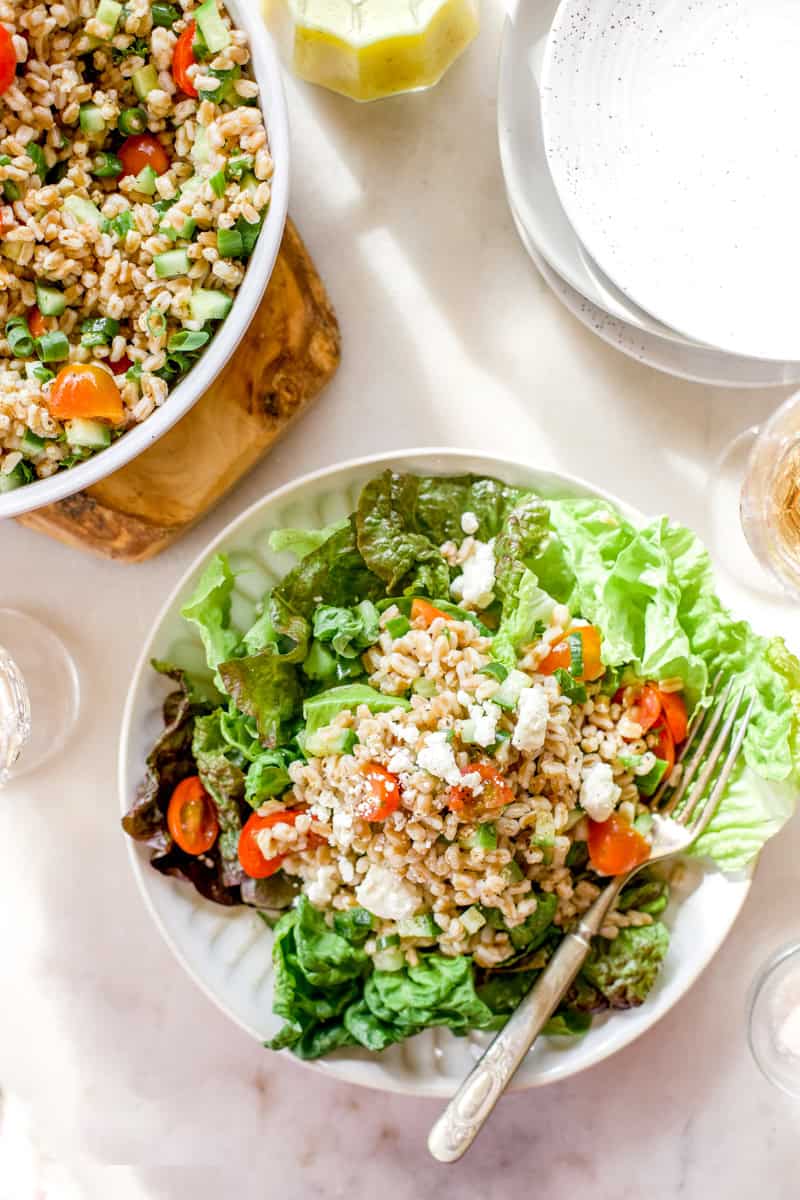
- Fresh salads tossed with cucumbers, tomatoes, feta, and a simple vinaigrette. If you'd like a tried and true recipe, you'll love my Tomato Cucumber Feta Salad.
- Soups and stews for extra texture and heartiness. My Creamy Meatball Soup or Italian Wedding Soup would be great with a generous scoop of farro thrown in!
- As a side dish instead of rice alongside grilled meat or roasted vegetables. Try it with a Juicy Venison Steak.
- Stuffed vegetables, like bell peppers or tomatoes.
- Meal prep lunches, portioned into containers with your favorite protein and vegetables.
One of my favorite lunches is a simple grain bowl made with cooked farro, chopped fresh herbs, a drizzle of olive oil, a squeeze of lemon juice, and whatever vegetables I have on hand. If I need a little extra protein, I'll add grilled chicken or roasted chickpeas.
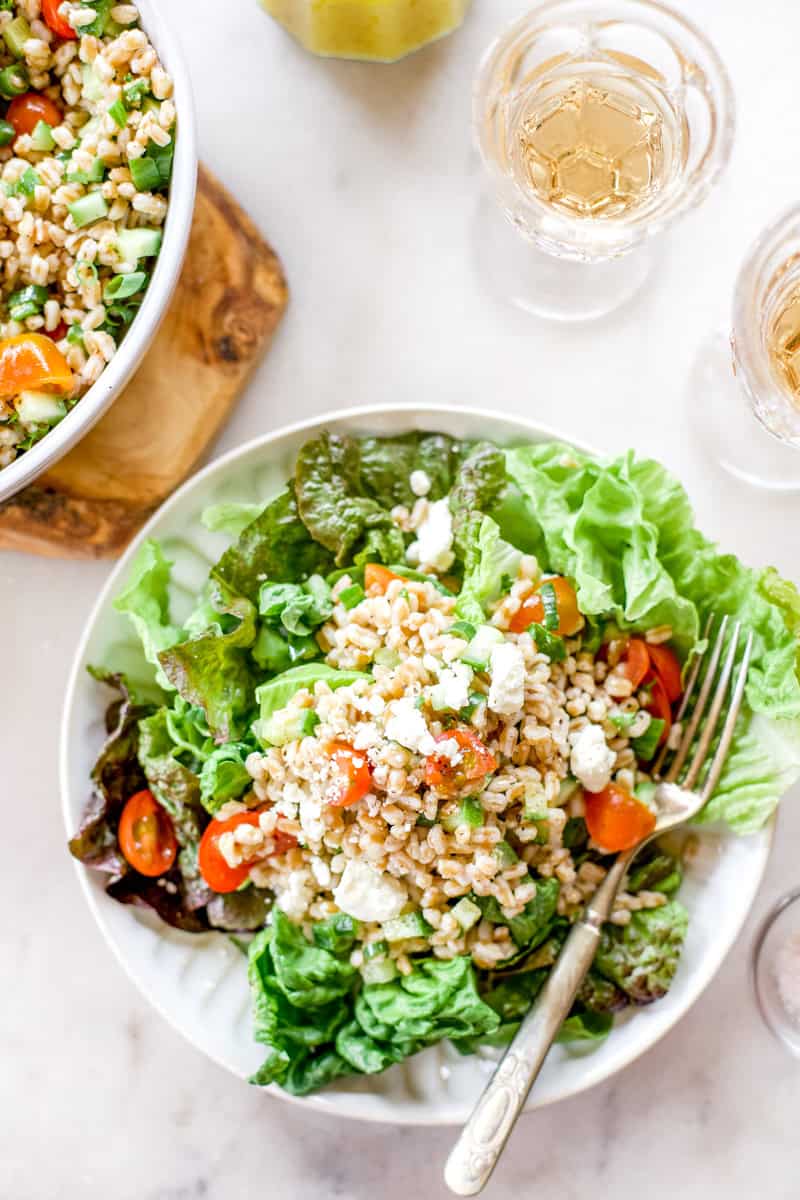
If you're looking for a fresh way to use your farro, try my Simple Farro Salad with Lemon and Cucumber or pair it with one of my favorite homemade salad dressings.
How to Cook Farro in the Instant Pot (Optional)
- Place farro, water and salt in the Instant Pot.
- Manually set the pressure cooker to pressure cook on high for 7 minutes.
- Let the instant pot naturally release for 7 minutes. Open the Instant Pot and drain excess liquid. Quickly cool by spreading on a baking sheet for twenty minutes.
FAQ
No! If you are sensitive or allergic to gluten, try substituting brown rice, millet or quinoa.
No. If you're using pearled farro, there's no need to soak it first. Simply rinse the grains and cook them according to the recipe. Whole farro may benefit from soaking overnight, but it's not necessary for the pearled farro used in this recipe.
Farro should have a pleasant chew even when it's fully cooked, but if it feels too firm for your liking, simply cook it a few minutes longer. The exact cook time depends on whether you're using pearled, semi-pearled, or whole farro, so start tasting the grains a few minutes before the recommended cooking time.
Yes! Farro is one of my favorite grains for meal prep because it stores well in the refrigerator for up to 5 days and freezes beautifully for up to 3 months. I often cook a double batch so it's ready to add to salads, grain bowls, soups, and easy side dishes throughout the week.
Cooked farro has a nutty flavor and a pleasantly chewy texture. It's heartier than white rice but not as chewy as wheat berries, making it a versatile grain that pairs well with everything from fresh salads to hearty soups.
The biggest difference is the cooking time. Pearled farro cooks the fastest because some or all of the bran has been removed. Semi-pearled farro takes a little longer, while whole farro has the bran intact and can take 40 minutes or more to become tender.
What Can I Substitute for Farro?
If you can't find farro at your grocery store, don't worry. Several other grains work well in its place, depending on the recipe you're making.
- Bulgur has a similar hearty texture and is my first choice for dishes like tabbouleh.
- Wheat berries have a chewy texture but take longer to cook.
- Freekeh has a slightly smoky flavor and works well anywhere you'd use farro.
- Barley has a similar chewy texture, although it's a little softer when cooked.
- Quinoa cooks much faster and is a good gluten-free alternative, though the texture is quite different.
If you're simply looking for a hearty grain to add to soups, salads, or grain bowls, any of these options will work. Just keep in mind that the cooking time and texture will vary from farro.
Looking for something to eat with farro?
Farro is delicious on top of a fresh salad! For a little added protein, try Air Fryer Grilled Chicken Breast. Pair it with an icy Salty Dog and you've got the perfect meal!
If you make this recipe, please leave a comment below! This provides helpful feedback to both me and other readers. For more delicious recipes from scratch and homesteading tips, follow me on instagram @NinnescahHomestead
Recipe
How to Cook Farro
Equipment
- sieve
- pot
- baking sheet
Ingredients
- 2 cups farro dried
- 1 teaspoon olive oil
- 1 teaspoon salt
Instructions
- First, rinse the dry farro with cold water. Pour the grain into a bowl or jar and swirl it gently for a little bit to give it a good rinse. To drain the excess water, I've found that a fine mesh sieve or mason jar with a sprouting lid works best.
- Next it's time to cook! Bring a large pot of water to a boil over medium heat and add the olive oil and a little salt. Pour the rinsed grains into the boiling water. Cooking times will vary depending on whether you want a chewy texture, or more of an al dente bite. It is generally recommended to boil for 20 minutes, see the notes below. Other factors to consider are the variety and age of the farro you are using. Personally, I think chewy farro is perfect for salad toppings and grain bowls.
- Finally, it's time to dry the grains and transfer them to a baking sheet. Spread them out in a single layer so they don't stick together while cooling. It usually takes twenty minutes or so to fully cool. If you skip this step, the steam and heat generated from the grains being close together will continue the cook time, making them mushy.
- When your farro is cool, it can be served right away or stored for later. See the tips below for serving suggestions, how to freeze cooked, farro and store it in the refrigerator.
Notes
Notes
- This recipe was tested with farro that cooks in about 20 minutes. If your package recommends a longer cooking time, simply keep tasting the farro as it cooks and drain it when it reaches the texture you like.
- I prefer to cook farro like pasta in plenty of salted water rather than using a specific water-to-grain ratio. It gives you more control over the final texture and makes it easy to drain the grains when they're perfectly tender.
- Start tasting the farro a few minutes before the recommended cook time. I find 20 minutes gives the perfect tender, slightly chewy texture, but you can cook it a little longer if you prefer softer grains.
- If you're using the farro in salads or meal prep, spread it on a baking sheet to cool after draining. This stops the cooking process and helps prevent the grains from becoming mushy.
Nutrition
- Old-Fashioned Potato Salad with Shredded Potatoes

- Quick Cream Cheese Recipe
- Homemade Mozzarella Cheese Recipe (with Raw Milk or Store-Bought)
- How to Make Cheddar Cheese - Easy Recipe!



When does the oil get added? To the water of after it’s cooked and drained?
Hello! The olive oil is added to the boiling water during the cooking process. It helps keep the farro from clumping together.