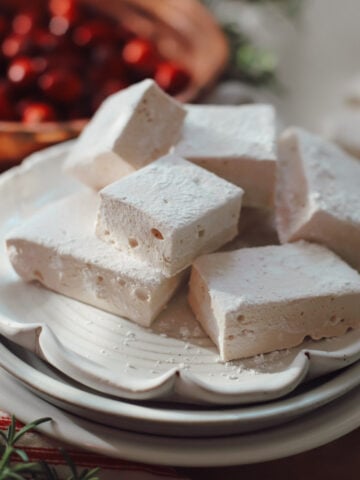
Homemade Marshmallows (No Corn Syrup) + Traditional Marshmallow Root Version
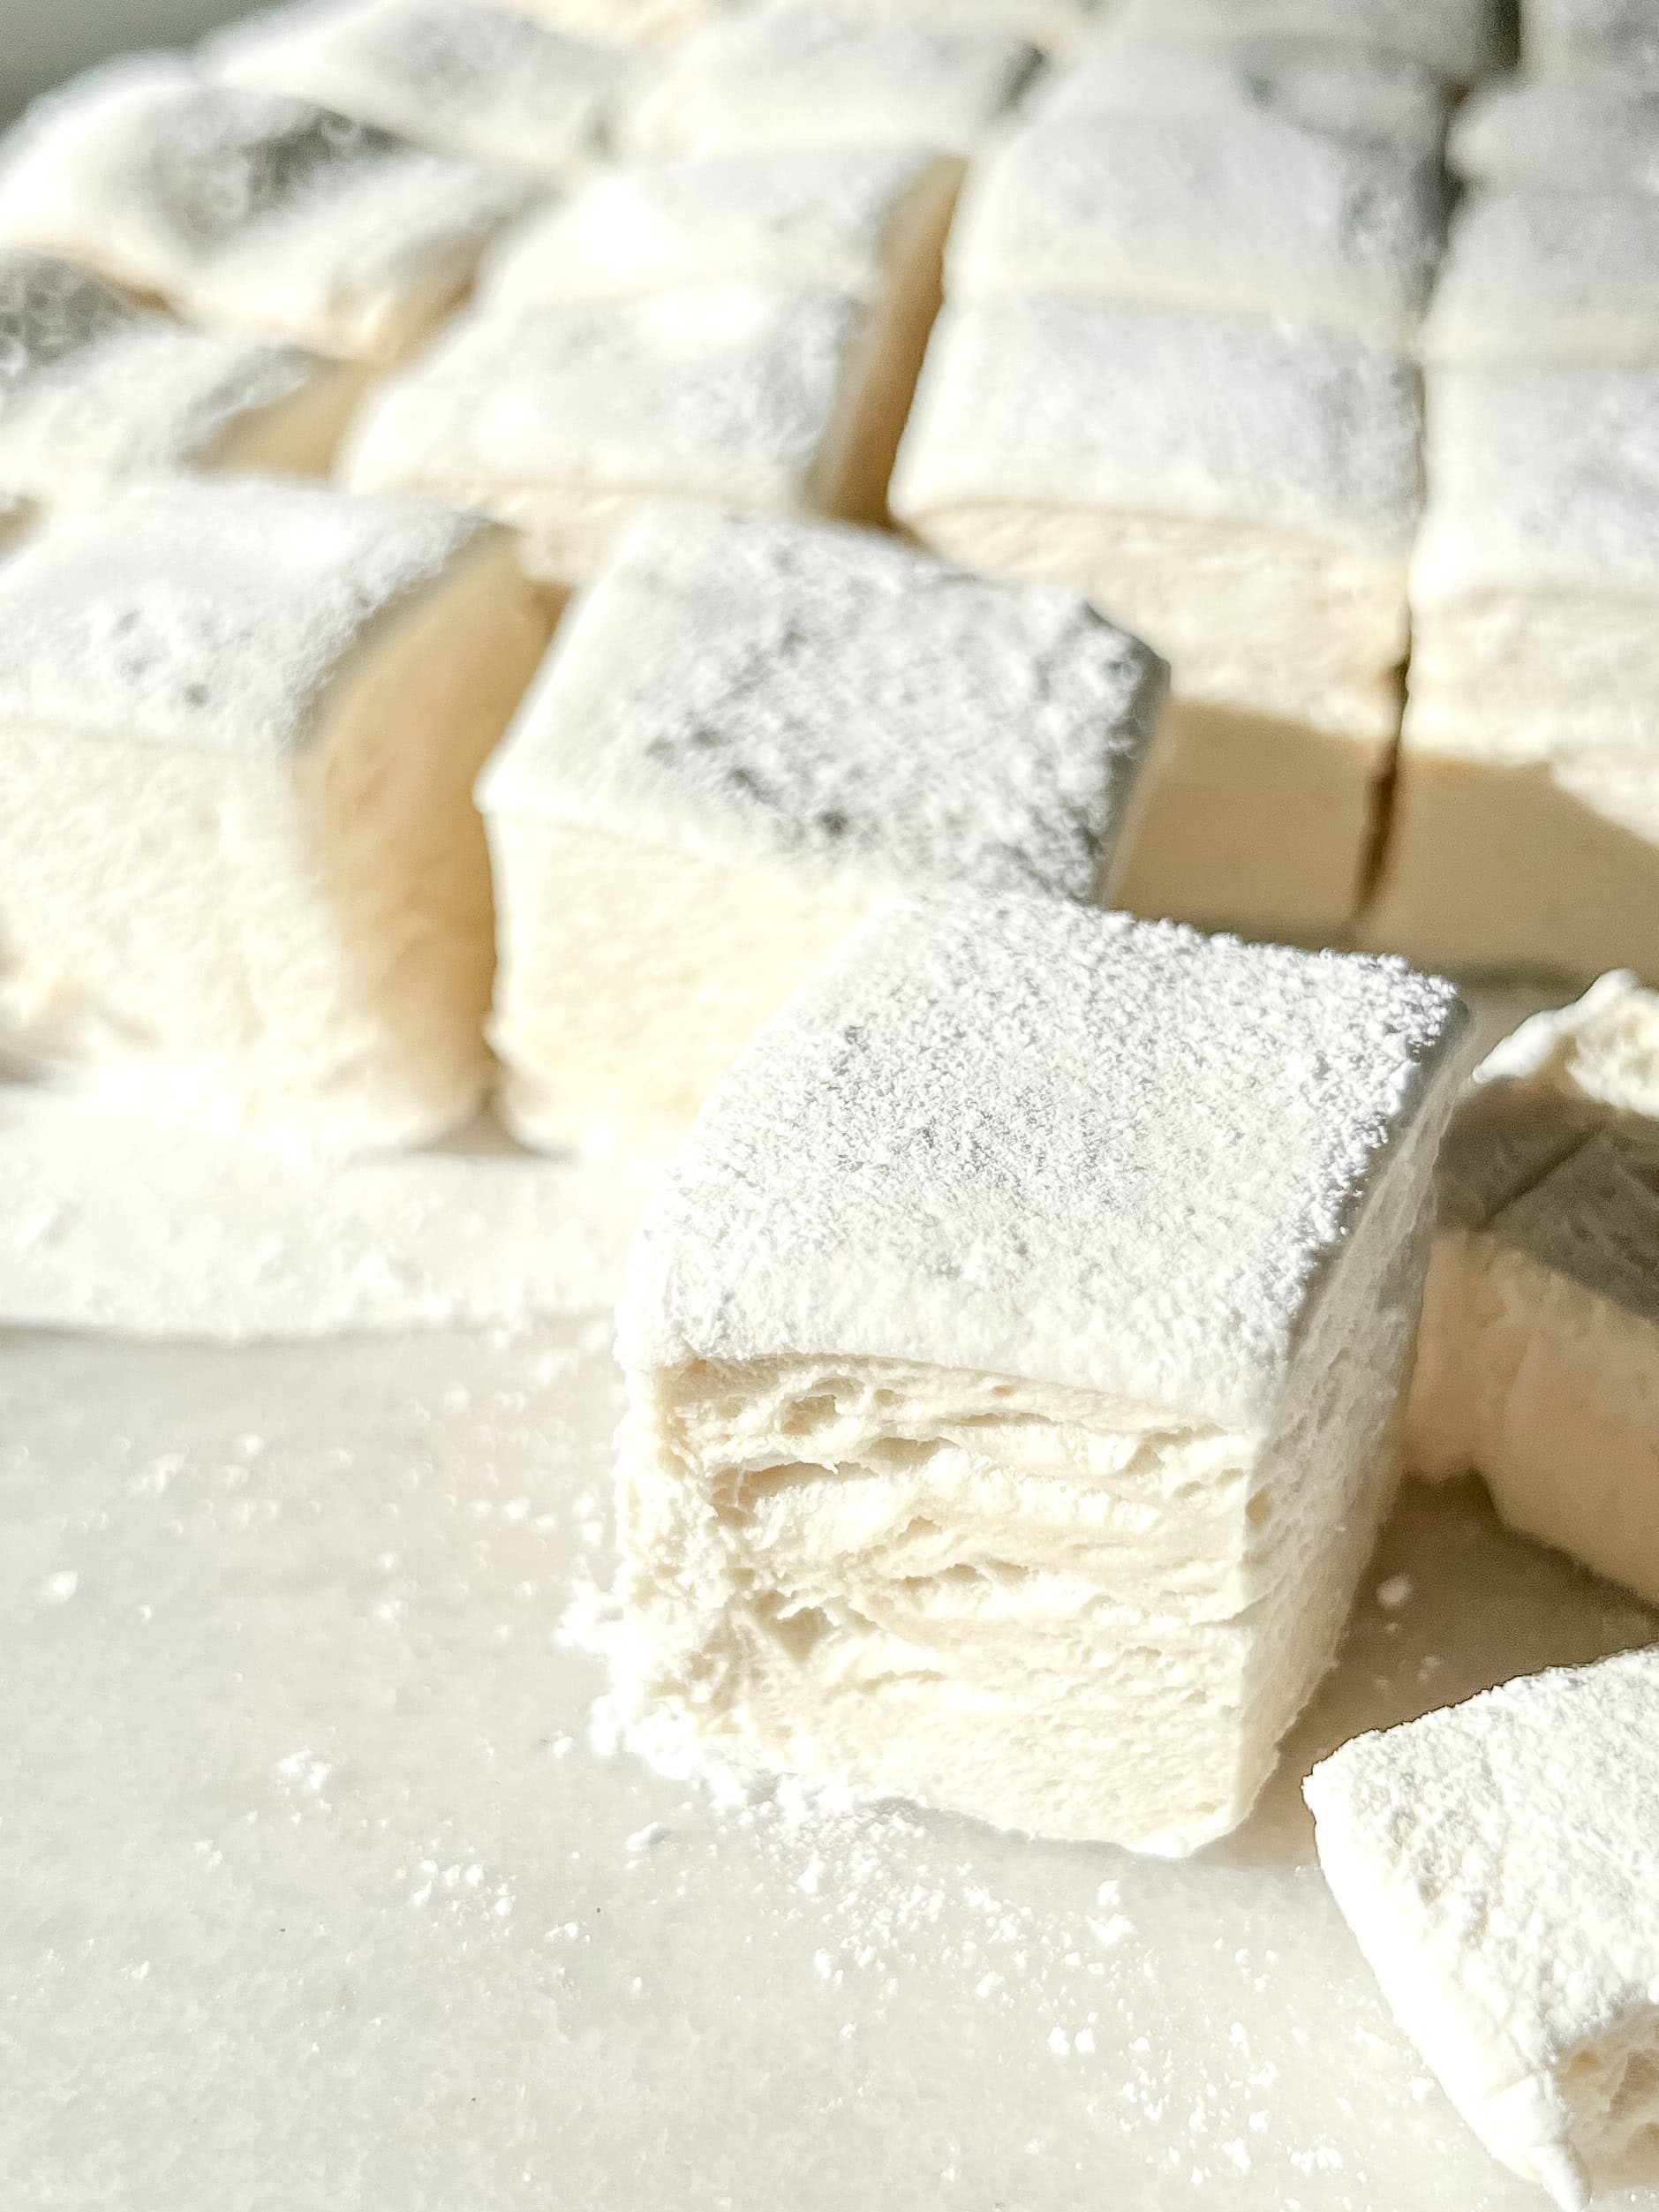
Learn how to make the best homemade marshmallows from scratch using honey or maple syrup, no corn syrup required! These marshmallows are soft, fluffy, and wildly better than anything from a bag. I've also included a traditional marshmallow root version using a simple herbal infusion, inspired by how marshmallows were originally made.
They're perfect for hot cocoa, s'mores, gifting, or just sneaking straight out of the container.
Jump to:
- Why This Recipe Works
- A Quick Pep Talk (if You're Nervous)
- Ingredients You'll Need
- Marshmallow Root Infusion Tip
- Helpful Equipment
- How to Make Homemade Marshmallows
- Tips for Perfect Homemade Marshmallows
- Cutting Homemade Marshmallows
- Storing & Packaging Marshmallows
- Helpful Storage Tip
- Frequently Asked Questions
- Troubleshooting Homemade Marshmallows
- How to Use Homemade Marshmallows
- Recipe
- Comments
Why This Recipe Works
- Made without corn syrup using honey or maple syrup
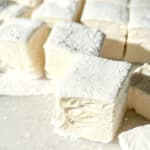
- Soft, fluffy texture that actually holds its shape
- Simple ingredients and straightforward steps
- Works beautifully for hot cocoa, s’mores, and desserts
- Includes an optional marshmallow root infusion for a traditional recipe
A Quick Pep Talk (if You're Nervous)
I was very intimidated the first time I made homemade marshmallows. Candy thermometers. Boiling Syrup. Horror stories about failed batches. It felt like high-pressure cooking compared to my usual quick and easy recipes. Or, more likely, I'd just researched a little too hard and made my way into the complaining side of the internet.
But listen, there are a lot of complicated marshmallow recipes out there. This is not one of them.
Once I realized how simple the process actually is, I was hooked. And when my kids tried their first fresh marshmallow, it was all big smiles and wide eyes. Immediate requests for more. They were genuinely shocked that something homemade could taste that much better than the store-bought version.
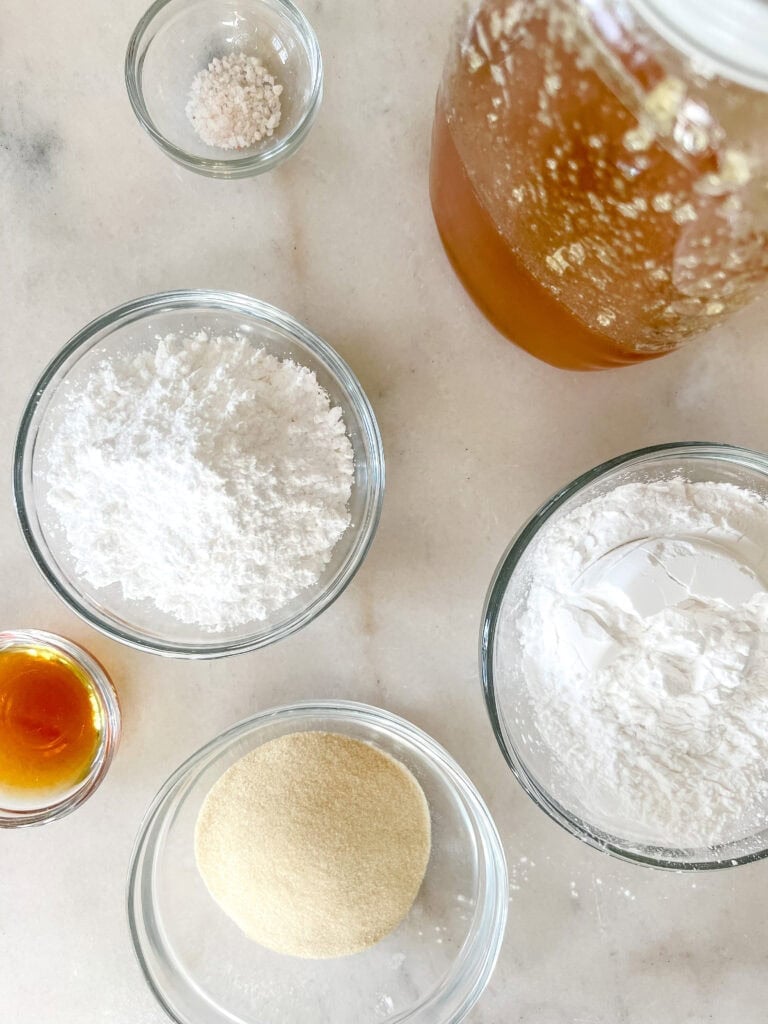
Ingredients You'll Need
For Homemade Marshmallows (No Corn Syrup)
- 3 tablespoons beef gelatin powder (or substitute vegetarian)
- 1 cup honey or maple syrup
- 1 cup water, divided
- ¼ teaspoon salt
- 1 teaspoon vanilla extract
- ½ cup organic powdered sugar
- ½ cup arrowroot powder (or substitute corn starch)
Optional: Traditional Marshmallow Root Version
This recipe can be made with or without marshmallow root.
Marshmallow root comes from the Althaea officinalis plant and was originally used in early marshmallow sweets. It’s no longer used in modern commercial marshmallows, but it adds a gentle, soothing quality and a lovely nod to tradition. I don't want to get google-slapped for making medical claims on my site, but you should do a quick search about what this plant can do for your throat, airway, skin and digestive tract. It's pretty amazing!
How to Make Marshmallow Root Infusion
- Add 1 tablespoon dried marshmallow root to 1 cup cold water
- Cover and steep overnight (8–12 hours)
- Strain well
- Use this infusion in place of the water in the recipe
Marshmallow Root Infusion Tip
Marshmallow root should be cold-infused. Heat breaks down the mucilage that gives it its traditional properties.

Helpful Equipment
- Stand mixer or hand mixer
- Small saucepan
- Candy thermometer or Thermapen
- 9×9 pan
- Parchment paper
- Silicone spatula
How to Make Homemade Marshmallows
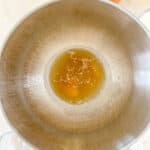
- Bloom the gelatin. Pour ½ cup water (or marshmallow root infusion) into the bowl of a stand mixer. Sprinkle the gelatin over the top and allow it to bloom for at least 10 minutes.
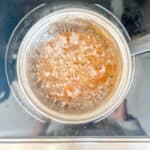
- Cook the syrup. Add the remaining ½ cup of water (or marshmallow root infusion), honey (or maple syrup), and salt to a small sauce pan fitted with a candy thermometer.
- Heat over medium-high and stir only for the first minute. Stirring after the first minute introduces air bubbles and almost guarantees a boil-over. Cook until the mixture reaches 240°F, about 10–15 minutes.
- Whip the marshmallows. With the mixer on low speed, slowly pour the hot syrup into the bloomed gelatin. Gradually increase the speed to high and beat for 8-10 minutes, until the mixture has doubled or even tripled in volume, looks glossy, and no longer feels hot to the touch.
- Add the vanilla during the final minute.
- Prepare the pan. Line a 9X9 pan with parchment paper. I do this while the marshmallows are mixing.
- Mix the powdered sugar and arrowroot powder together and generously dust the parchment.
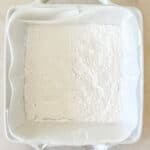
- Set the marshmallows. Quickly pour the marshmallow mixture into the prepared pan and smooth the top with a spatula. Dust generously with the powdered sugar mixture and let it set for at least 6 hours or overnight before slicing.


Tips for Perfect Homemade Marshmallows
- Stay near the stove while the syrup cooks — it can boil over fast
- Use a thermometer and pull the syrup immediately at 240°F
- Work quickly once the marshmallow is whipped
- Let them fully set before cutting (this matters!)
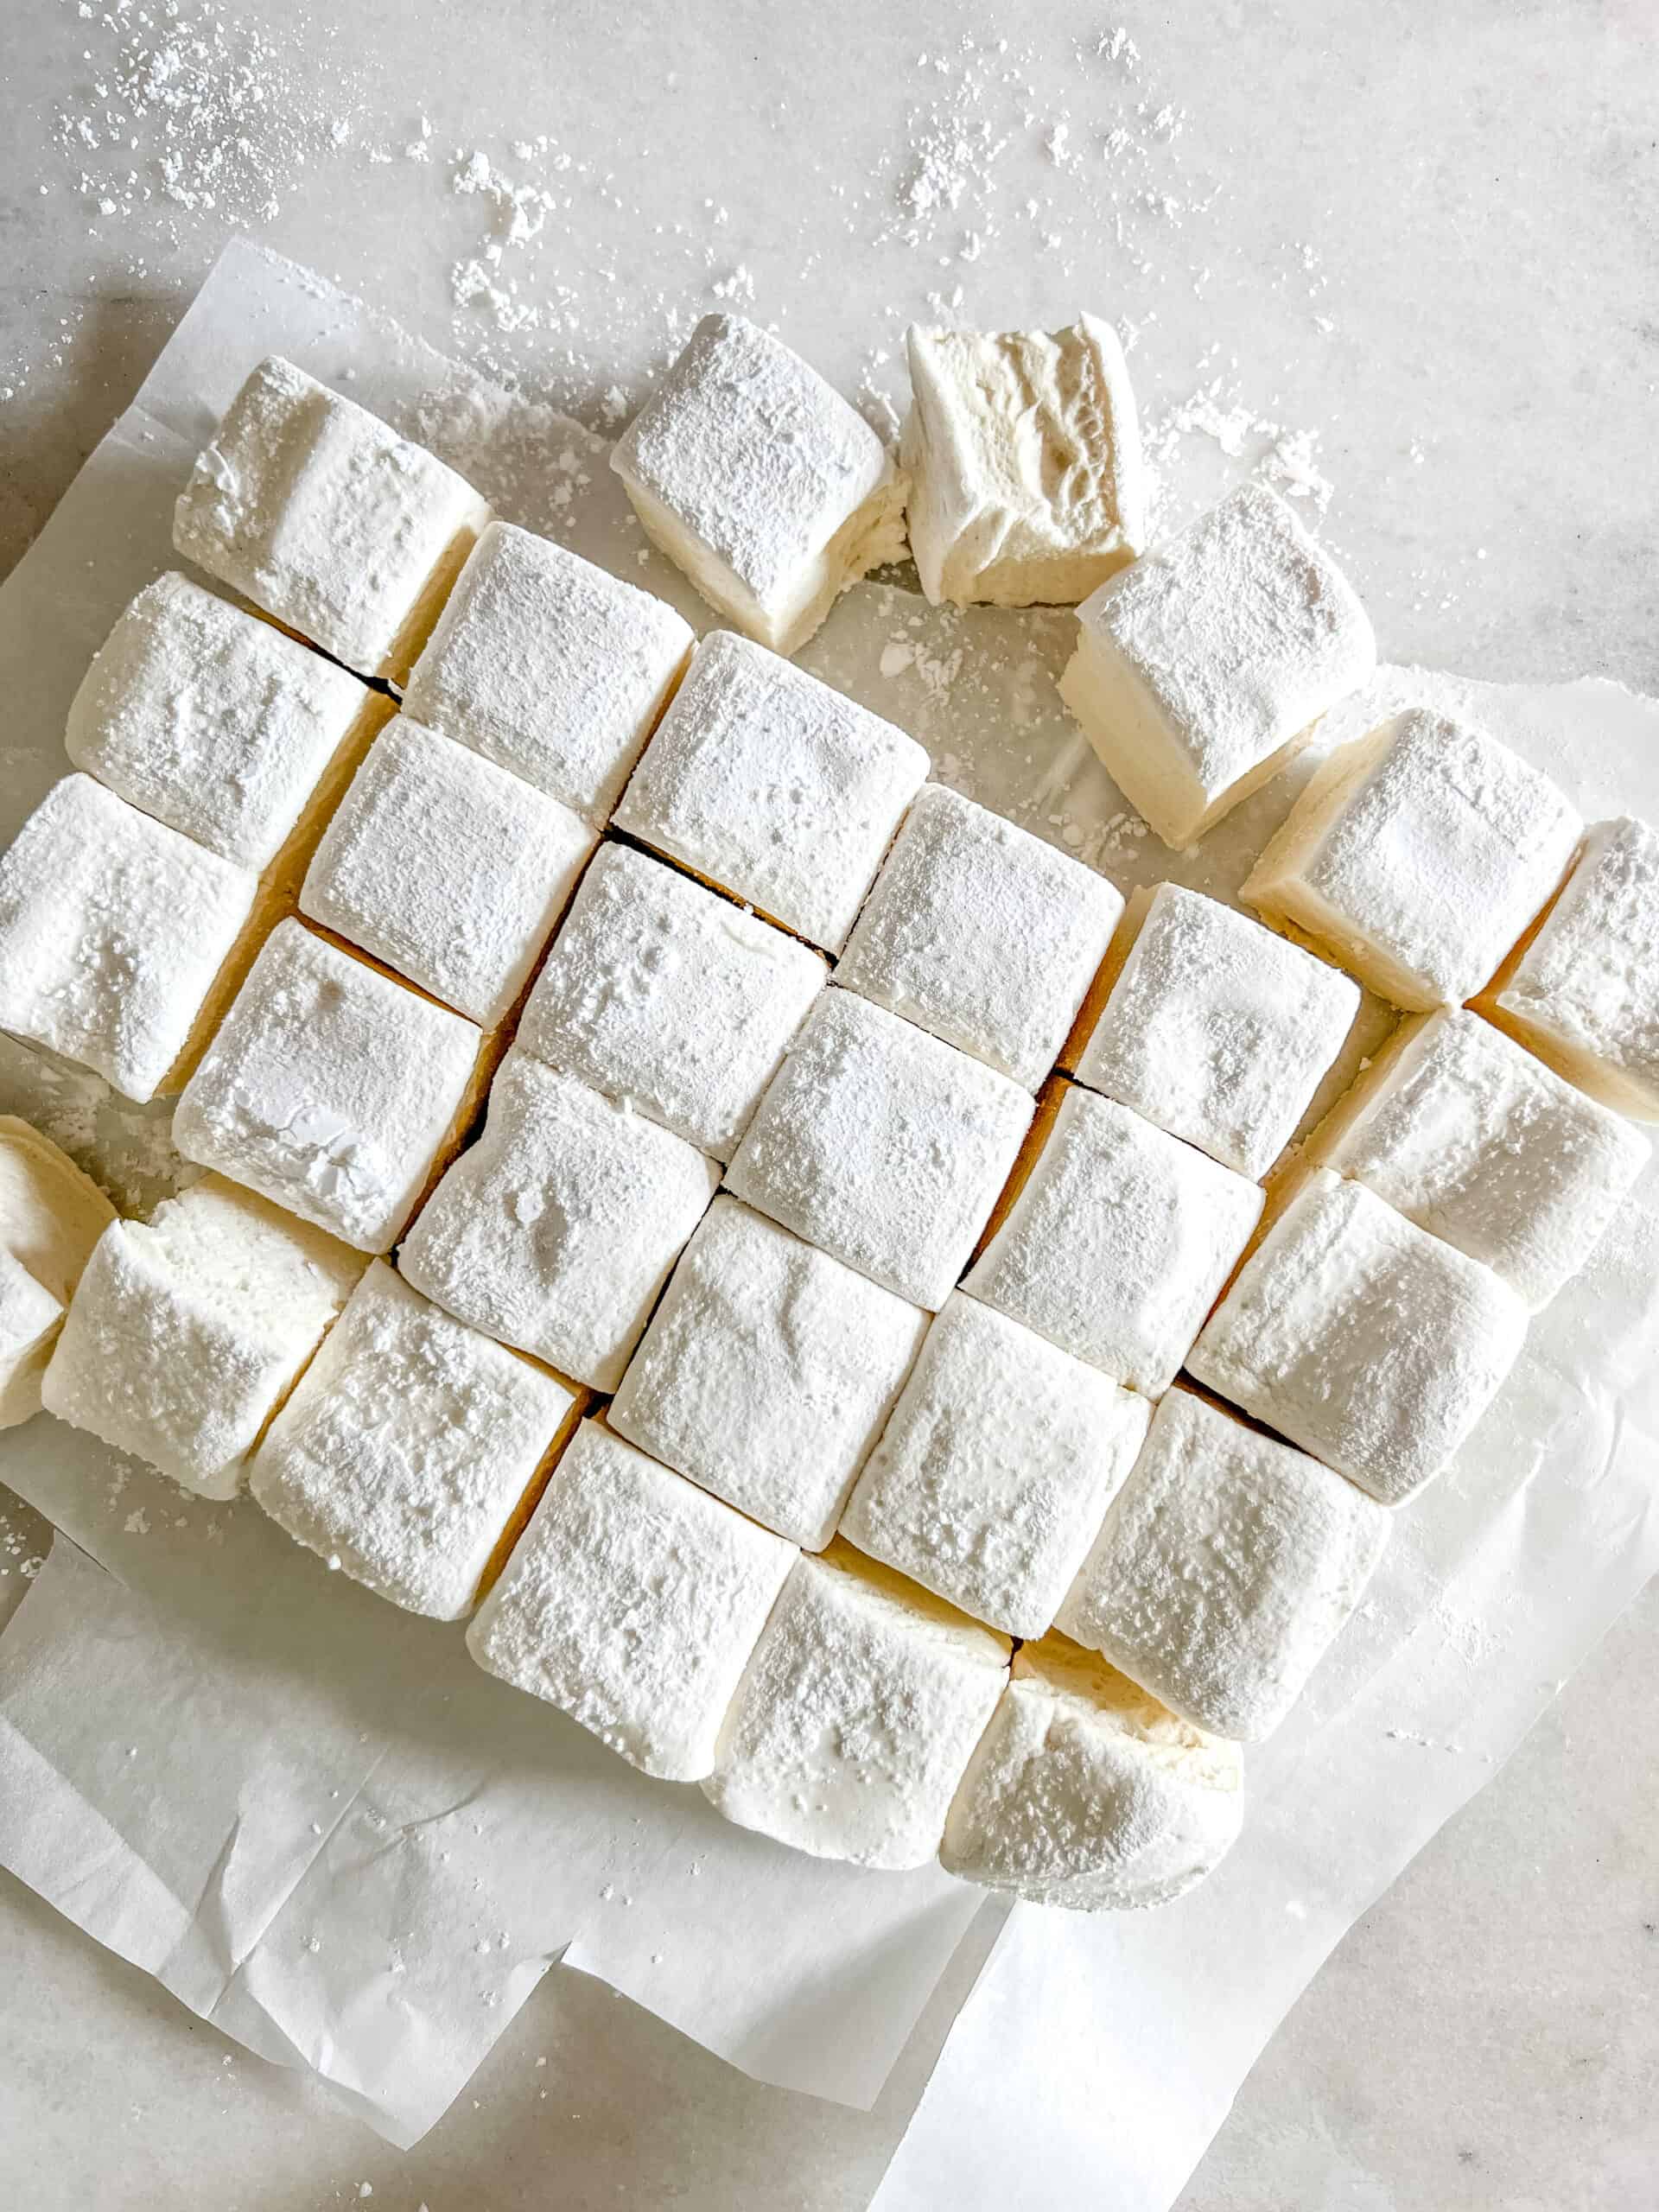
Cutting Homemade Marshmallows
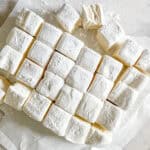
- Once fully set, lift the marshmallow slab out using the parchment paper.
- Dust a sharp knife and the top of the marshmallow generously with powdered sugar mixture and cut into squares.
- Use more dusting as needed — you’re not using too much.
Storing & Packaging Marshmallows
- Store at room temperature for up to 3 days
- Refrigerate for longer storage (they may develop slight moisture)
- Dust cut sides well to prevent sticking
Can You Freeze Homemade Marshmallows?
Yes! Once fully dusted and cut, store in an airtight container and freeze for up to 3 months.
Frequently Asked Questions
Yes. This recipe uses honey or maple syrup instead of corn syrup and sets reliably when cooked to the proper temperature.
Marshmallow root adds a traditional, herbal element and was the original ingredient used in early marshmallow confections. Flavor impact is mild.
Yes. This recipe is naturally gluten-free.
Troubleshooting Homemade Marshmallows
- My marshmallows didn’t set. The syrup likely didn’t reach 240°F, or the marshmallows were cut too soon. Let them cure at least 6 hours, preferably overnight.
- My syrup boiled over. This usually happens if the syrup is stirred too much. Stir only during the first minute, then stop.
- My marshmallows are dense instead of fluffy. The mixture wasn’t whipped long enough. It should nearly triple in volume and feel cool before transferring to the pan.
- My marshmallows are weepy. This can happen after a few days, especially in humid conditions. They’re still safe to eat but best enjoyed fresh.
- The marshmallow root version feels softer. Don't worry, that’s normal. Marshmallow root adds moisture. Extra curing time and dusting help.
How to Use Homemade Marshmallows
These marshmallows are delicious as is, or they can be used any way a regular marshmallow would be! S'mores, cup of hot cocoa, dipped in melted chocolate... the sky's the limit!
If you love this sweet and tasty recipe, you would also love my Dark Chocolate Bourbon Cookies. They pack a punch with hearty oats and loads of chocolate chunks. Bourbon and dark chocolate? Who can resist this amazing duo? Certainly not me! These soft and chewy chocolate chip cookies are feelin’ extra fancy with the addition of bourbon whiskey and fresh pecans.
Another favorite dessert my family loves are my Easter Cookies with Mini Cadbury Eggs. If you can make chocolate chip cookies, you can definitely make these delicious drop cookies! I am planning to make a special recipe that combines these homemade marshmallows with Mini Cadbury Egg Cookies for Easter. Picture this, a cookie sandwich with homemade marshmallow in the middle. So much fun and yum!!!
If you make this recipe, please leave a comment below! This provides helpful feedback to both me and other readers. For more delicious recipes from scratch and homesteading tips, follow me on instagram @NinnescahHomestead
Recipe

Fluffy Homemade Marshmallows
Equipment
- sauce pan
- whisk
- stand mixer with whisk attachment
- 9X9 baking dish & parchment paper
- sharp knife
Ingredients
- 3 tablespoons gelatin
- 1 cup honey or maple syrup
- 1 tablespoon marshmallow root optional - see note below
- 1 cup water
- ¼ teaspoon salt
- 1 teaspoon vanilla extract or ½ teaspoon vanilla bean paste
- ½ cup organic powdered sugar
- ½ cup arrowroot powder
Instructions
 Pour ½ cup of water into the bowl of a stand mixer and sprinkle the unflavored gelatin on top. Allow the gelatin to bloom for at least 10 minutes.
- Add the an additional ½ cup water, honey and salt to a small saucepan with a candy digital thermometer. Heat on medium-high and stir the mixture for the first minute only, keeping a close watch on It so that it doesn't boil over. Stirring after the first minute will cause it to boil over as well. Cook until the mixture reaches 240 degrees F. This should take approximately 10-15 minutes.
- Turn the stand mixer on low (speed 2) and slowly pour the sugar mixture in the mixer bowl. Gradually increase the speed to high speed and beat until the mixture has doubled, almost tripled, in size. It will resemble marshmallow fluff and feel cool to the touch. This should take approximately 8-10 minutes. In the last minute of whipping, add the vanilla bean or vanilla extract.
- While the marshmallow is mixing, line a 9x9 pan, covering both the bottom and the edges of the pan with parchment paper. Stir the powdered sugar and arrowroot powder together in a separate bowl and dust onto the parchment paper.
- Quickly pour the marshmallow into the square pan and flatten the top with a rubber spatula. Dust more powdered sugar mix on top and allow to set a minimum of 6 hours or overnight.
- When the marshmallow has had time to set, remove the parchment paper and invert the marshmallow onto a cutting board that has been dusted with more powdered sugar mix. Use a sharp knife to cut the marshmallow into squares. Add more powdered sugar mix as necessary to prevent sticking.
- Marshmallows should be eaten immediately or saved at room temperature for up to 3 days.


Notes
- Do not stir the syrup after the first minute. Stirring adds air bubbles and can cause the mixture to boil over.
- Remove the syrup from heat immediately at 240°F. The temperature climbs fast at the end.
- Prep your pan before you start whipping. The marshmallow sets quickly once it’s ready.
- Let marshmallows cure at least 6 hours (overnight is best) before cutting.
- For marshmallow root, use a cold infusion only. Steep overnight and strain; heat breaks down what you want.
- Add 1 tablespoon dried marshmallow root to 1 cup cold water
- Cover and steep overnight (8–12 hours)
- Strain well
- Use this infusion in place of the water in the recipe
Nutrition


Oh my belly! These are so good in my daily hot chocolate!
It is officially hot chocolate season here! I am not a plain coffee lover. The kids and I love to drink hot chocolate, I added some of these homemade marshmallows to our drinks this weekend and the whole family loved them!!
These turned out perfectly! The recipe was easy to follow and my kids loved these marshmallows.
We are in an artic blast here. Hot chocolate has been a must every morning for us and throughout the day. My kids were begging for marshmallows and boy do these taste amazing. I made them with honey and can not wait to make another batch with maple syrup! It is so nice to know these are not packed with bioengineered ingredients.